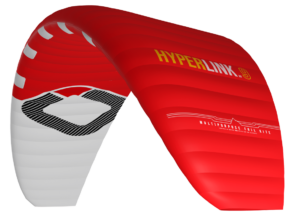
EXP

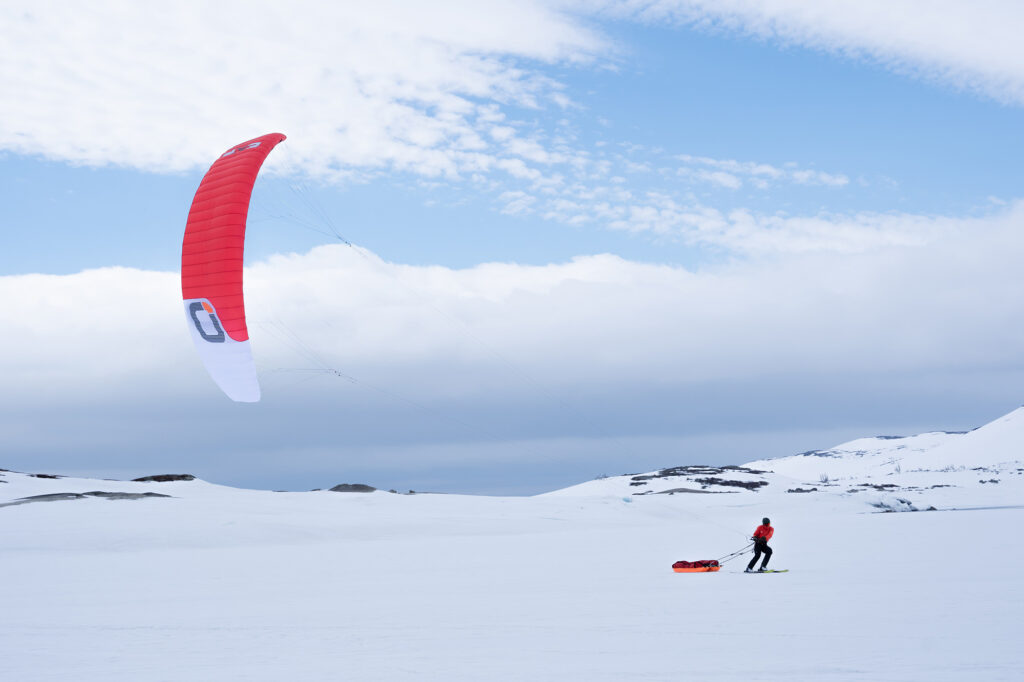
Expert's high-performance snowkite for exploring and expeditions

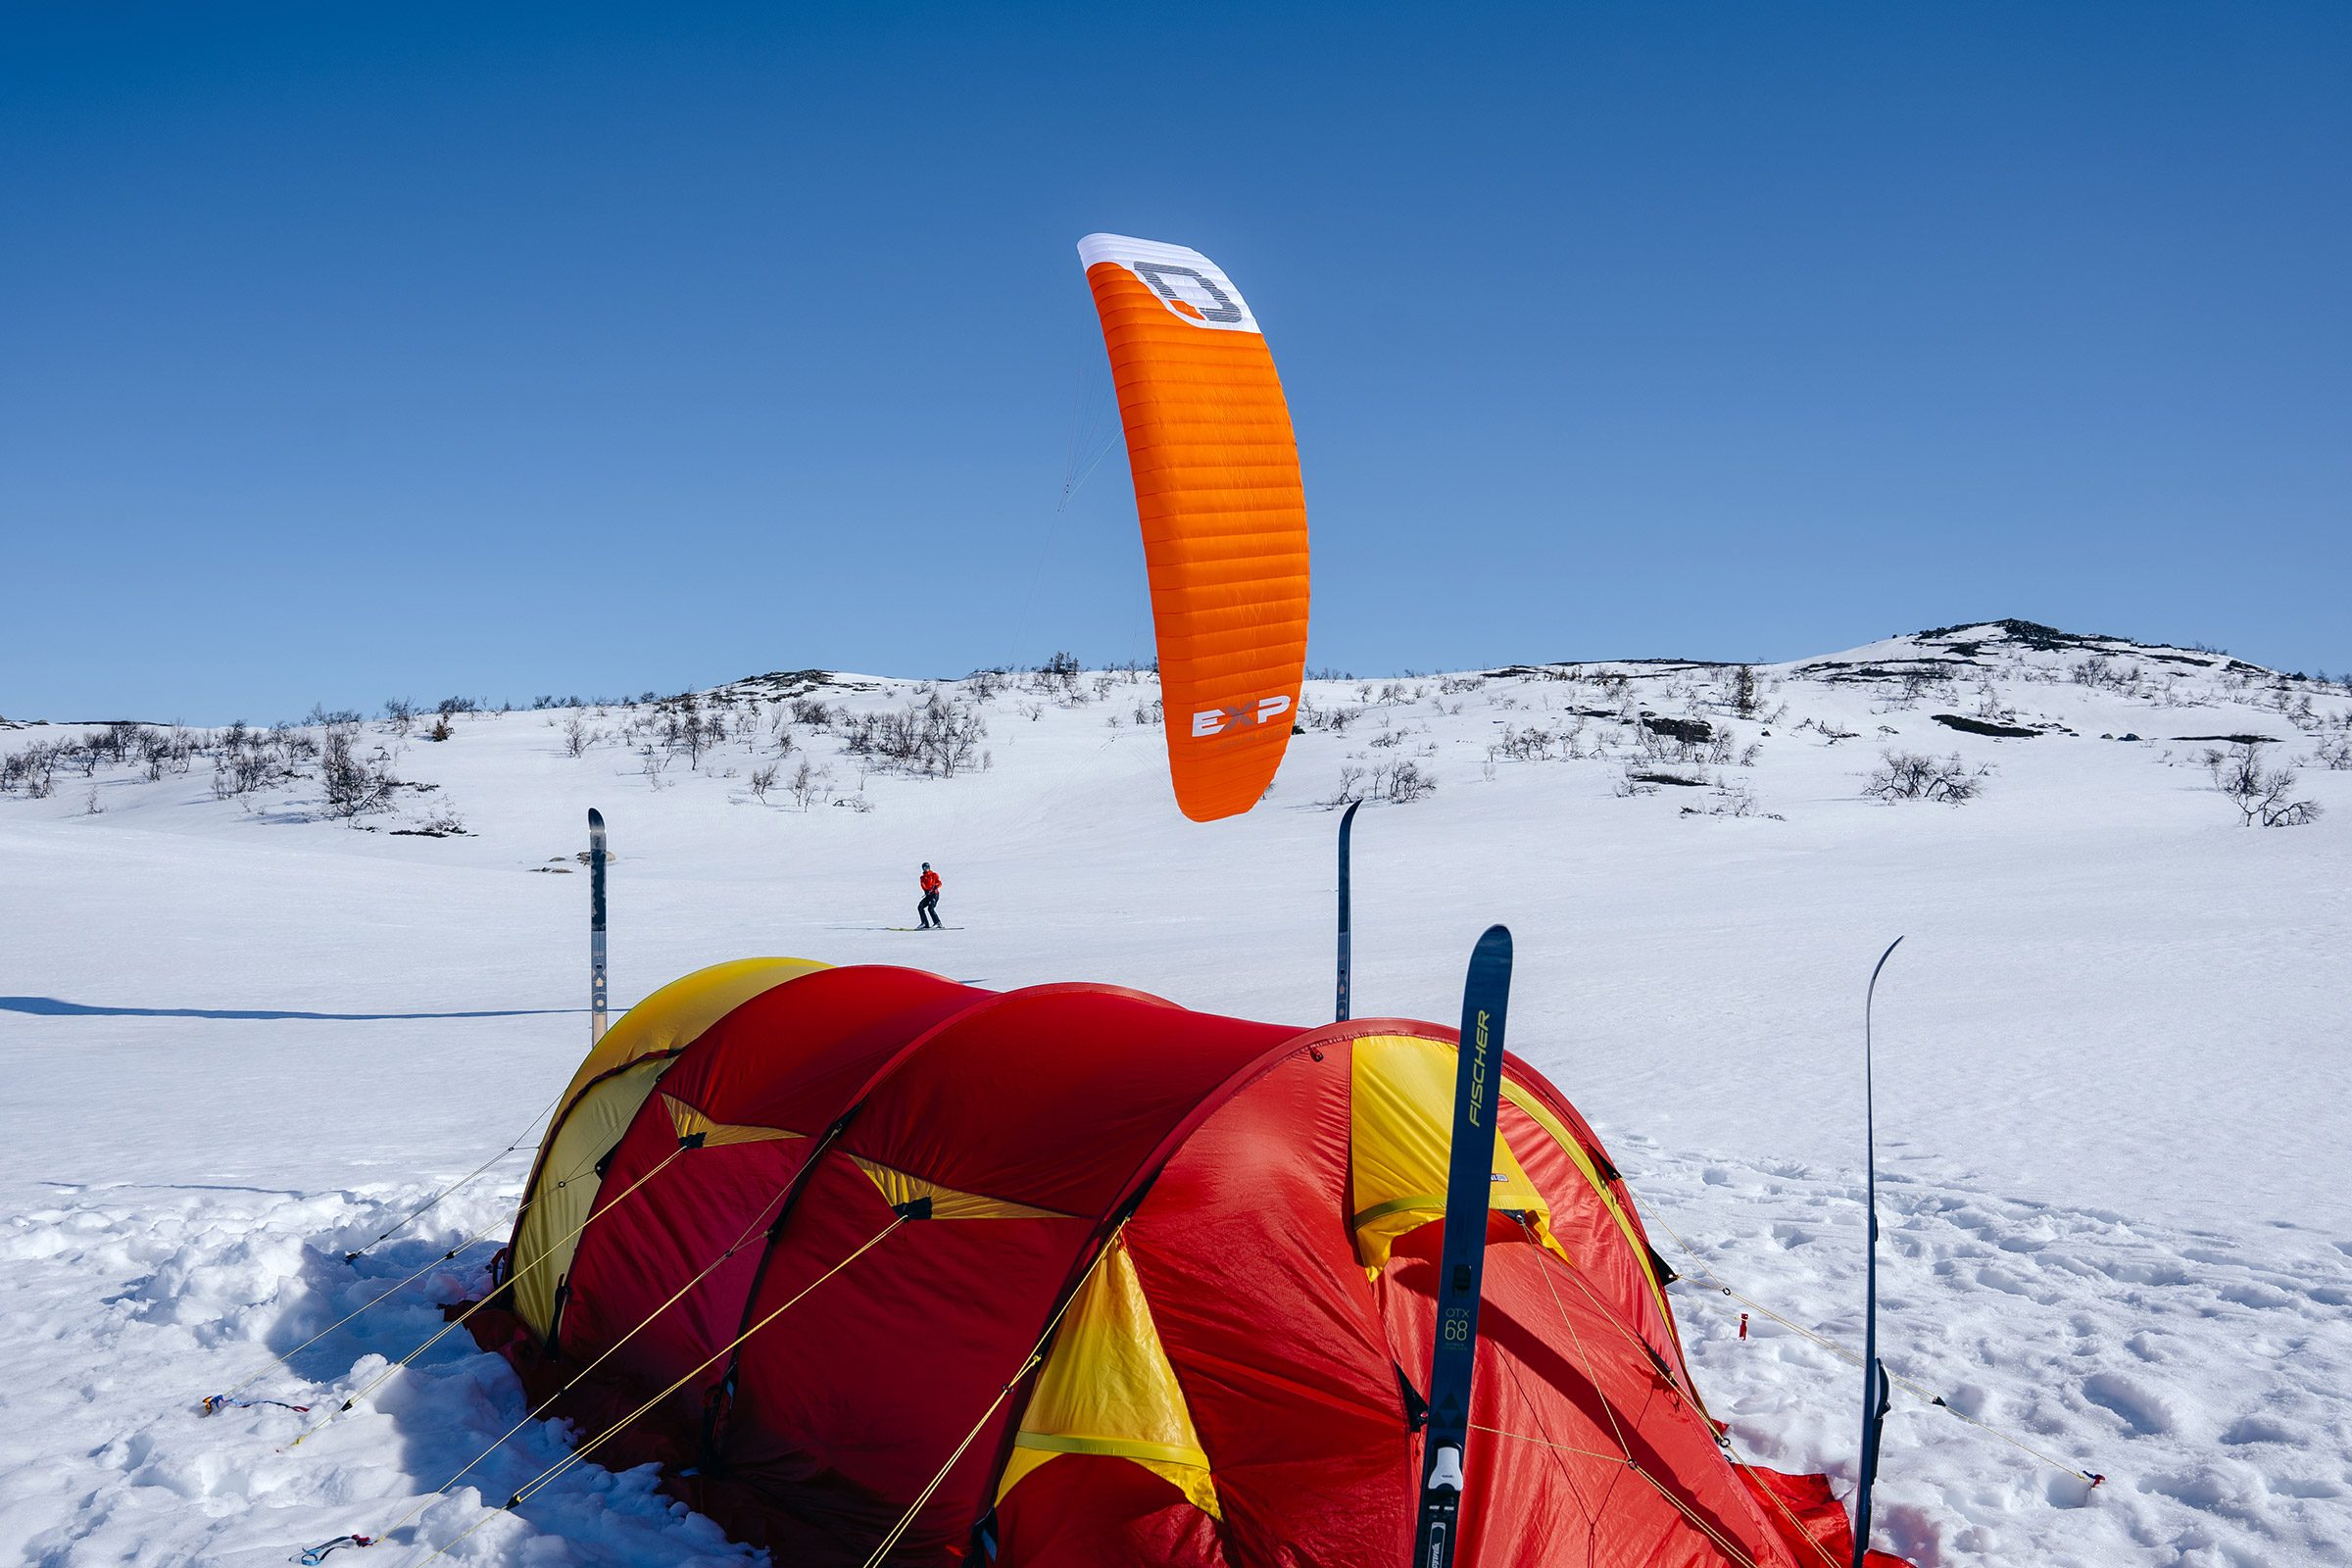
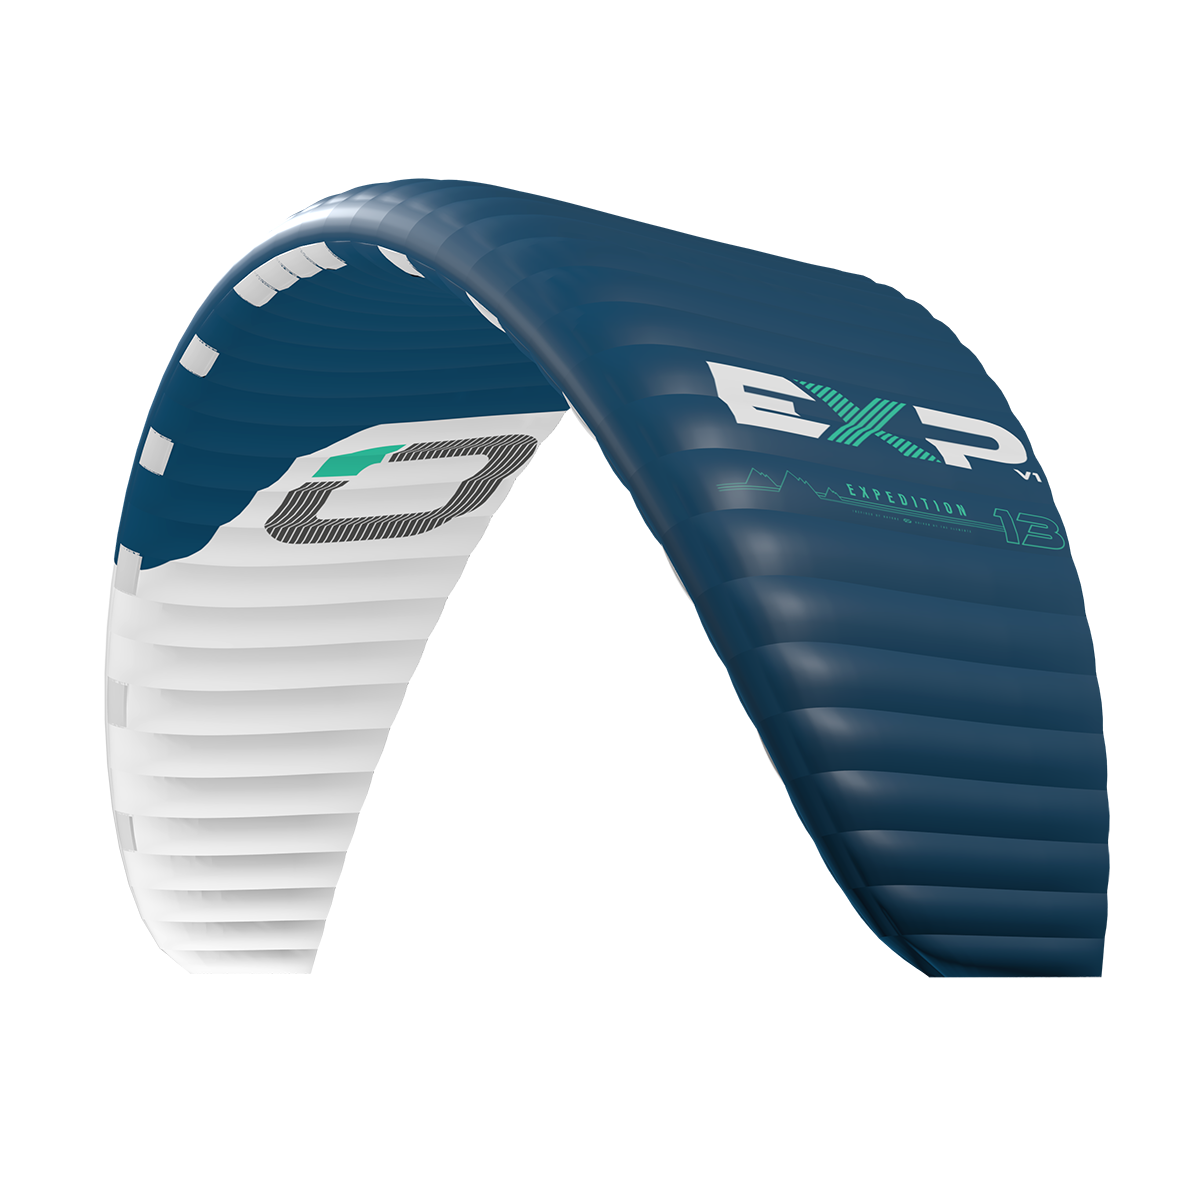
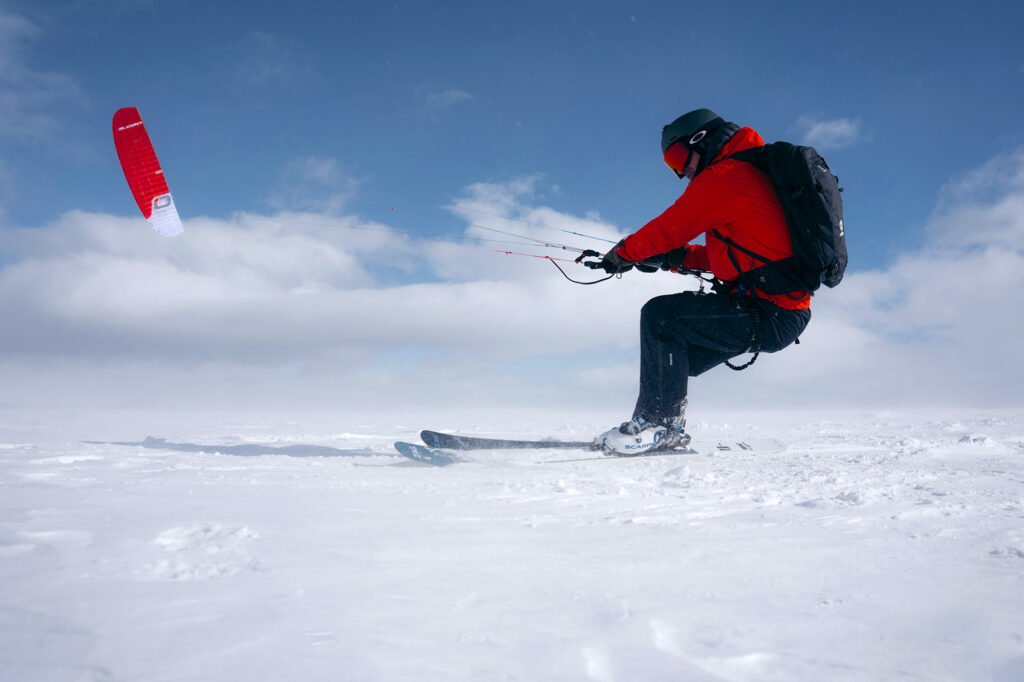
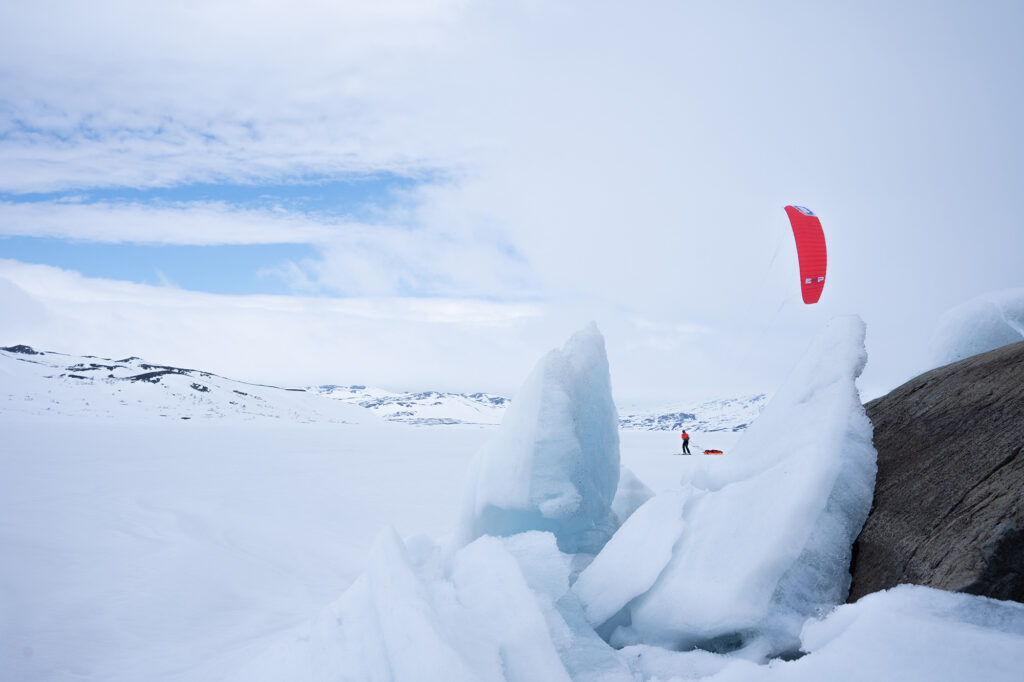
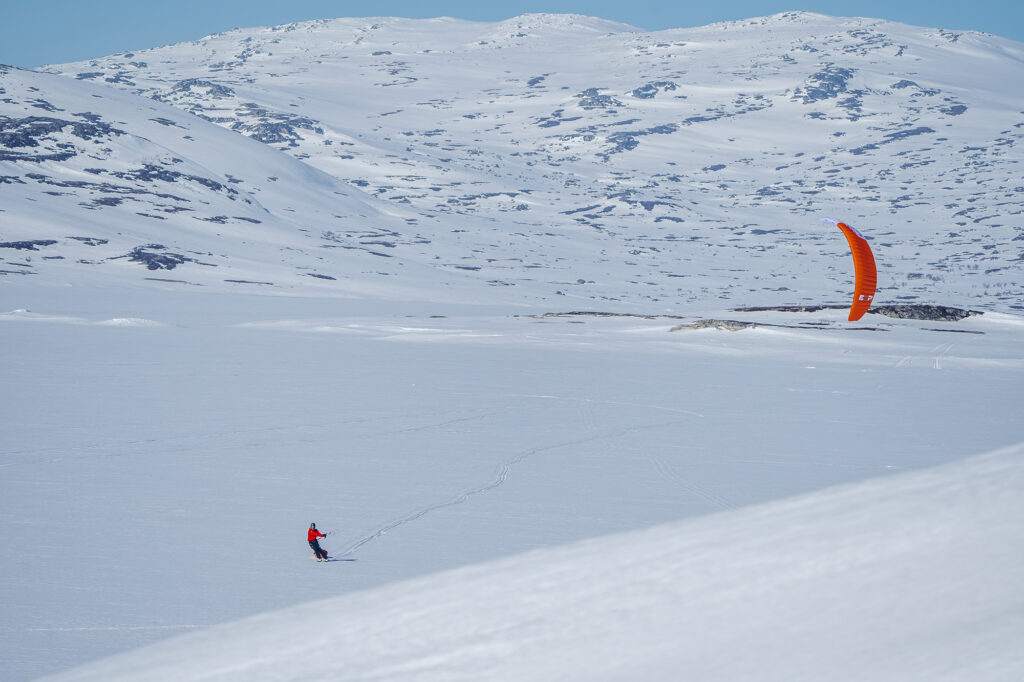
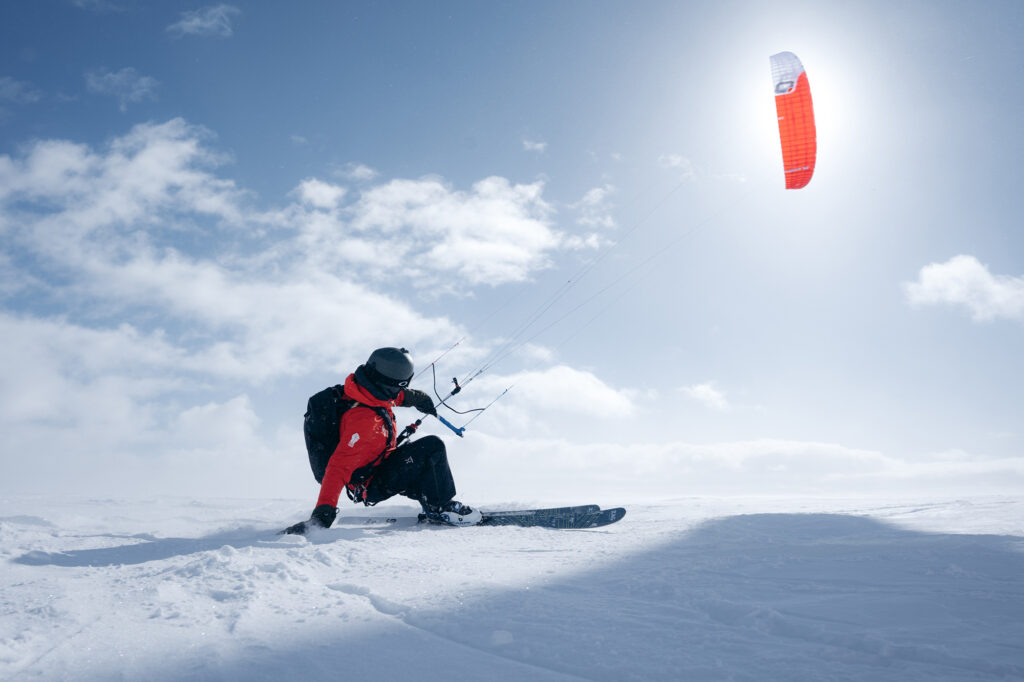
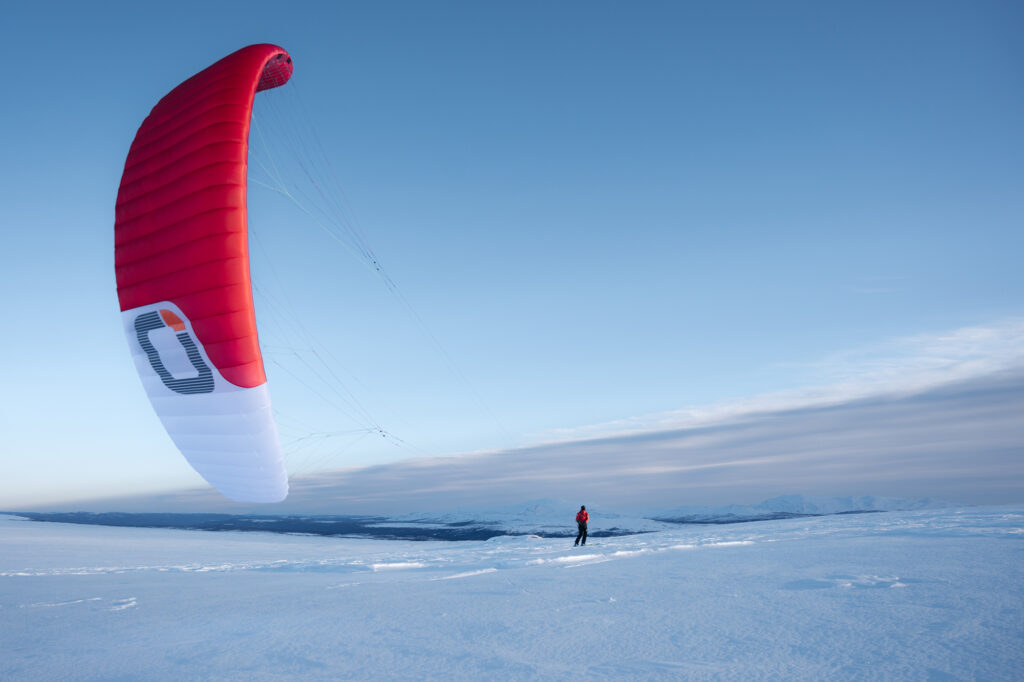
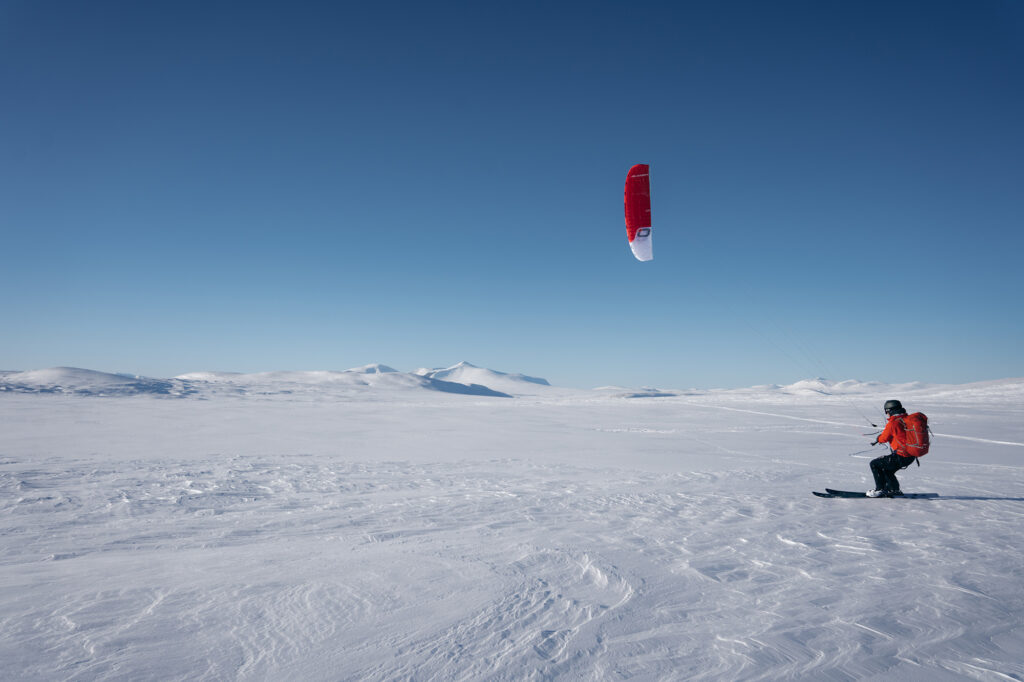
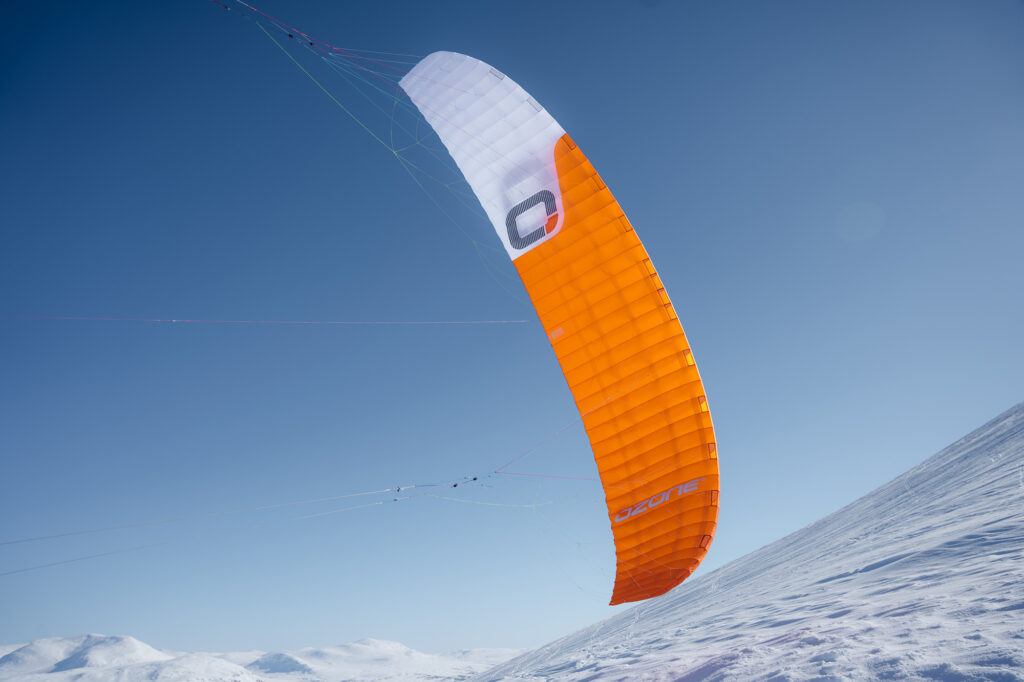
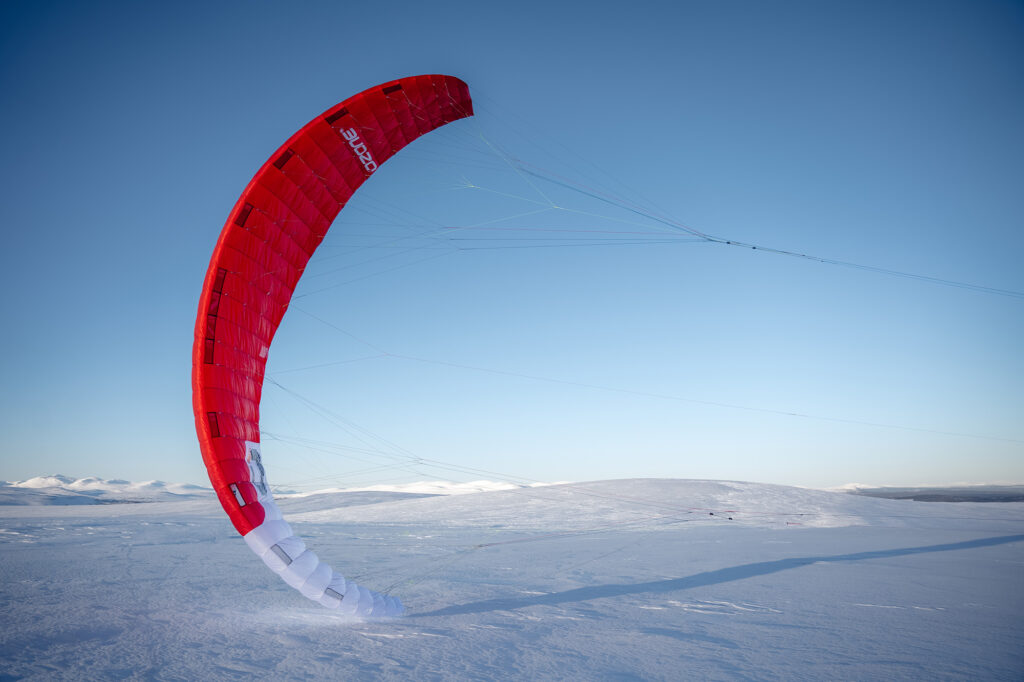
The EXP V1 has been developed for expert and expedition snowkiters as the ultimate high-level open cell foil kite

Find a dealer
Estimated current manufacturing time: 12 days

Ultralight

  • Designed for expert and expedition riders
  • Industry leading Internal Re-Ride Release system
  • Ultra Light materials
  • Ultimate high level open cell foil kite

Self Land & Stay Safe

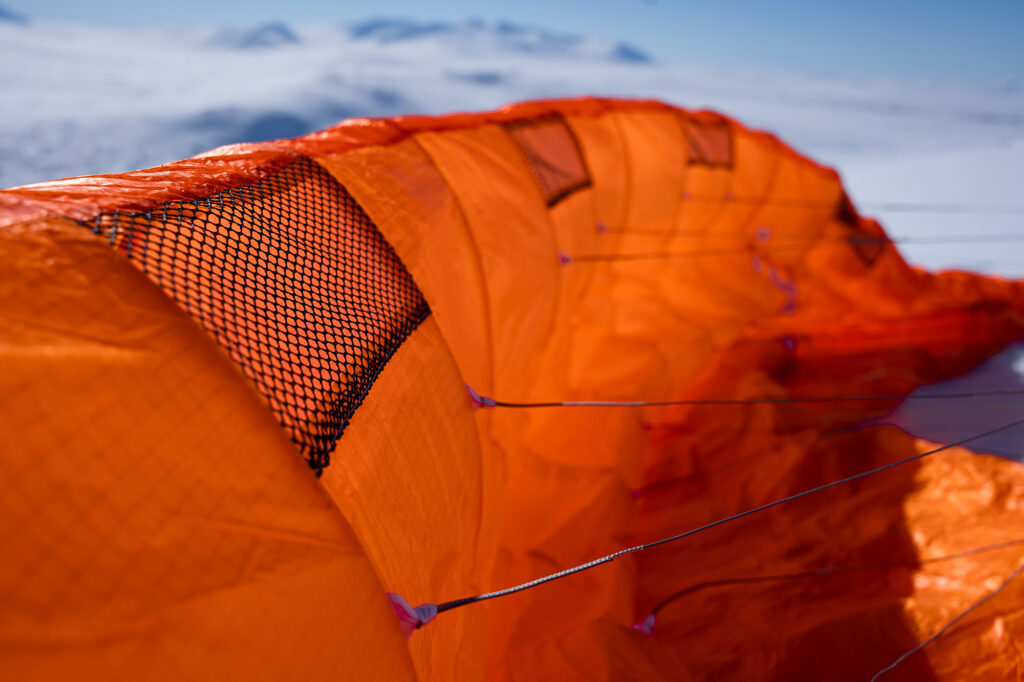
Designed with a partially open cell leading edge, the EXP V1 also features our revolutionary Internal Re-Ride Release system, offering the crucial ability to safely self-land a kite in extreme conditions while adventuring high in the mountains, or over long distances on the snow.

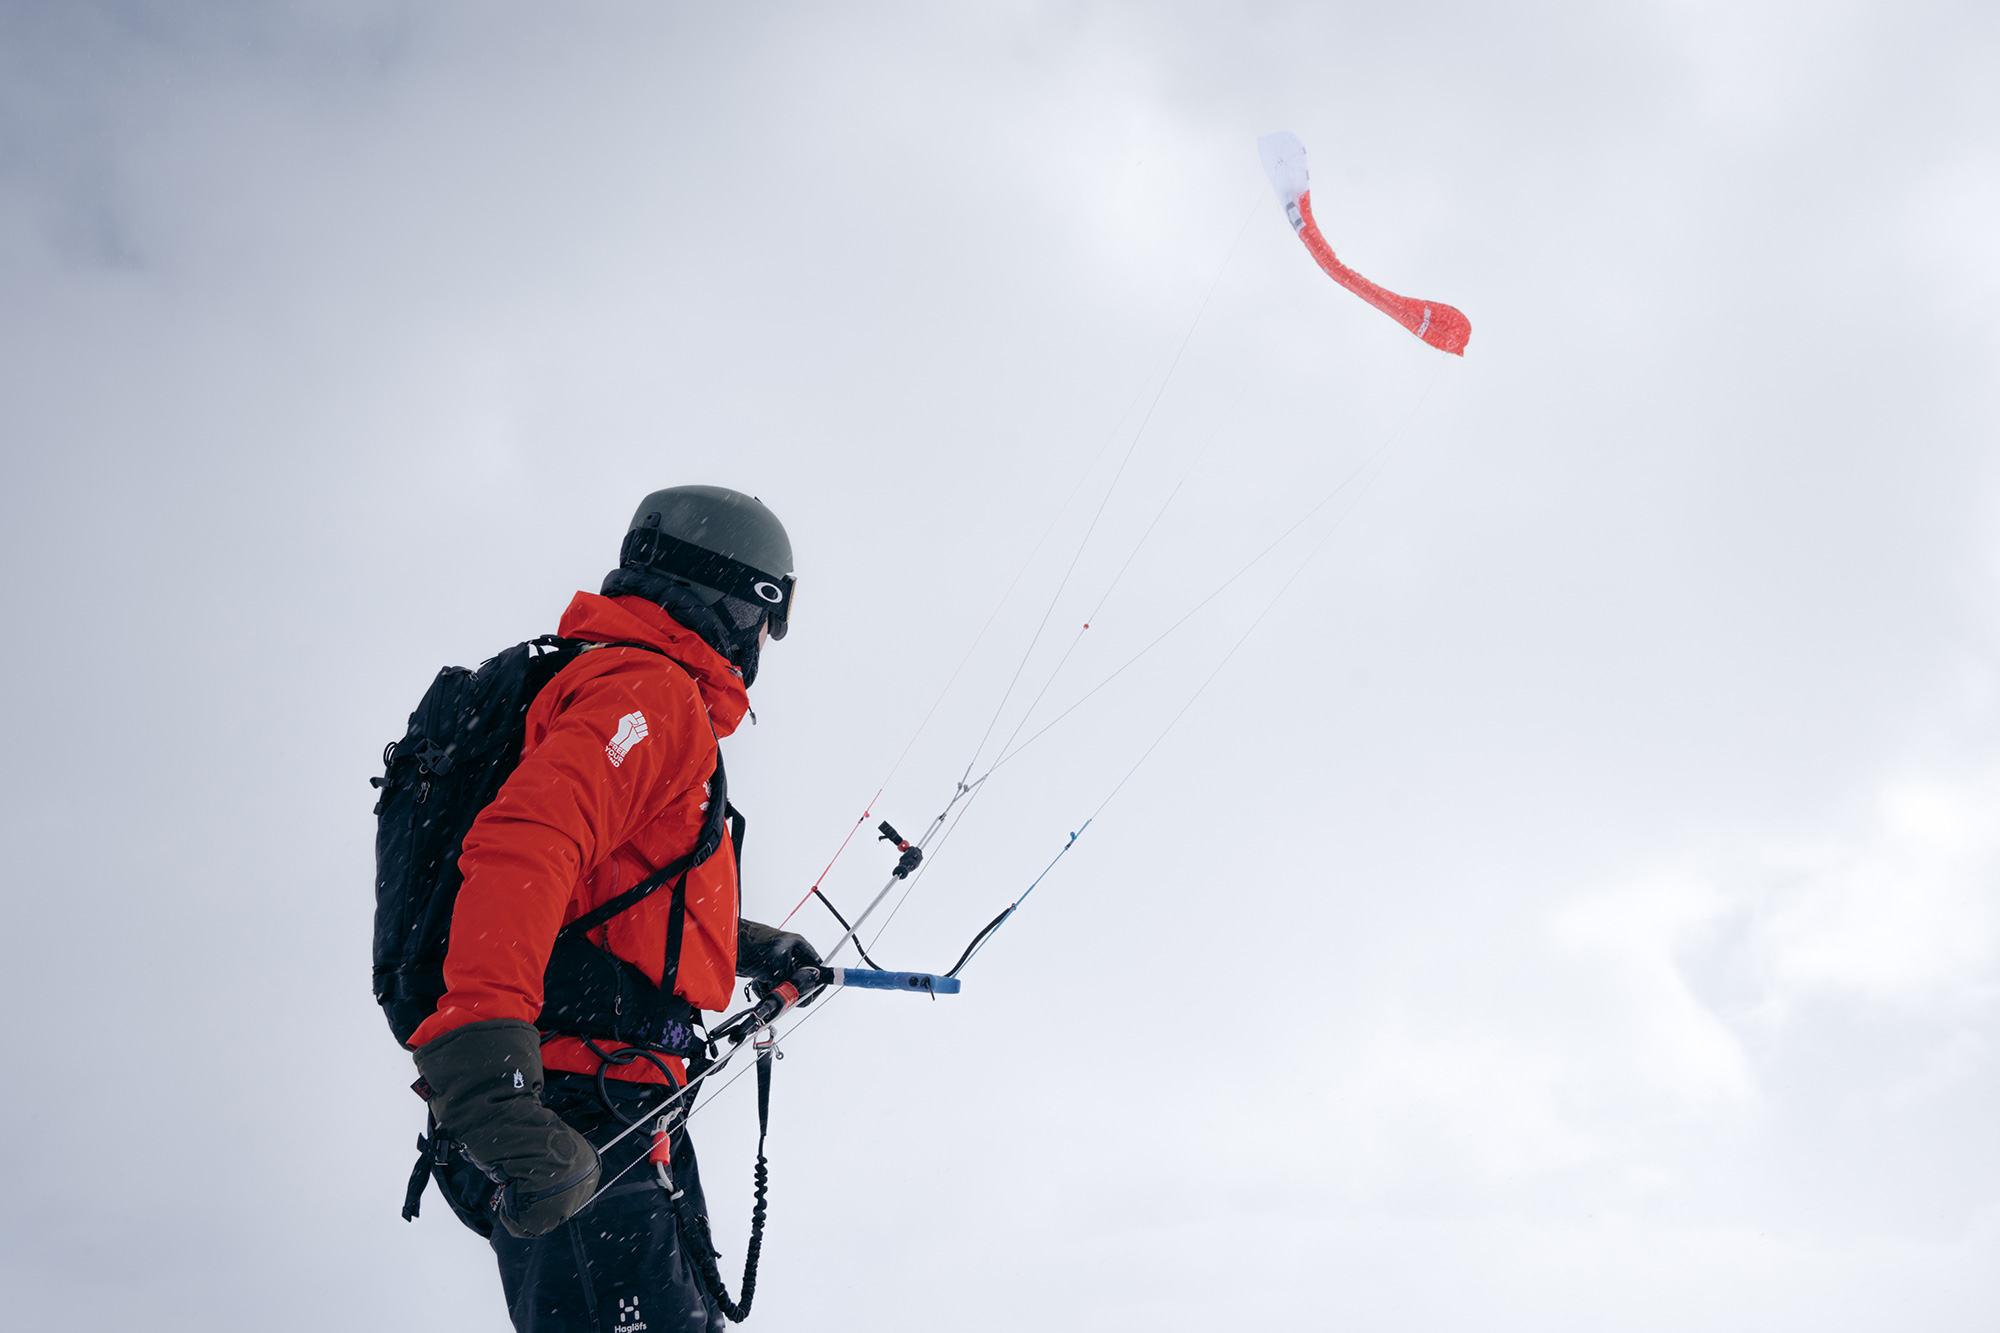
Using the invaluable feedback of our experienced adventure snowkite team, Jonas Lengwiler (winner of Vake and Ragnarok), and Greenland expedition specialist and guide, Håkon Mæland, we developed the EXP V1 to be the dream tool for truly unrestricted snowkite adventures.

Born Light, Genetically Strong

We not only designed the EXP V1 with the best material combination to be as light as possible, but also to ensure excellent durability.

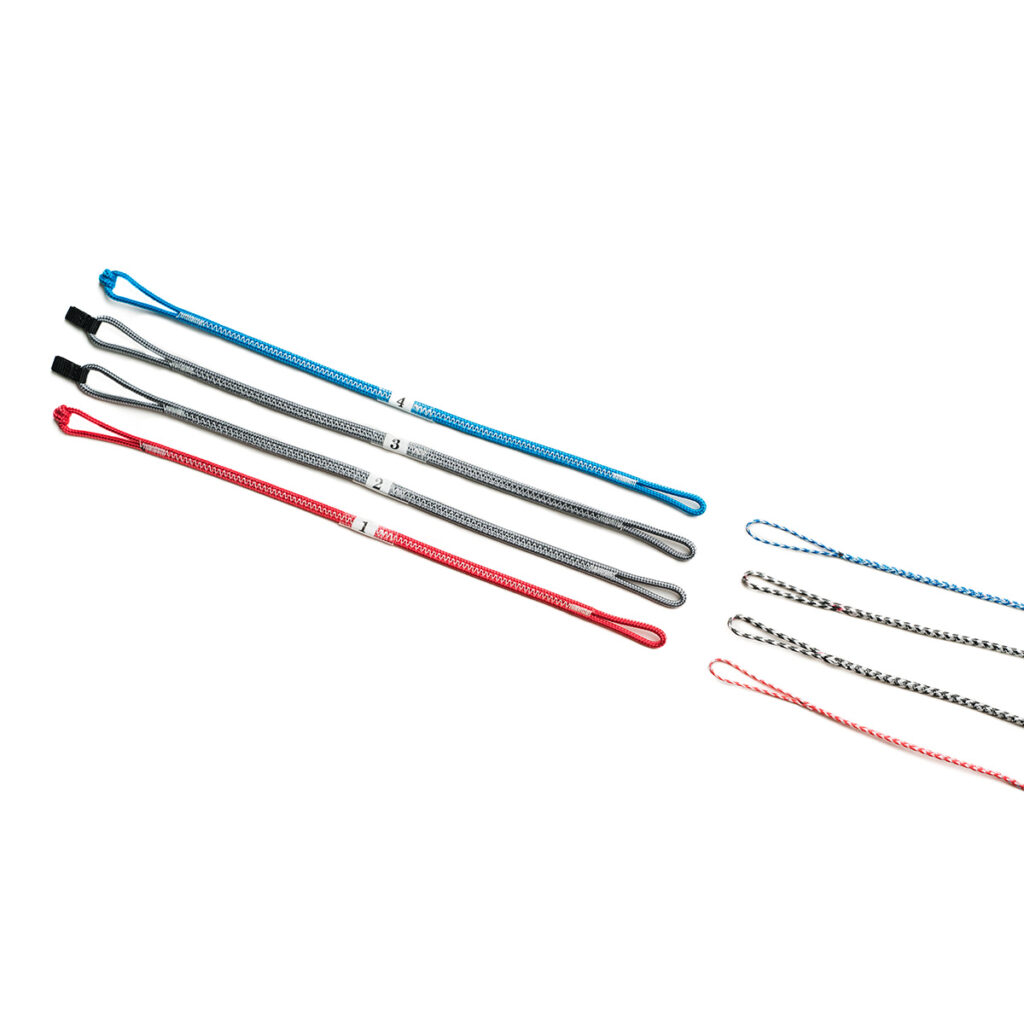
Practical performance was also a key priority, so we’ve also made sure that the bridle lines are easy to sort and handle, even in freezing temperatures.

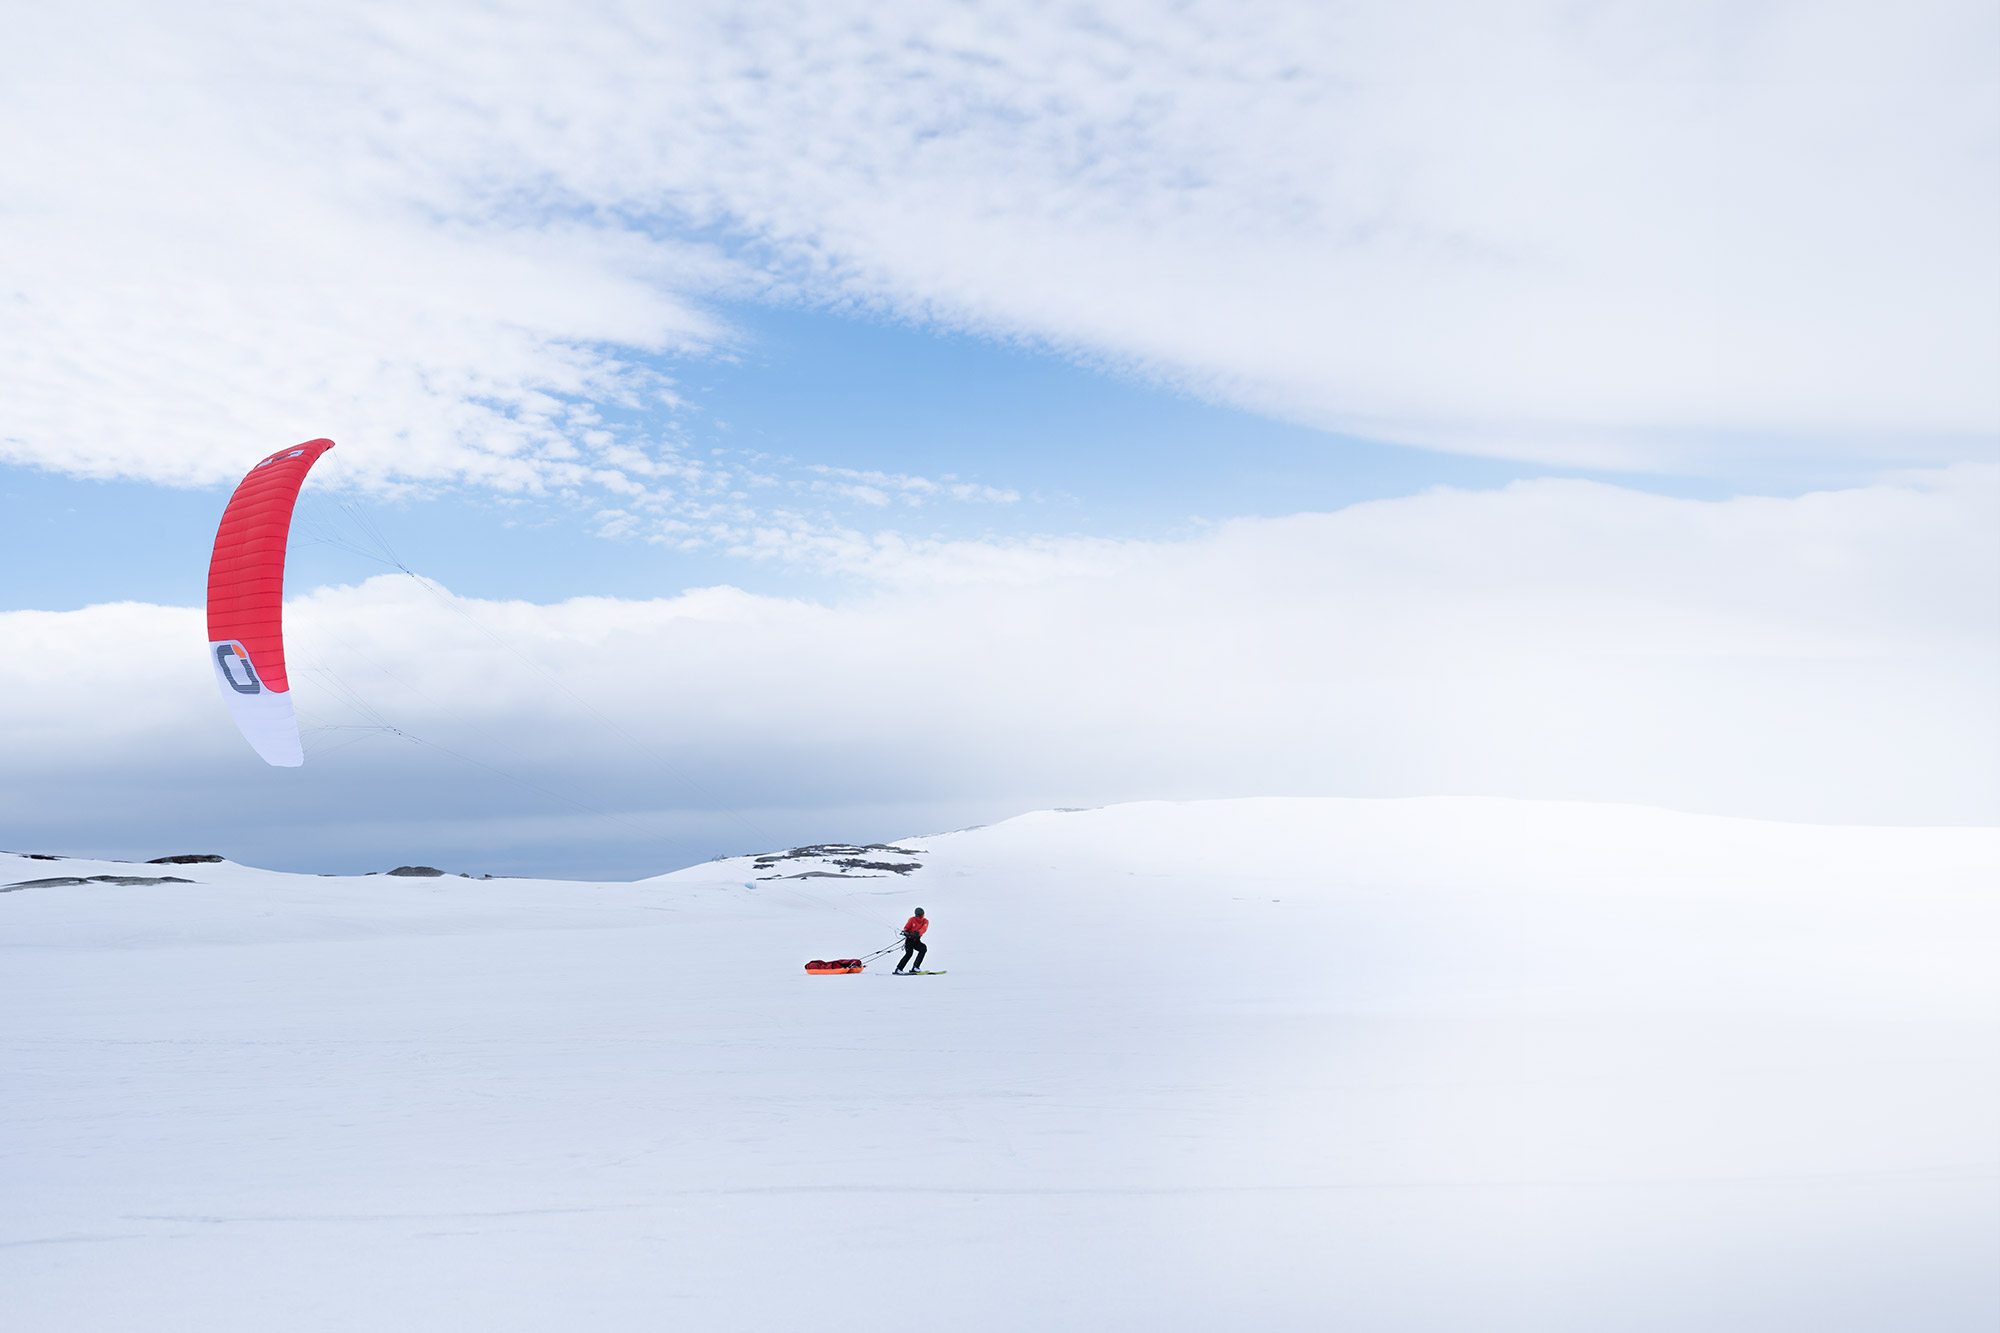
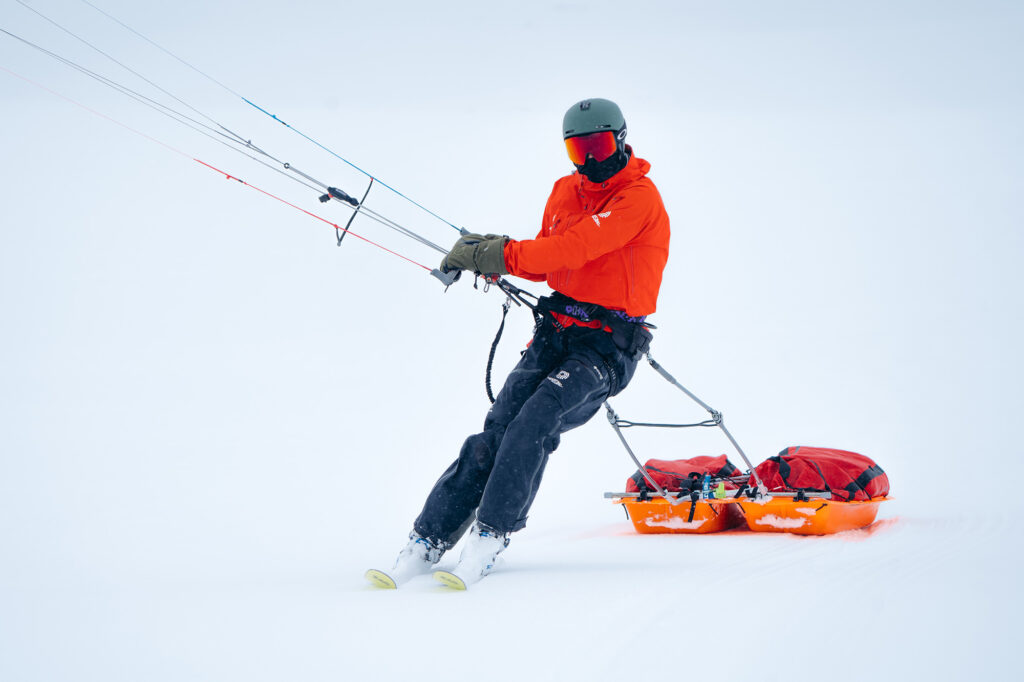
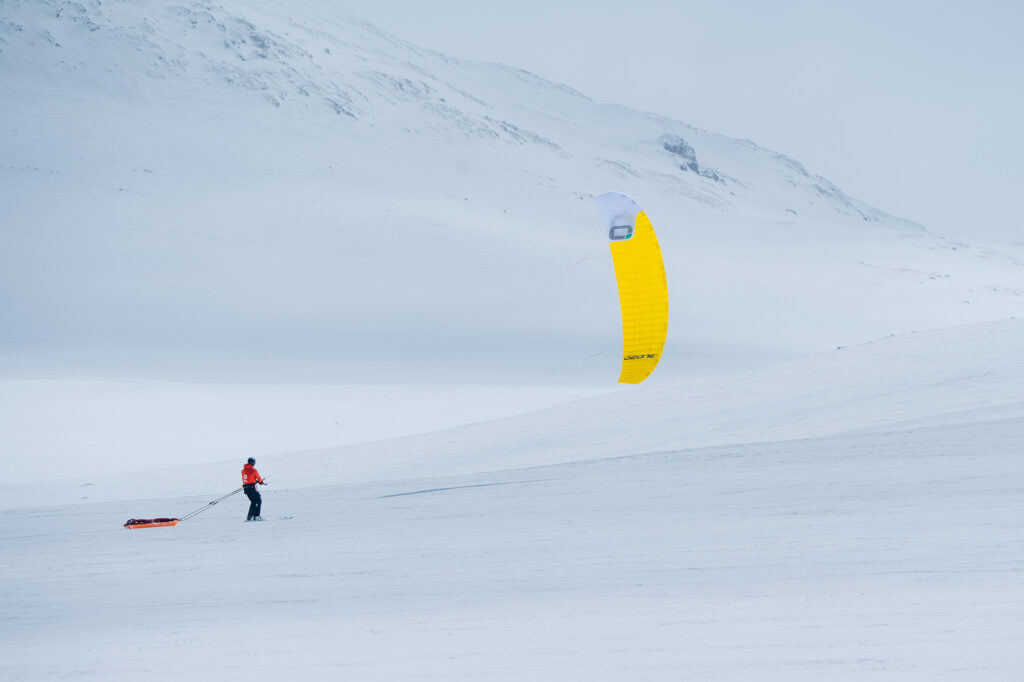
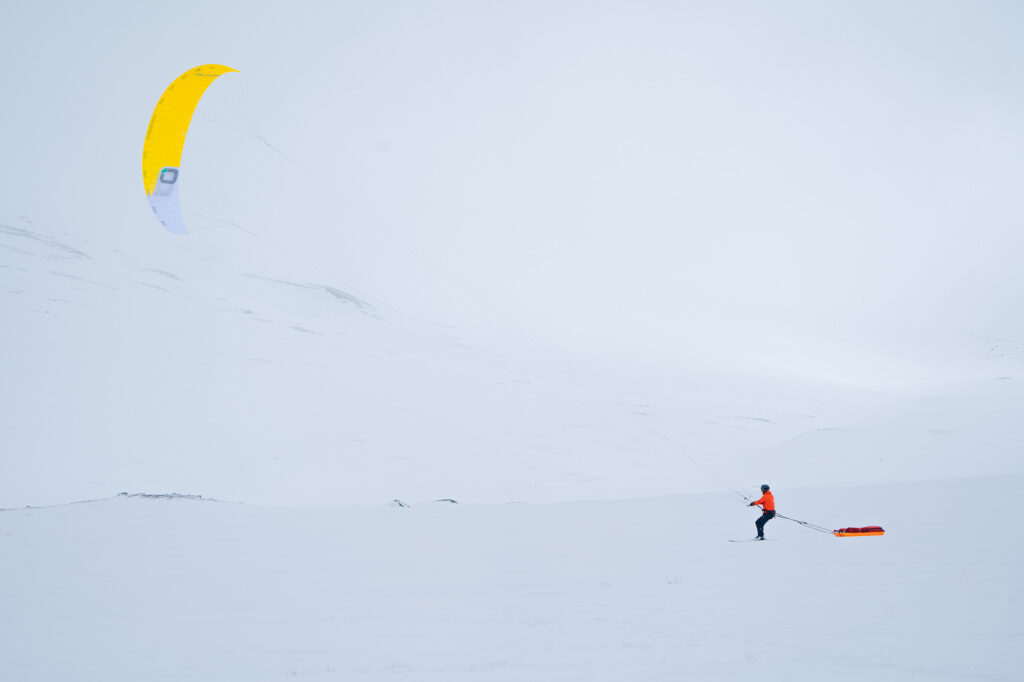
When conditions become extreme, be sure that the EXP V1 can handle whatever comes your way, even when pulling heavily loaded sleds.

LOW WEIGHT, HIGHLY TECHNICAL PERFORMANCE

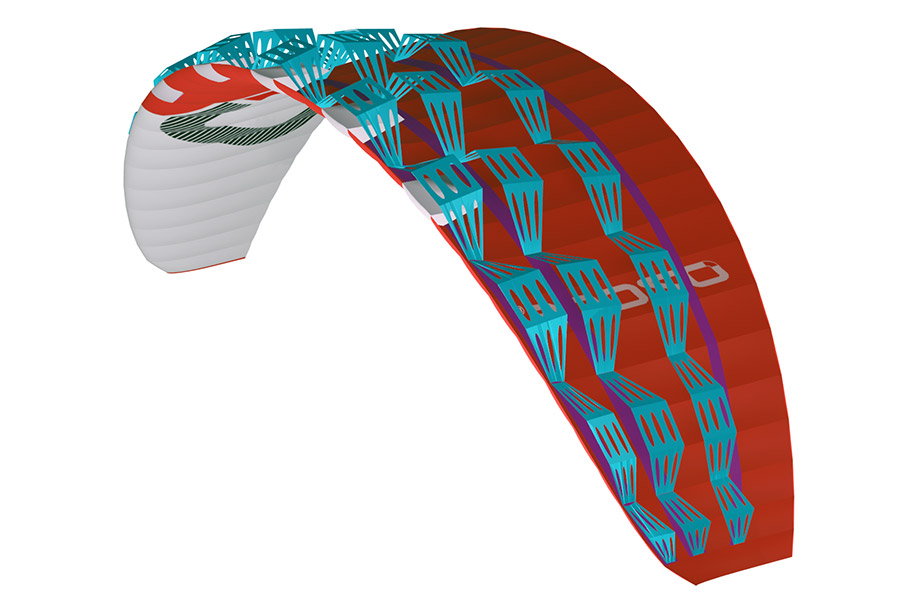
The EXP has a light weight double surface design that is mid high-aspect-ratio and combines 38 – 44 cells – depending on the kite size.

The high number of cells means the ribs are positioned closer together, producing an ultra smooth surface. This corresponds to reduced drag and a clean profile, resulting in superior flight efficiency.

TAKE THE ADVENTURE ON

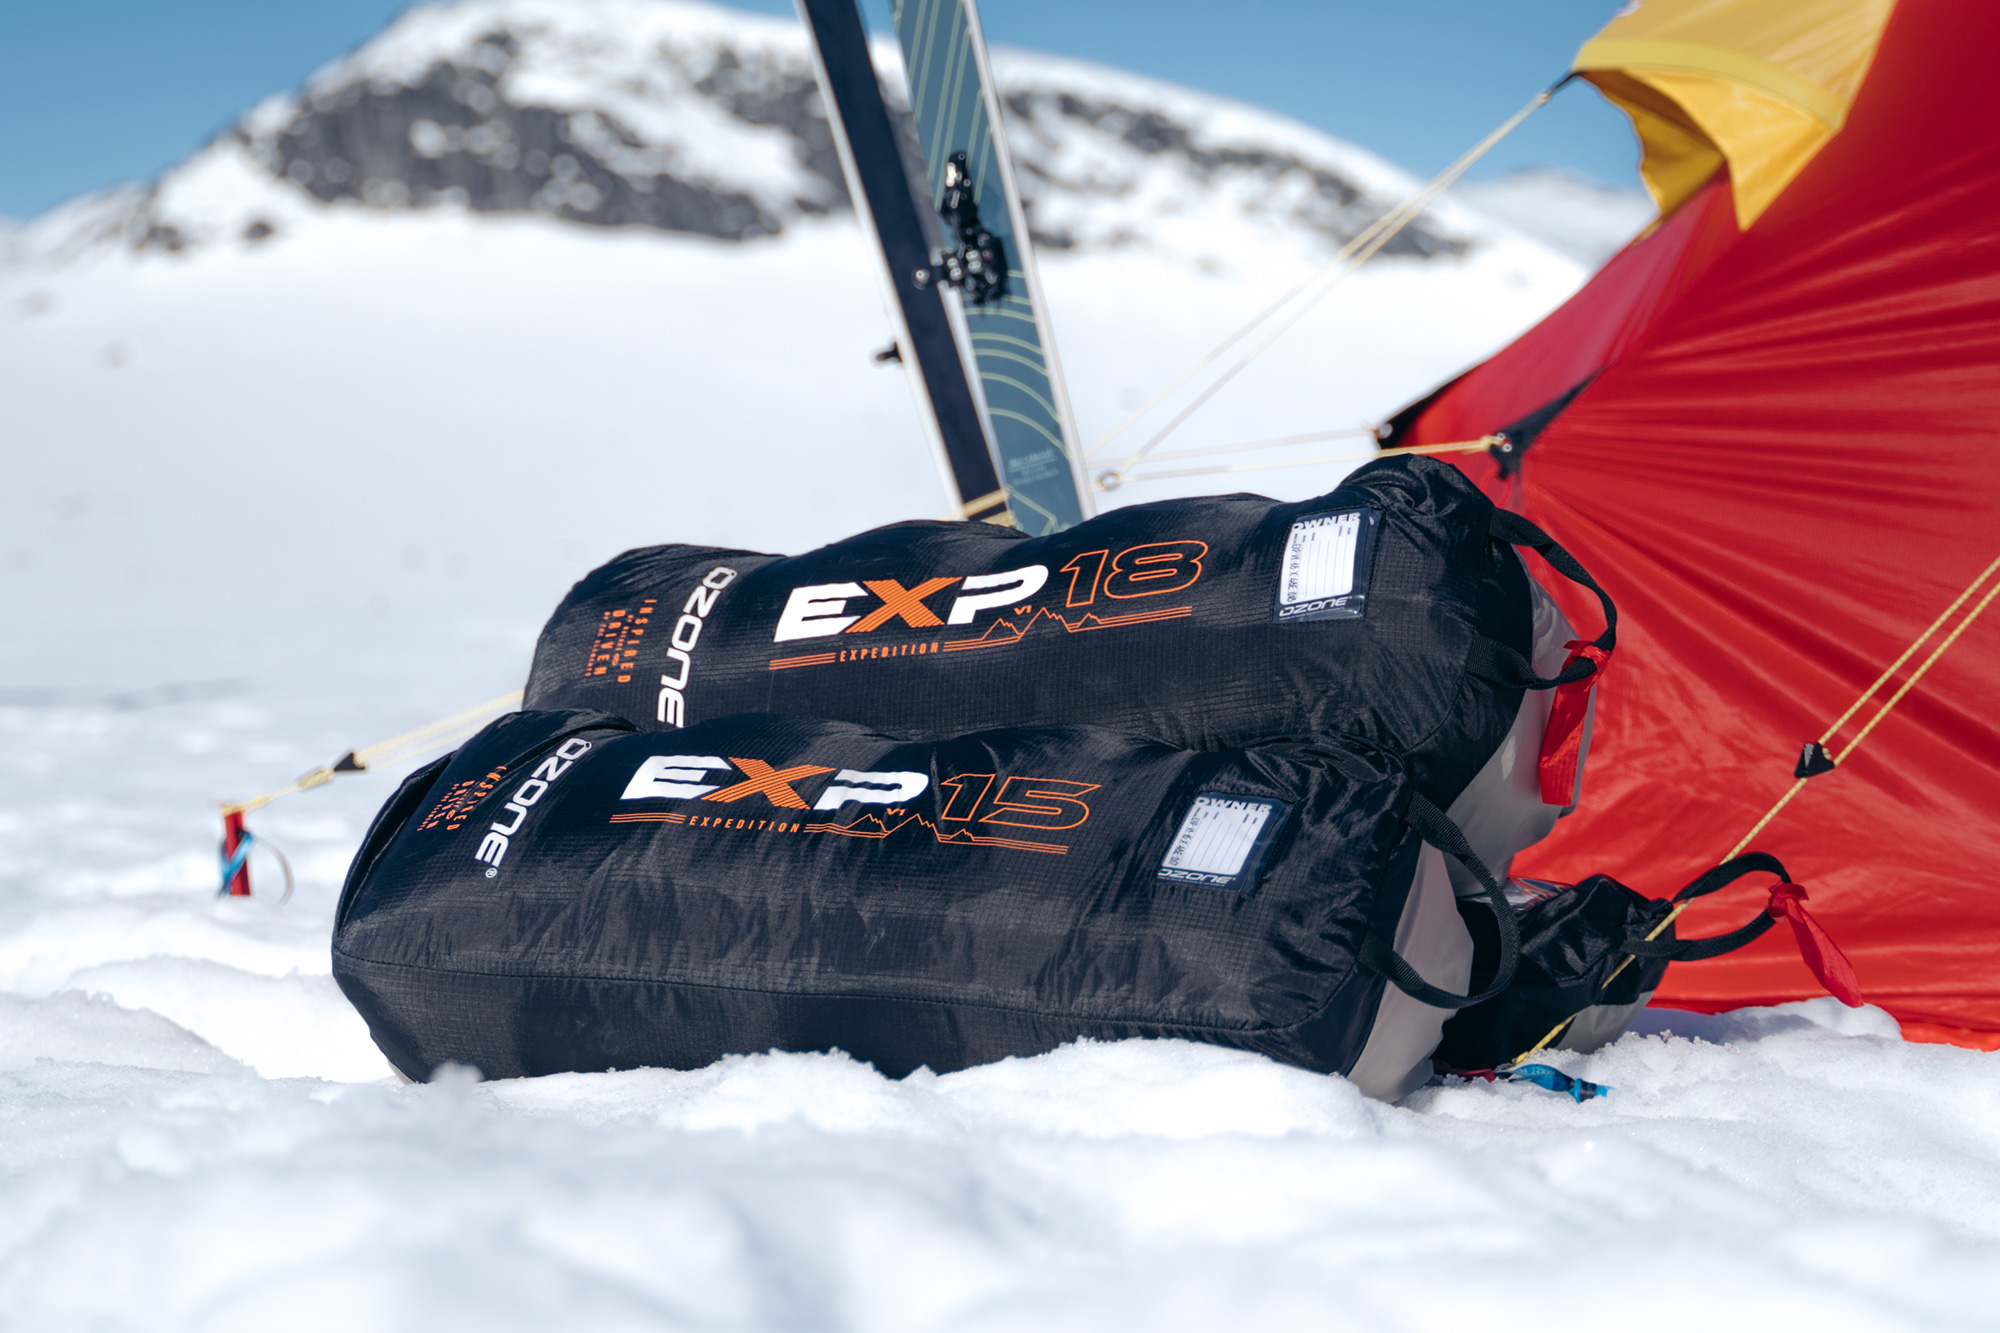
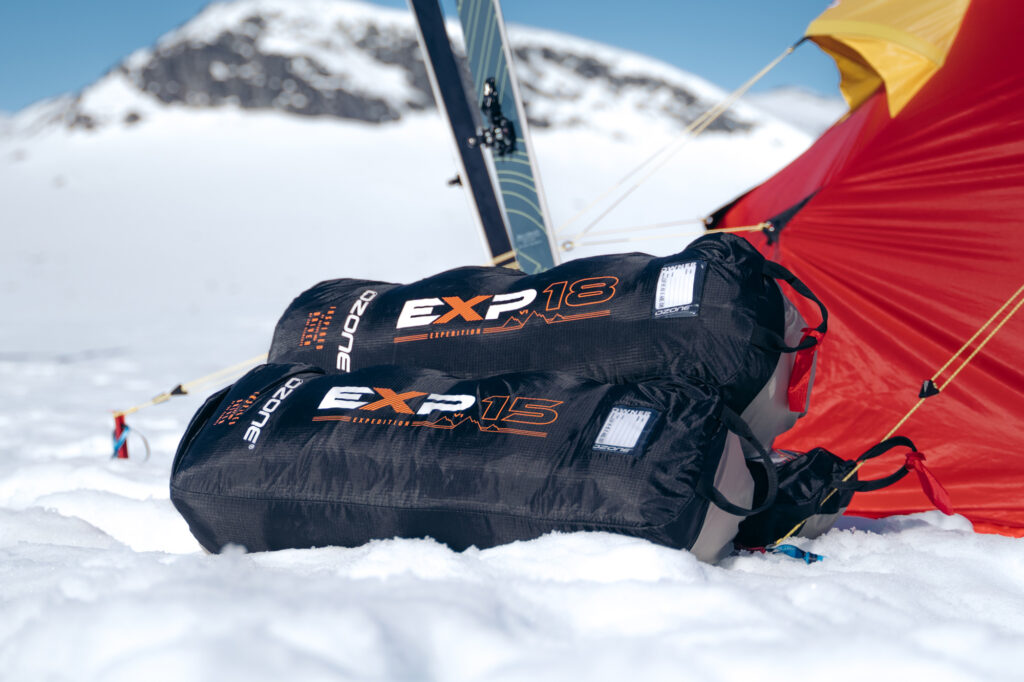
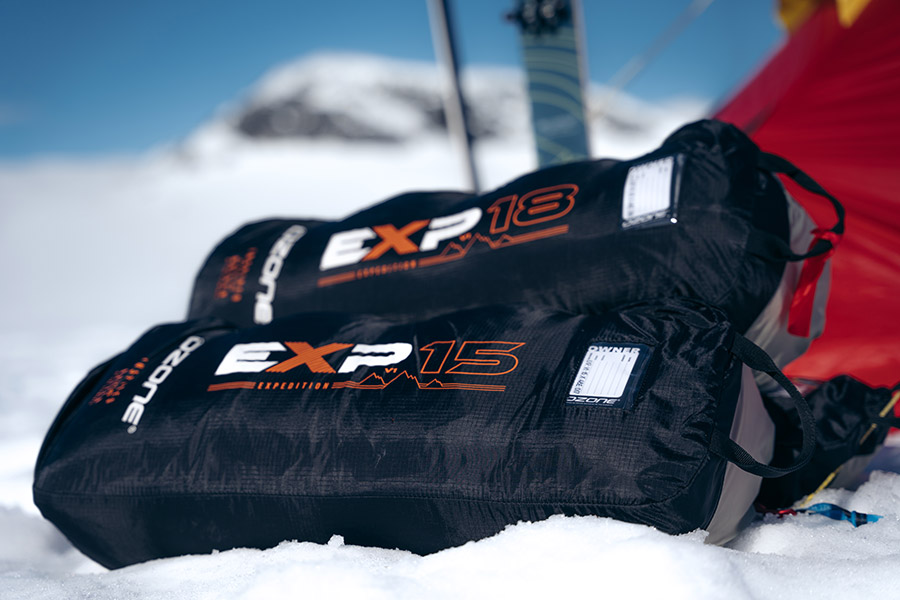
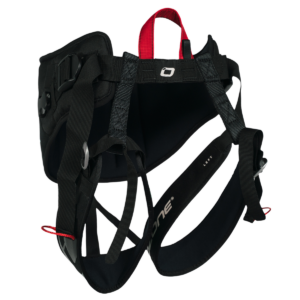
The EXP V1 ships with a lightweight Compressor Bag to keep the kite packed and secured as small as possible. We recommend adding the Technical Mountain Bag to carry multiple kites and all your essential gear on longer backcountry missions and expeditions.

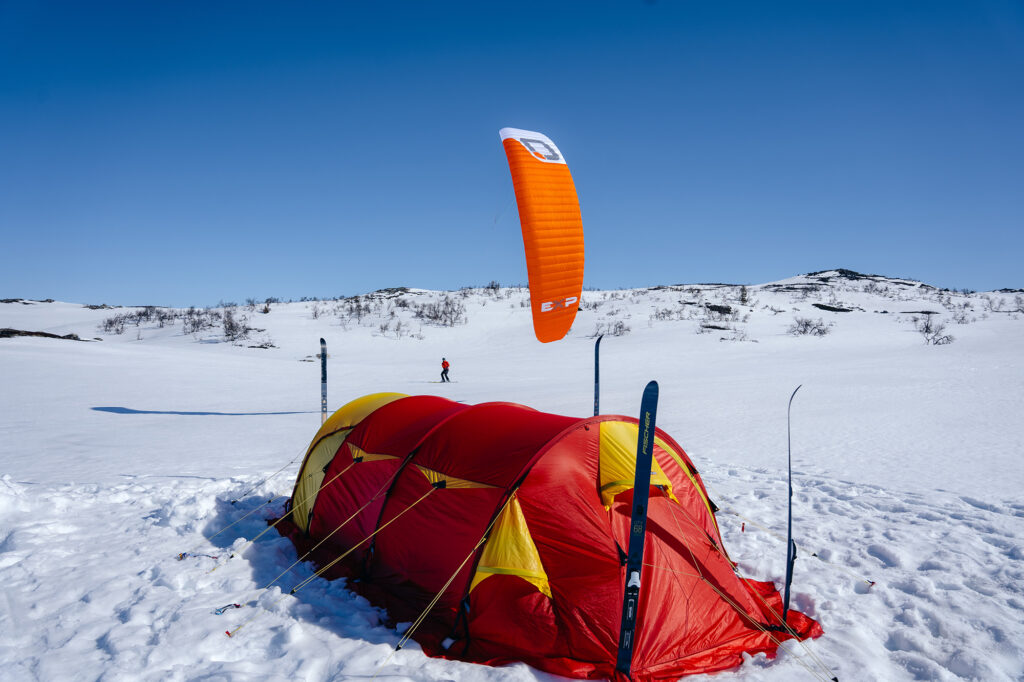
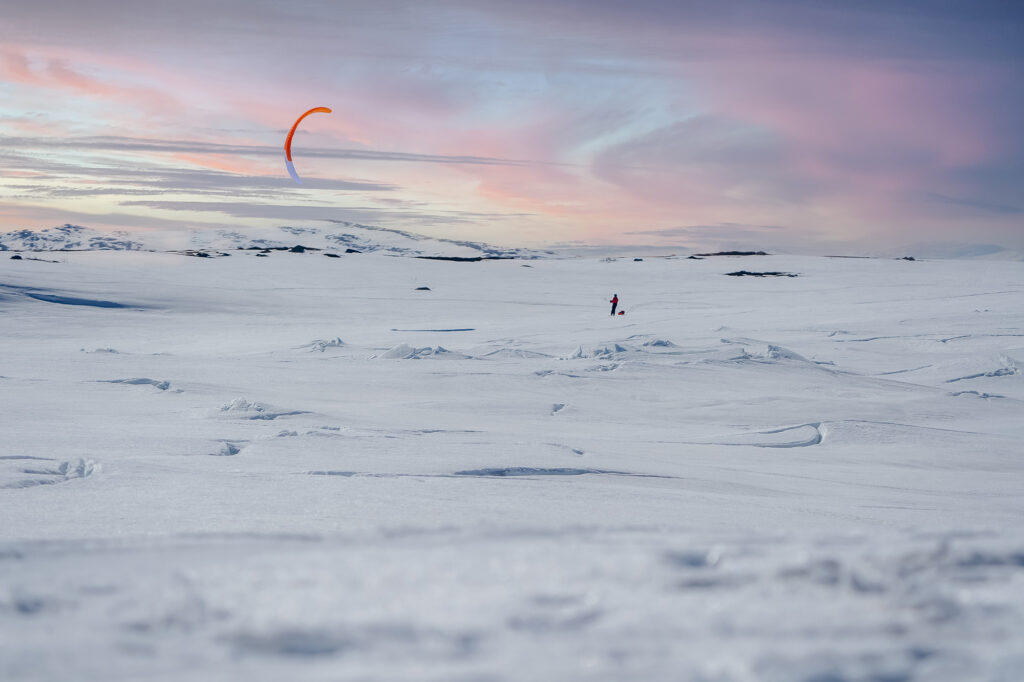
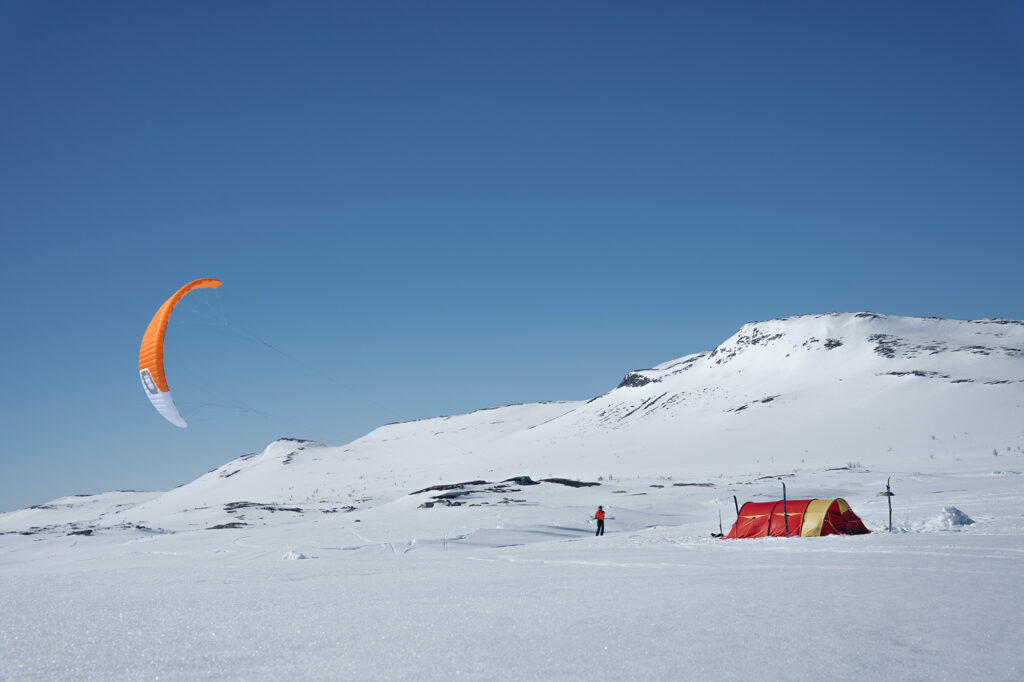
Whether you dream of a short expedition to free your mind, or to navigate extreme conditions and reach the furthest snow capped corners of the world, the EXP V1 is your ultimate, no-nonsense, adventure partner.

Revolutionary Internal Re-Ride Release System

Our unique Internal Re-Ride Release system is the market leading snowkite release and landing system. It has made mountain climbing and packing so much more enjoyable, safe, easy and quick for the user.

When activated the kite de-powers instantly without tangling, and will sit on the ground ready to re-launch as soon as you’re ready to go again.

Another advantage of our Internal Re-Ride Release system is the land and secure option.

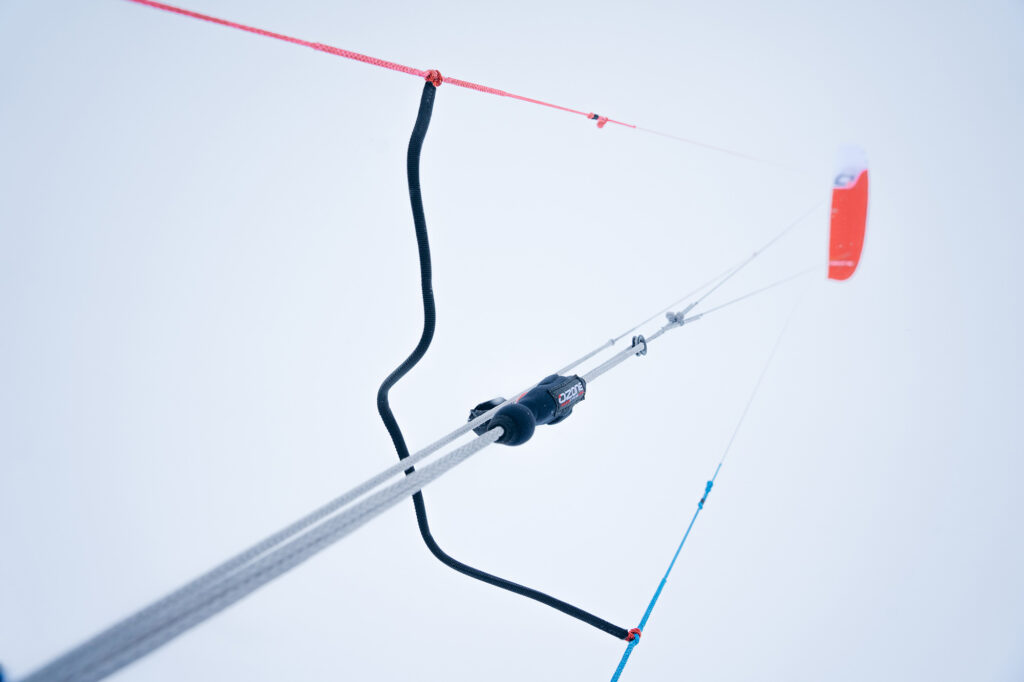
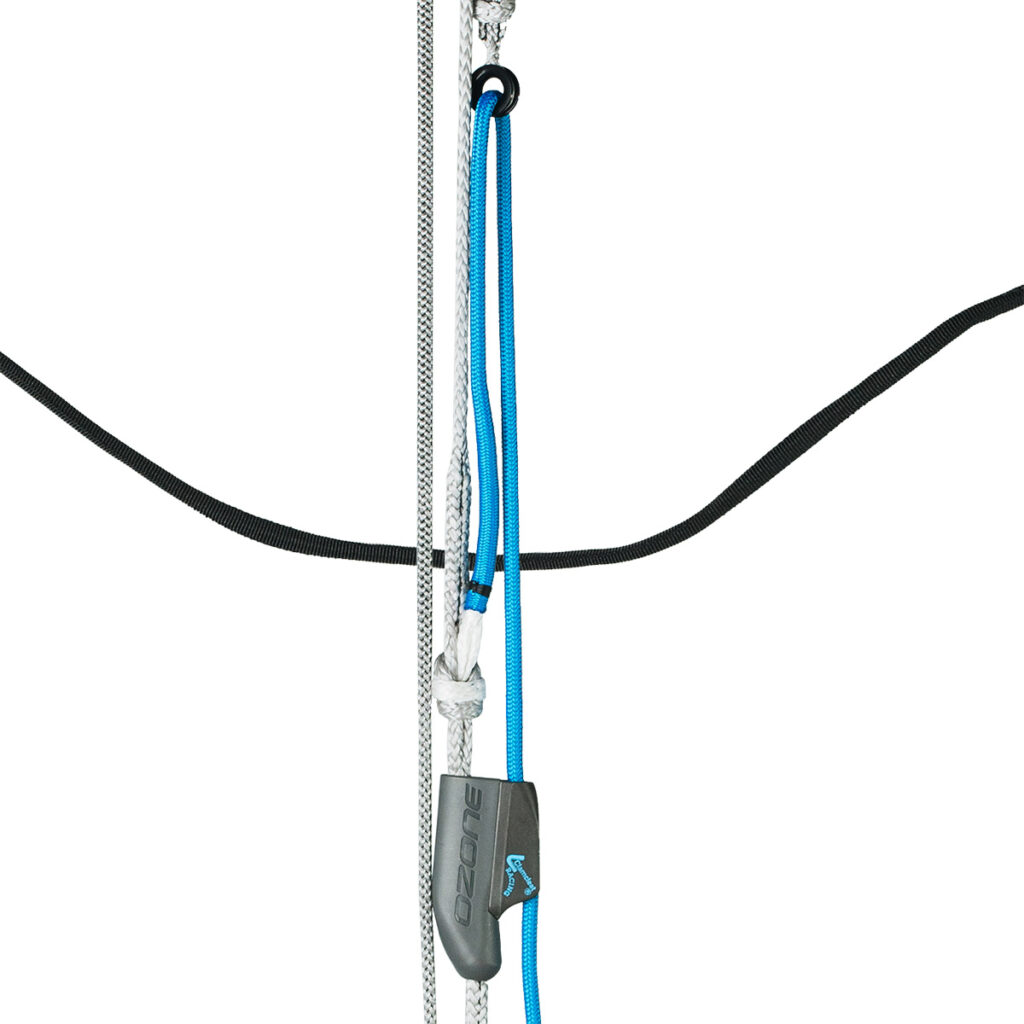
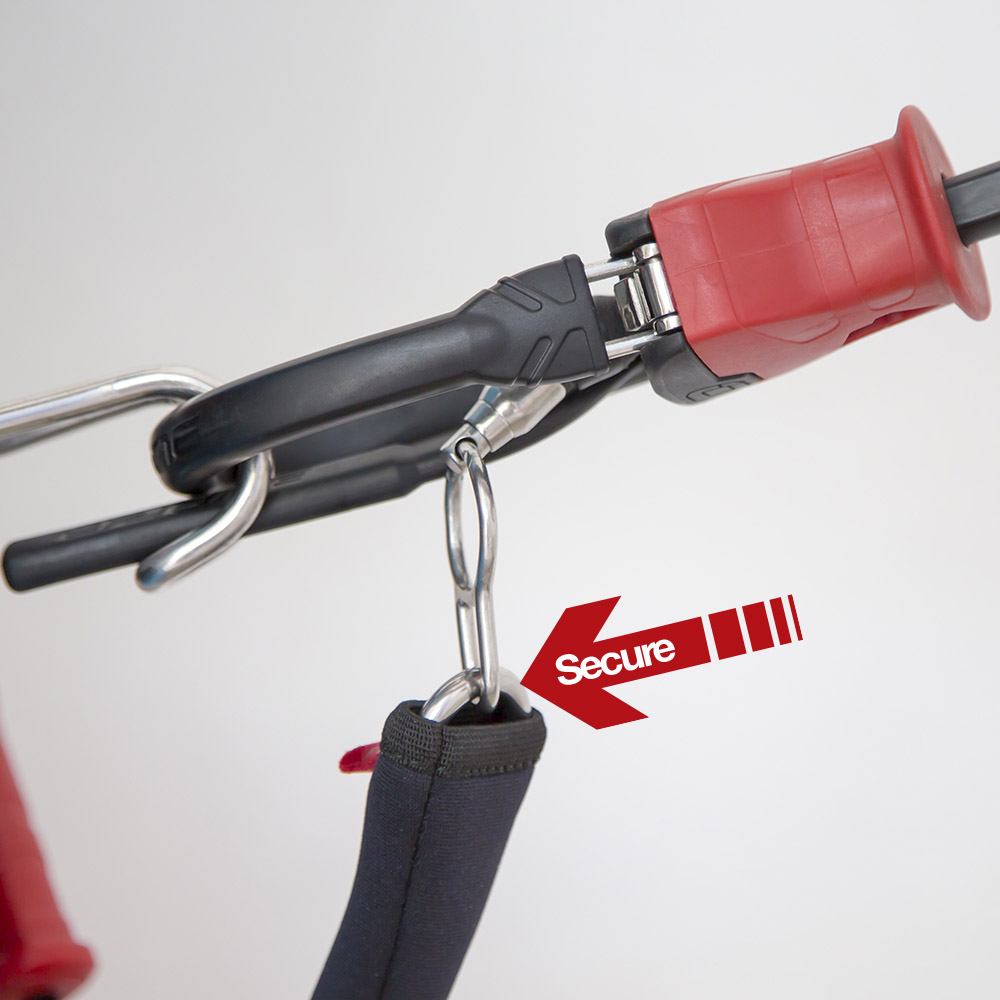
  • To land the kite simply pull the 5th line until you reach the Secure Loop which can be found approx 2m up from the control bar. The kite will stall and fall to the ground without any pull.
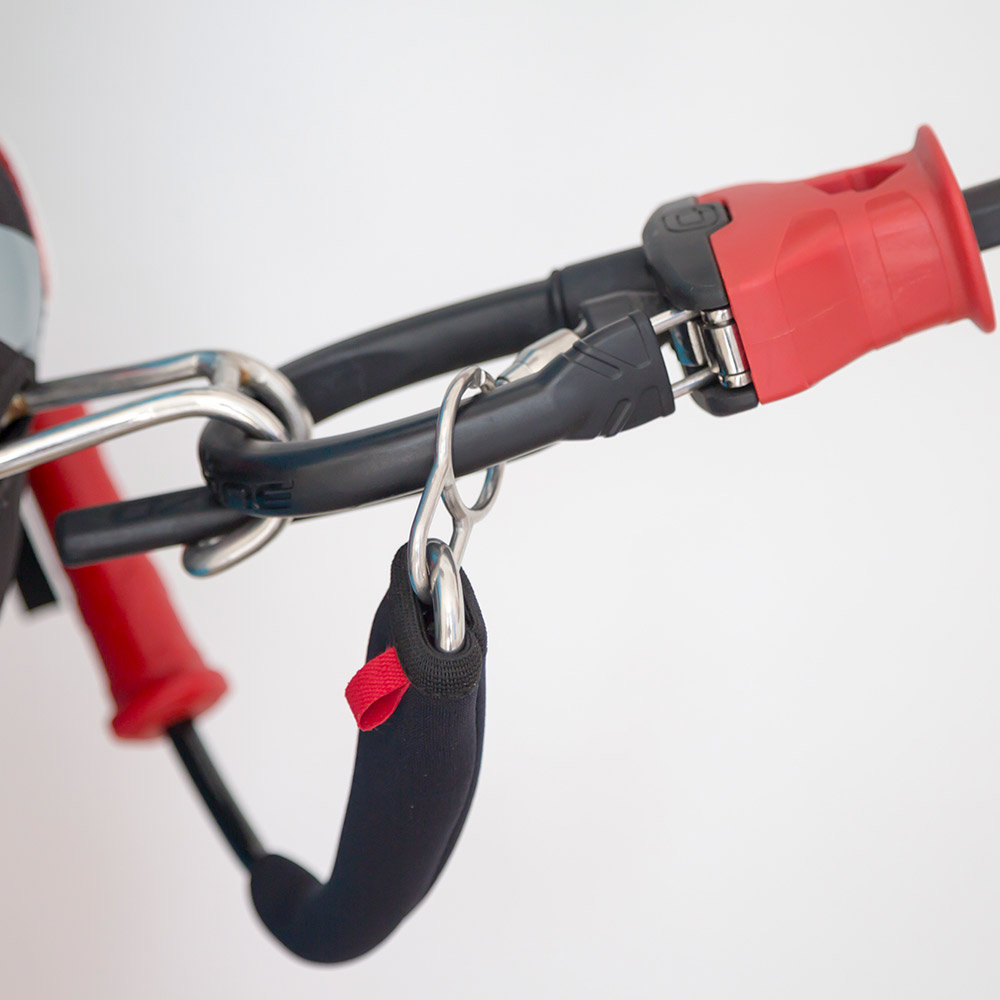
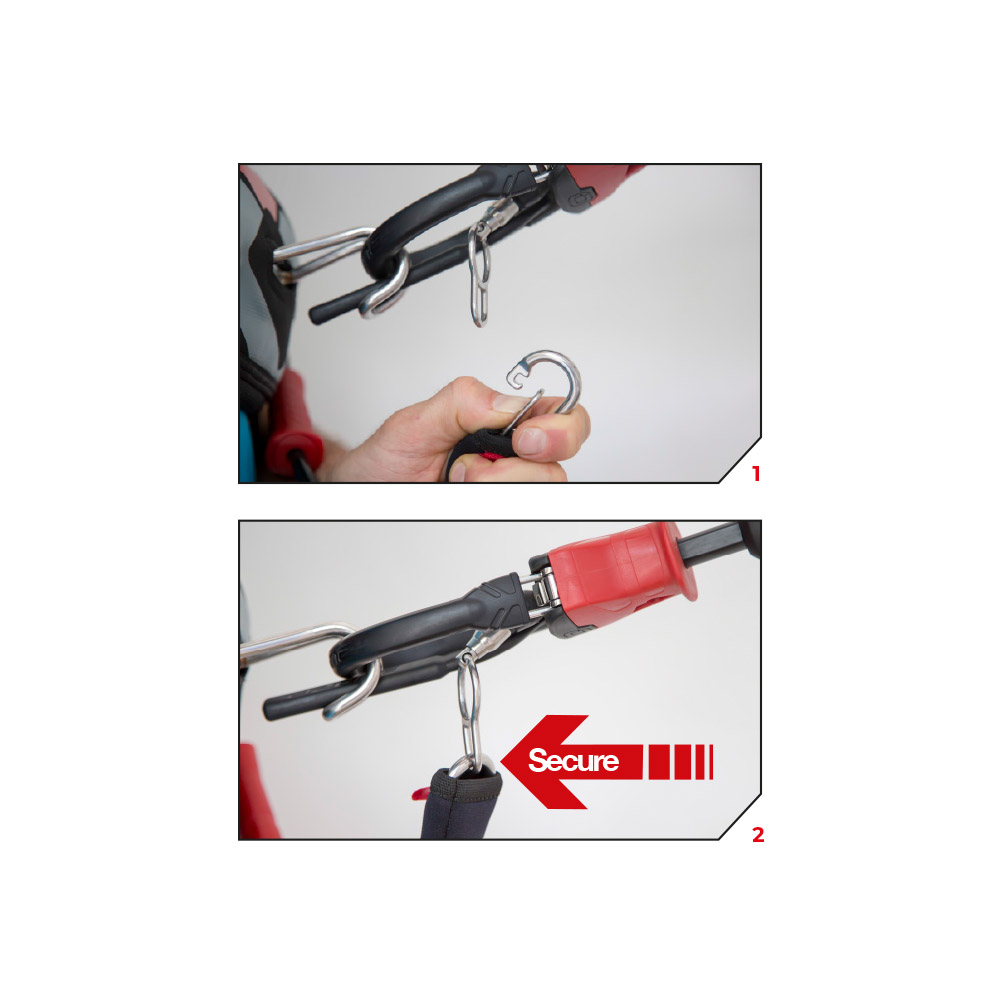
  • Use the Secure Loop in the 5th line to keep the kite on the ground – it can be hooked onto the kite leash clip, or slipped over the bar end. This makes landing and packing your kite safe and easy even in high winds.
  • The Brake Handle that spans between the back leader lines on the control system makes reverse launch and light wind landing easy.

IMPORTANT NOTES:

  • The EXP V1 materials have been used extensively on our Ultra Light kites and paragliders since 2011. The kite must be carefully looked after. It needs an experienced rider who knows how to keep the kite up in the air and how to handle it gently on the ground.
  • Always use a Brake Handle when flying a foil kite. This is the handle/line that spans between the back leader lines on your control system. This easy-to-grab handle makes inflation, self-landing and reverse launch easier.
  • The EXP V1 can be used with either the Contact Snow or Snow EXP control systems. It should not be used with a 4-Line control system as it would not benefit from the Internal Re-Ride Release system.
  • The EXP V1 is made to order. Contact your local shop/distributor for production lead times.
  • The Speed system and Bridle lines should be regularly checked and maintained in the correct trim or the kite will not perform as designed. If they are worn or not to factory specification (+ or – 15mm) they must be replaced.
Ozone EXP-V1 Expert and Expeditions

Ozone EXP-V1 Expert and Expeditions

Factory Ownership Advantage 

Factory Ownership Advantage 

Ozone uniquely owns its own factory where all kites, wings, boards, hydrofoils, paragliders, speed wings and accessories are made. Guaranteeing hand checked quality control and the finest materials at every step, there are also excellent working conditions for all 1000 employees. 

Designed with OZ-CAD

Designed with OZ-CAD

The future is now. All Ozone kite and wings are designed with our own highly advanced custom built CAD software that we control and modify with each new product design. Allowing for specifically tailored technical developments, our designers can maximise performance while also minimising waste. 

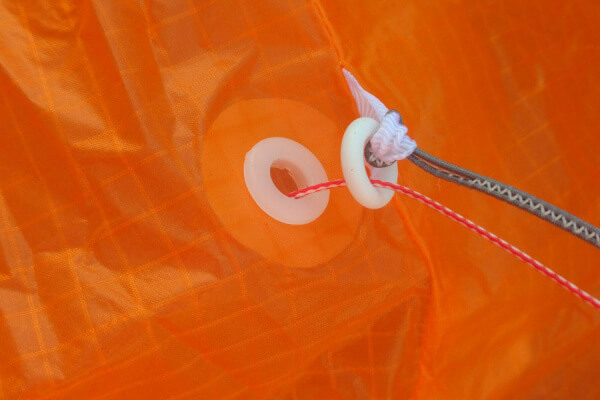
Internal Re-Ride Release System

Internal Re-Ride Release System

Our unique Internal Re-Ride Release System is the market leading Snowkite release and landing system. It has made mountain climbing and packing so much more enjoyable, safe, easy and quick for the user. When activated the kite de-powers instantly without tangling, and will sit on the ground ready to re-launch when you’re ready again.

High Performance Ultra Light Materials

High Performance Ultra Light Materials

High quality Ultra Light materials have been used extensively on our Kites and Paragliders since 2011. Using Ultra Light materials translates to true performance increases - the kite inflates quicker, flies faster and is more reactive even in the lightest breeze.

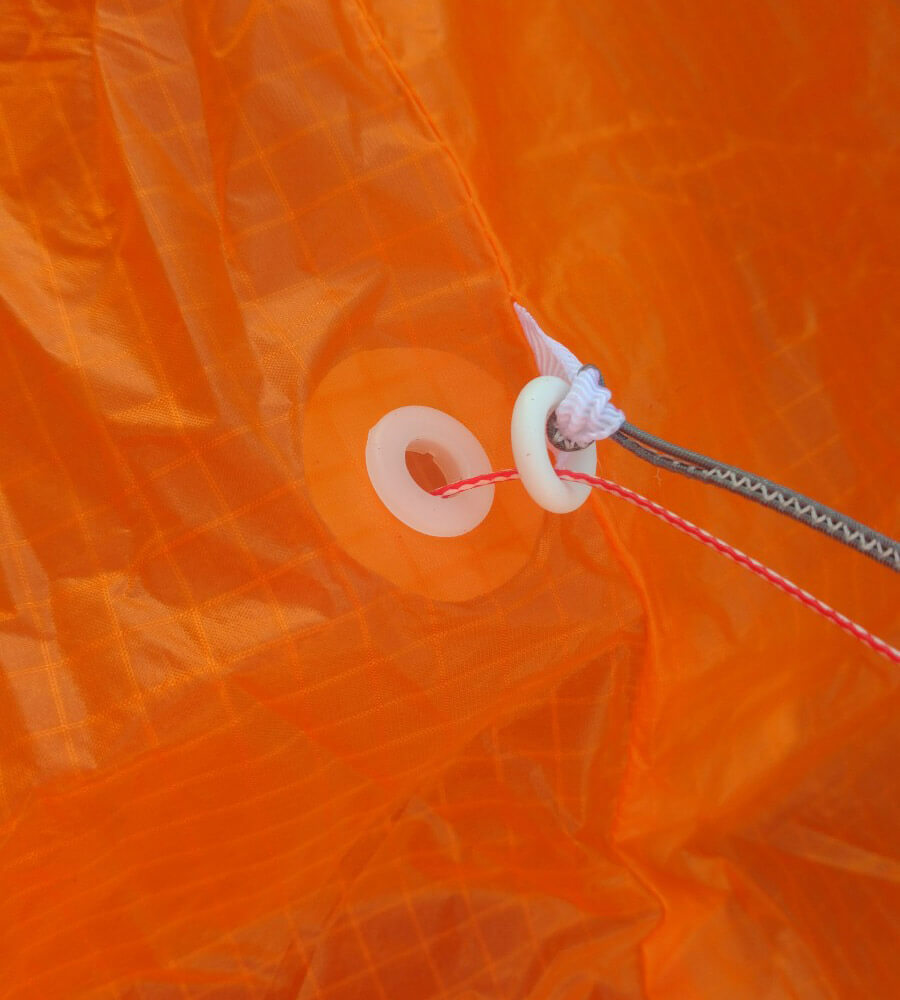
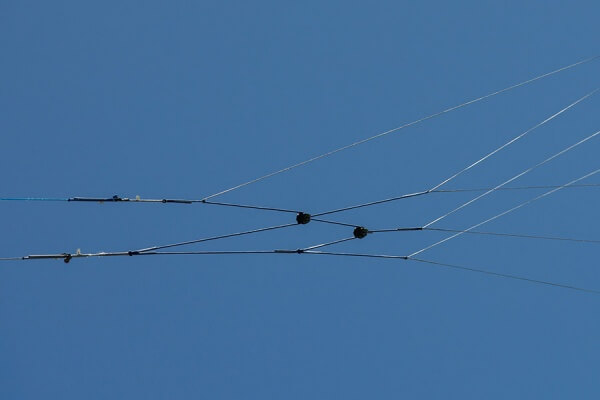
Double pulley Speed System

Double pulley Speed System

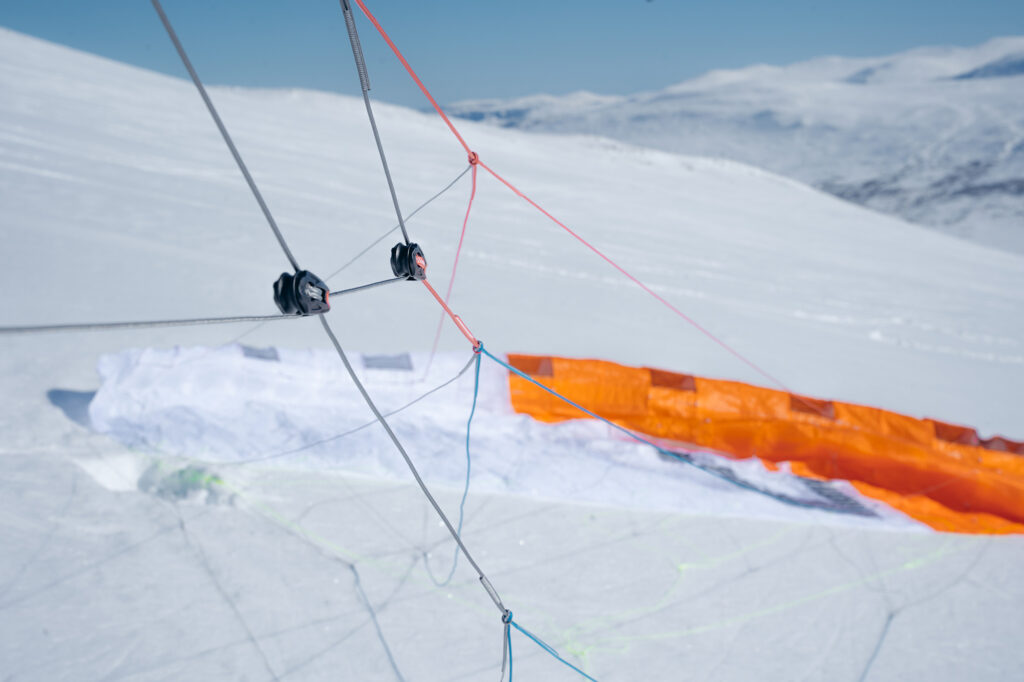
Using high spec low friction Ronstan Orbit pulleys to reduce wear and rider fatigue while improve feeling and performance of the kite.

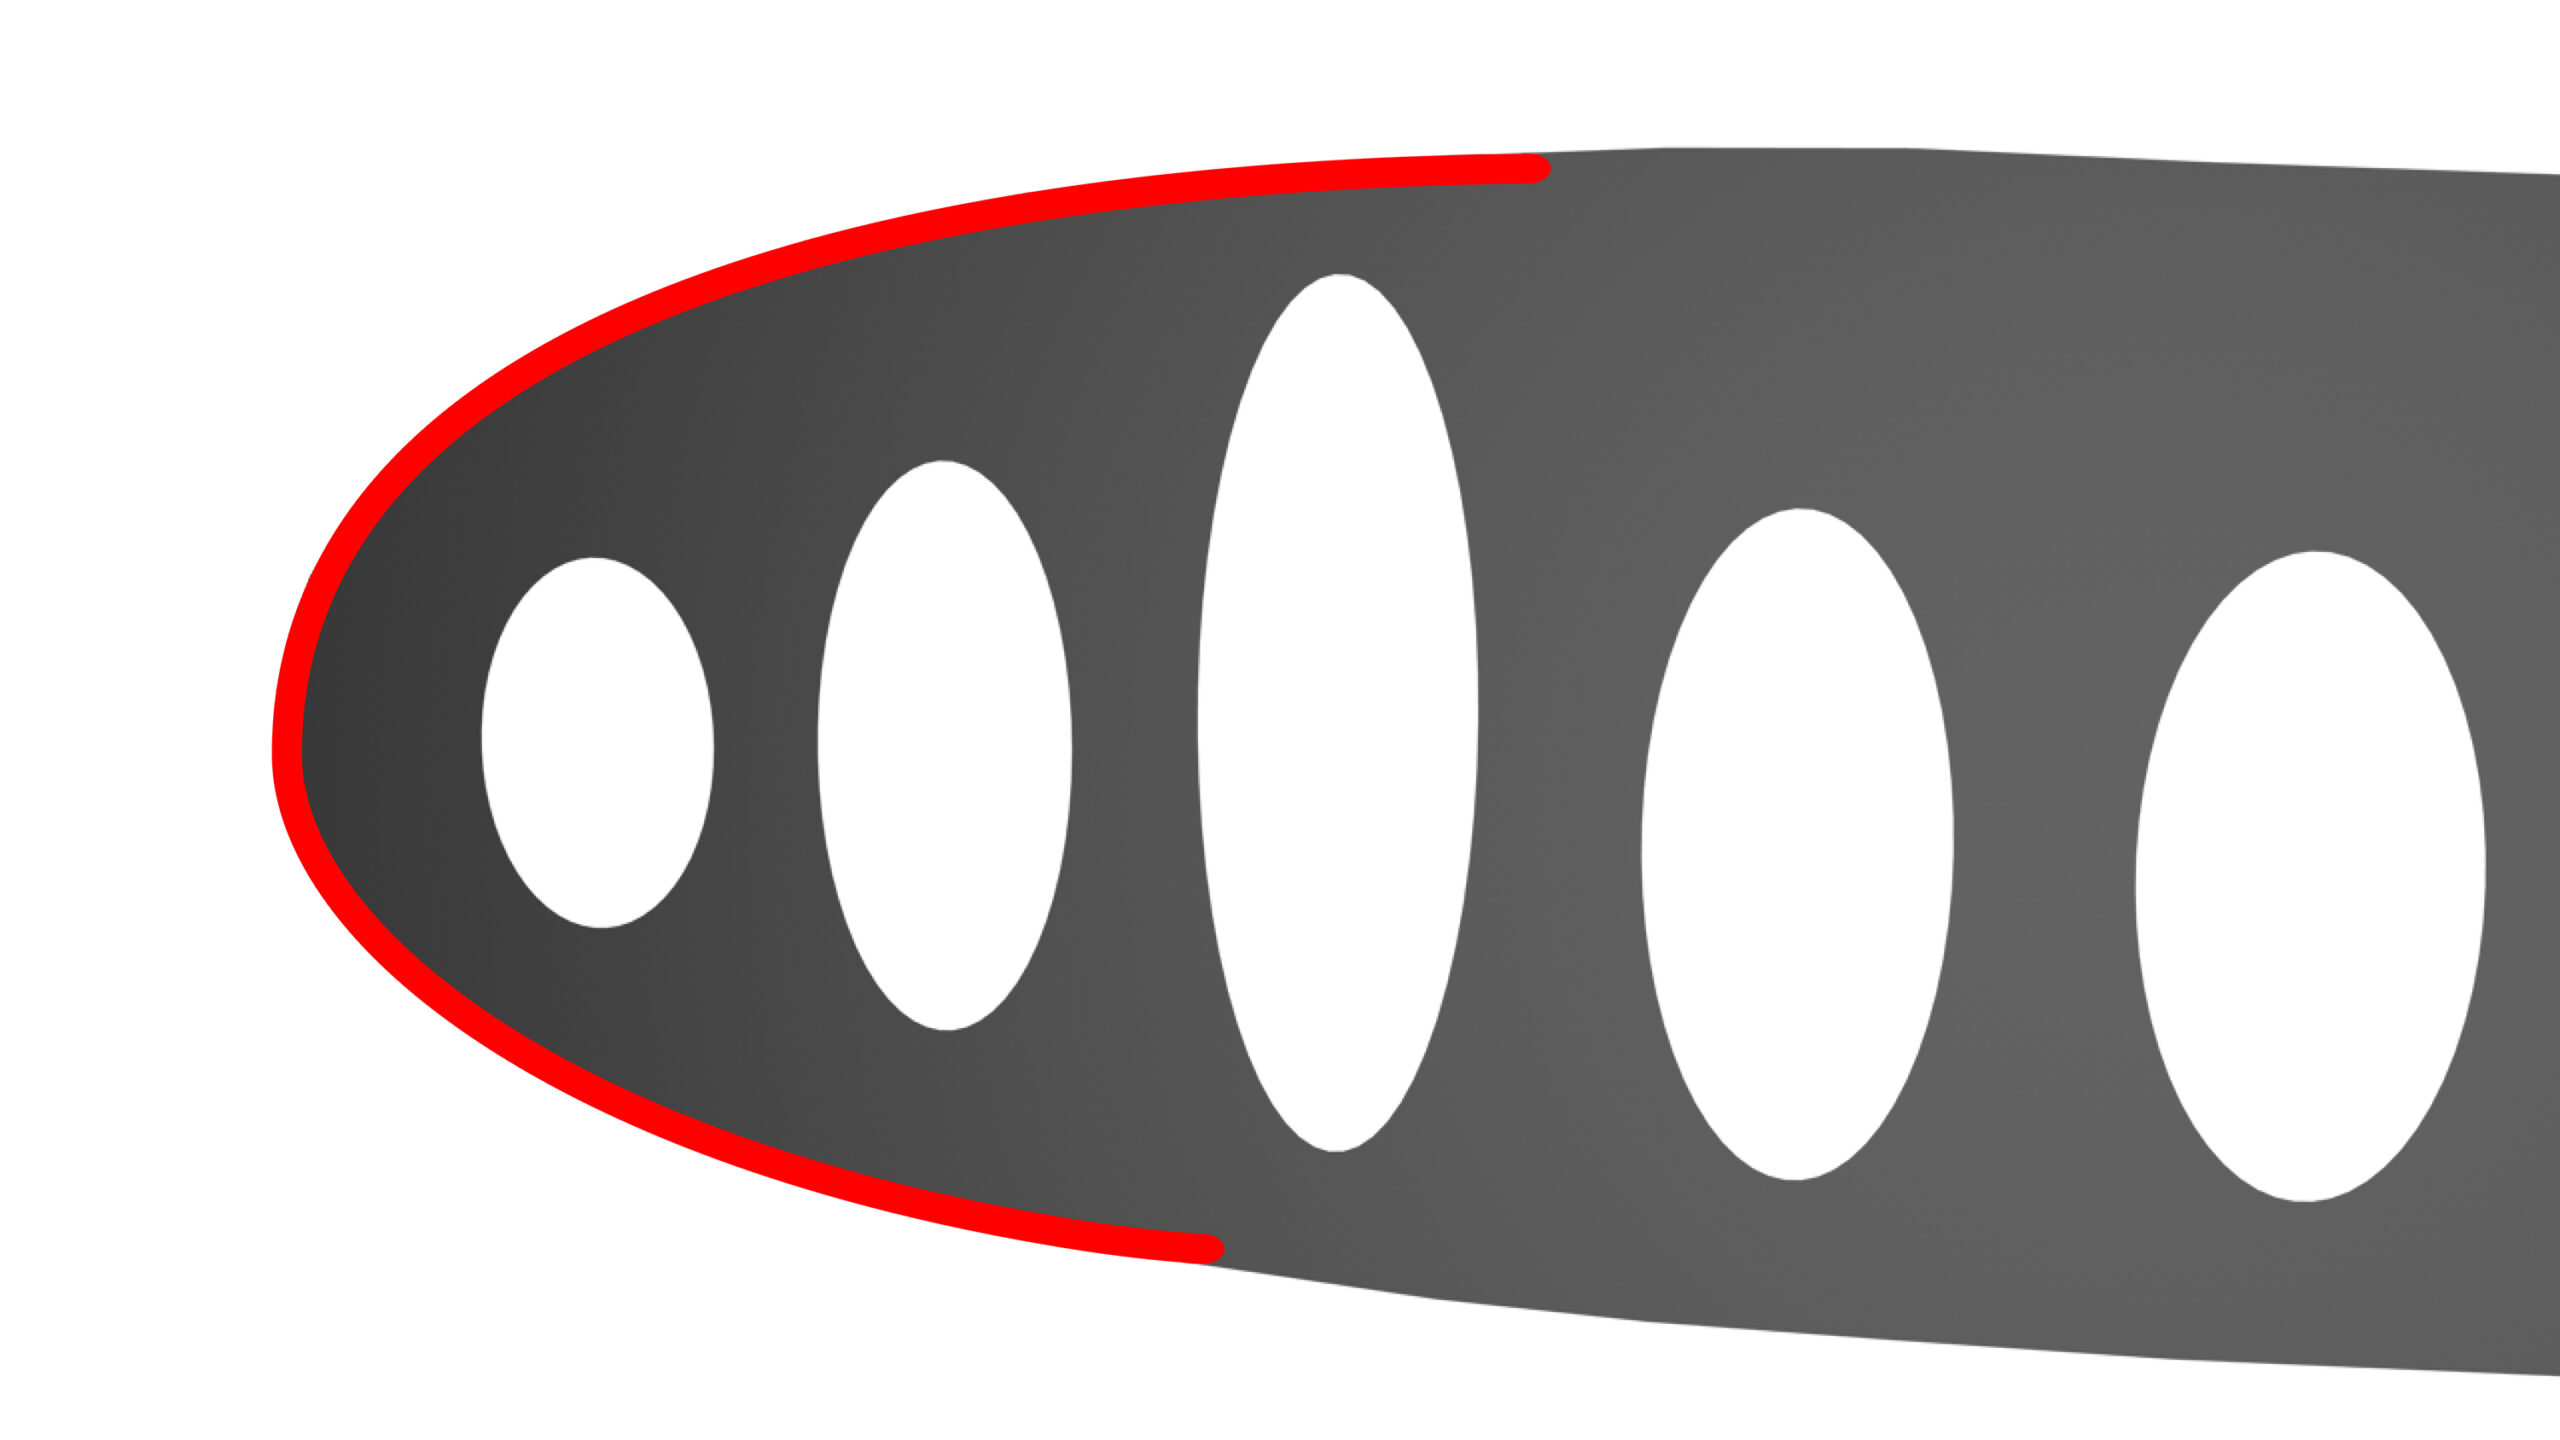
L.E Profile Reinforcements

L.E Profile Reinforcements

The Leading Edge is reinforced with flexible lightweight plastic battens to maintain the shape of the profile during angle of attack changes and turbulent airflow. This drastically improves overall performance as the foil remains true to the designed shape.

Internal Diagonals and Straps

Internal Diagonals and Straps

Internal span-wise straps work in unison with optimized diagonal ribs, distributing load from the bridles evenly and effectively. This increases the internal structural balance, while allowing the top and bottom surfaces to maintain the designed profile without being distorted from indirect tension or loads.

Sheathed Bridle Lines

Sheathed Bridle Lines

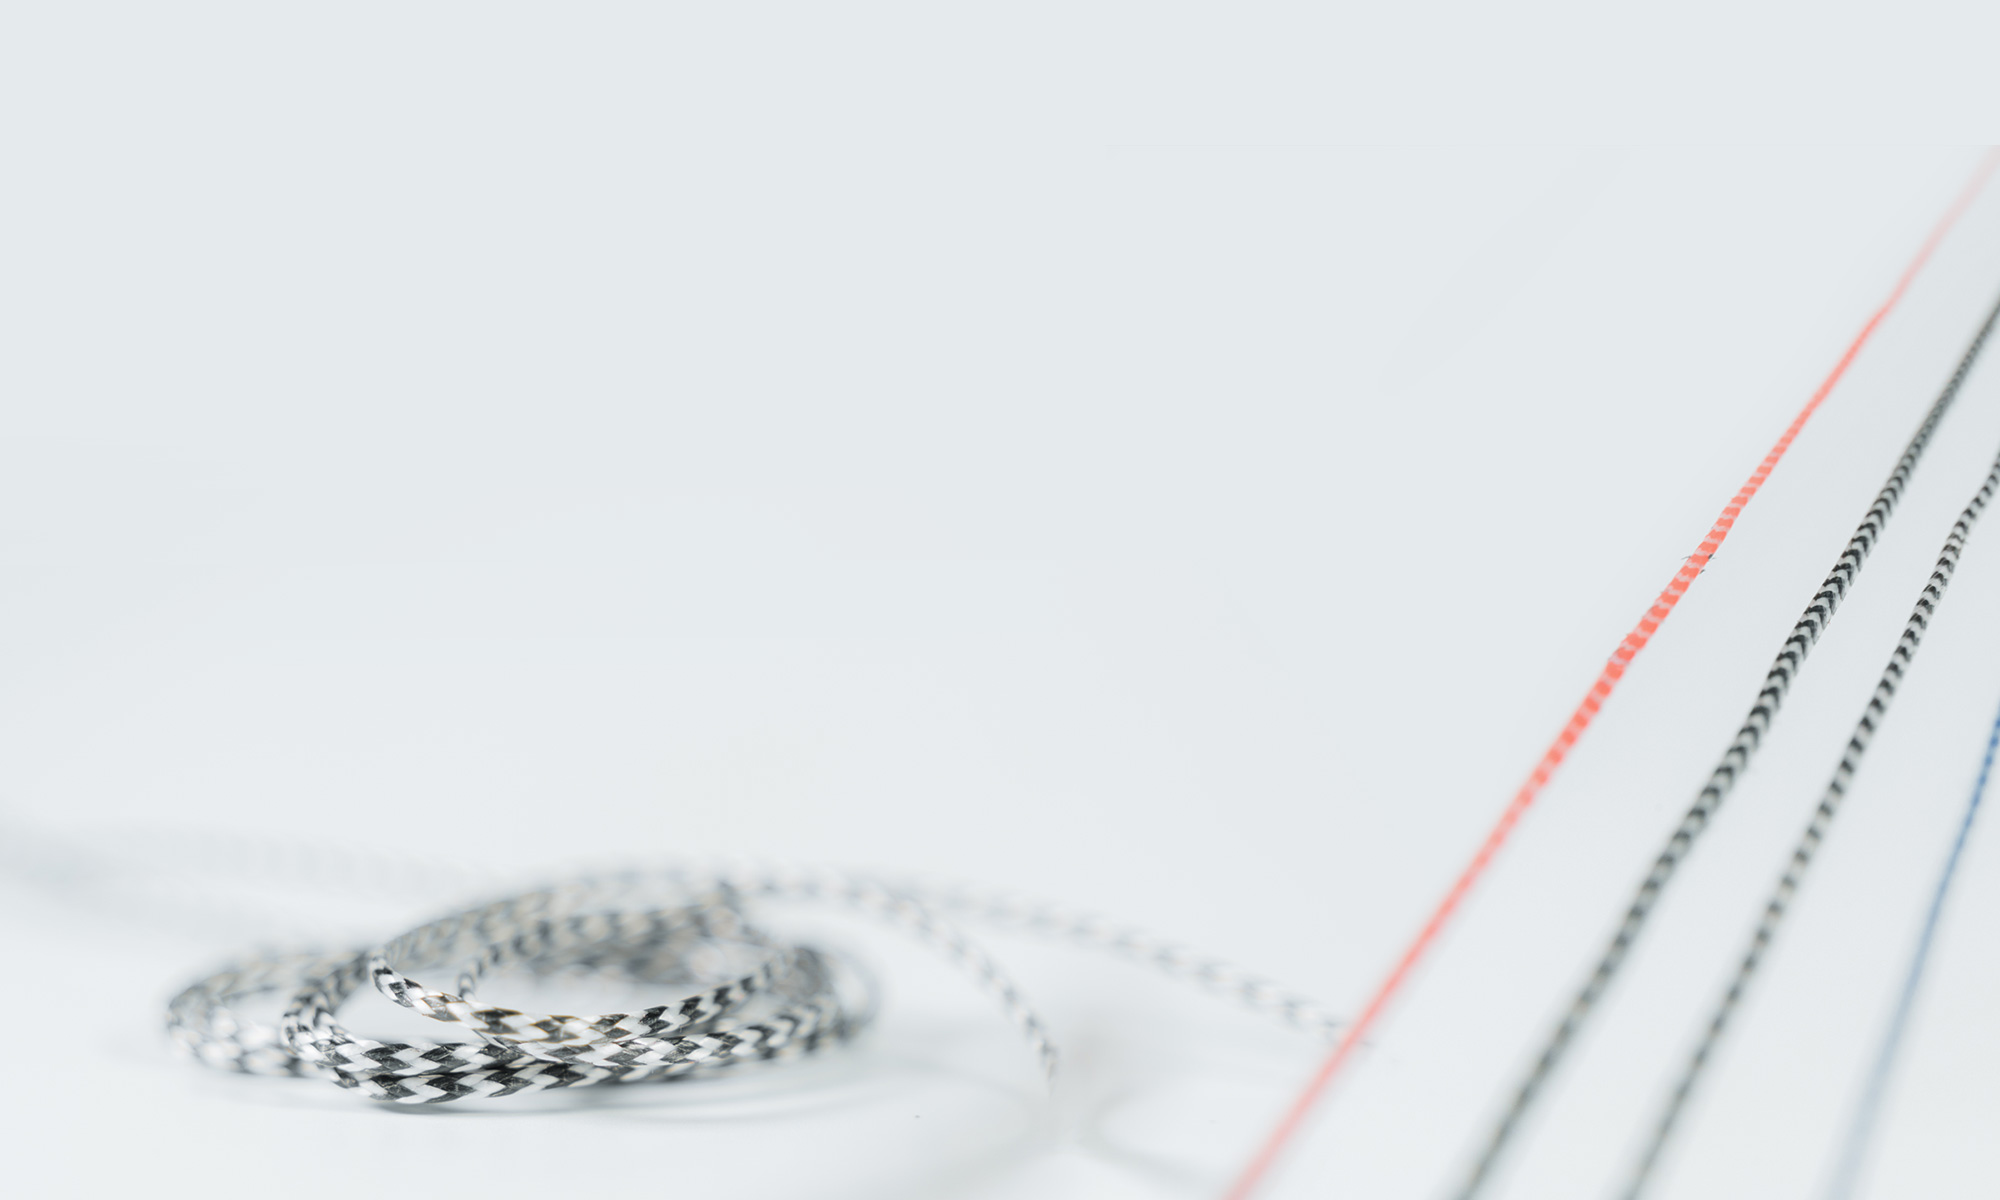
High quality, low stretch sheathed Dyneema bridle lines for maximum strength and performance. This is the same bridle line we have used on our Snowkite range for the past 10 years.

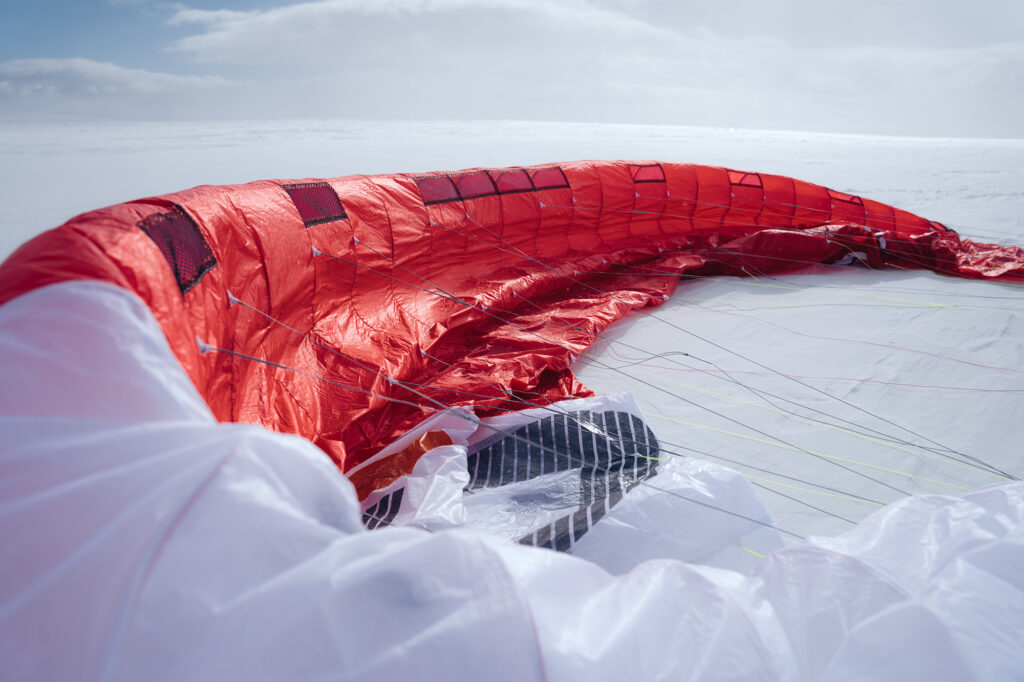
Dirt-out wing tips

Dirt-out wing tips

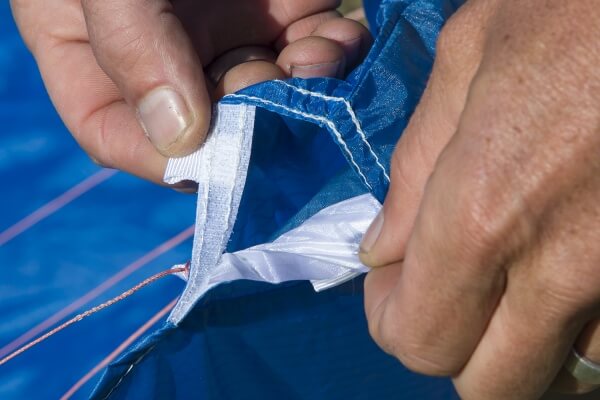
The Velcro sealed cells at the tips can be opened for cleaning the kite. Always clean your kite by emptying any snow or debris as this will prolong the life of the kite and help it fly as designed.

Tuned Bridle Geometry

Tuned Bridle Geometry

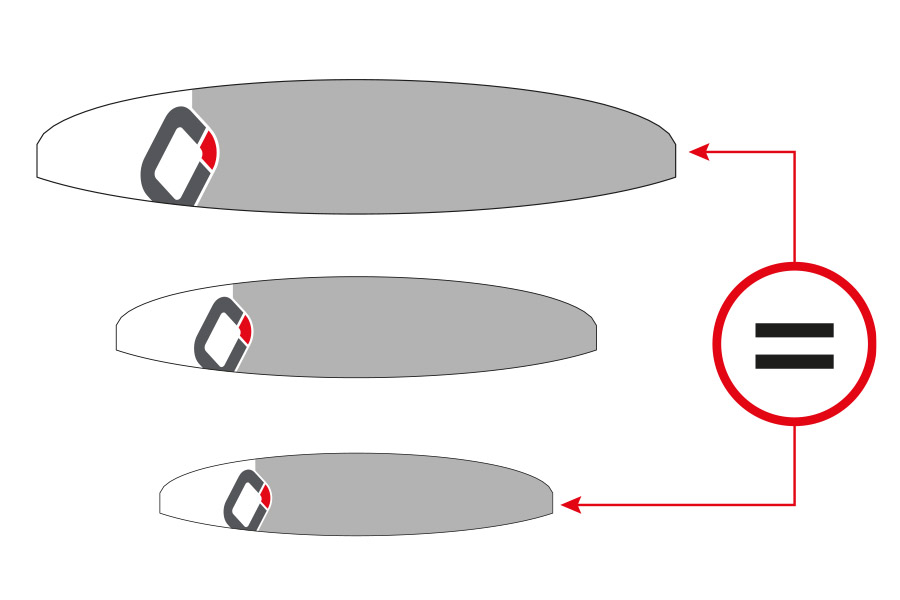
We work extensively during our R&D process to develop the size range to feel in tune with each other. Every kite has a unique bridle layout, individually tested and fine-tuned to maximize the feeling and performance.

Fool proof line connectors

Fool proof line connectors

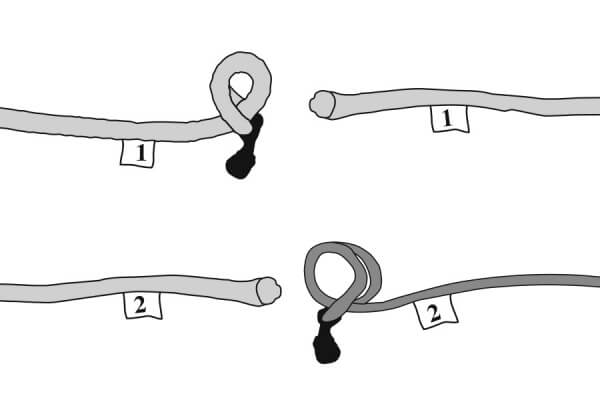
Fool proof line connectors prevent incorrect rigging of the flying lines to the kite.

Snow Kite Compressor Bag

Snow Kite Compressor Bag

  • A simple, lightweight and efficient bag
  • Perfect for travelling and back country missions, less bulk and weight with good protection for your kite
  • Pack and compress to a minimal volume
  • Combine with the Technical Mountain Bag to carry multiple kites and all your essential gear on longer backcountry missions.

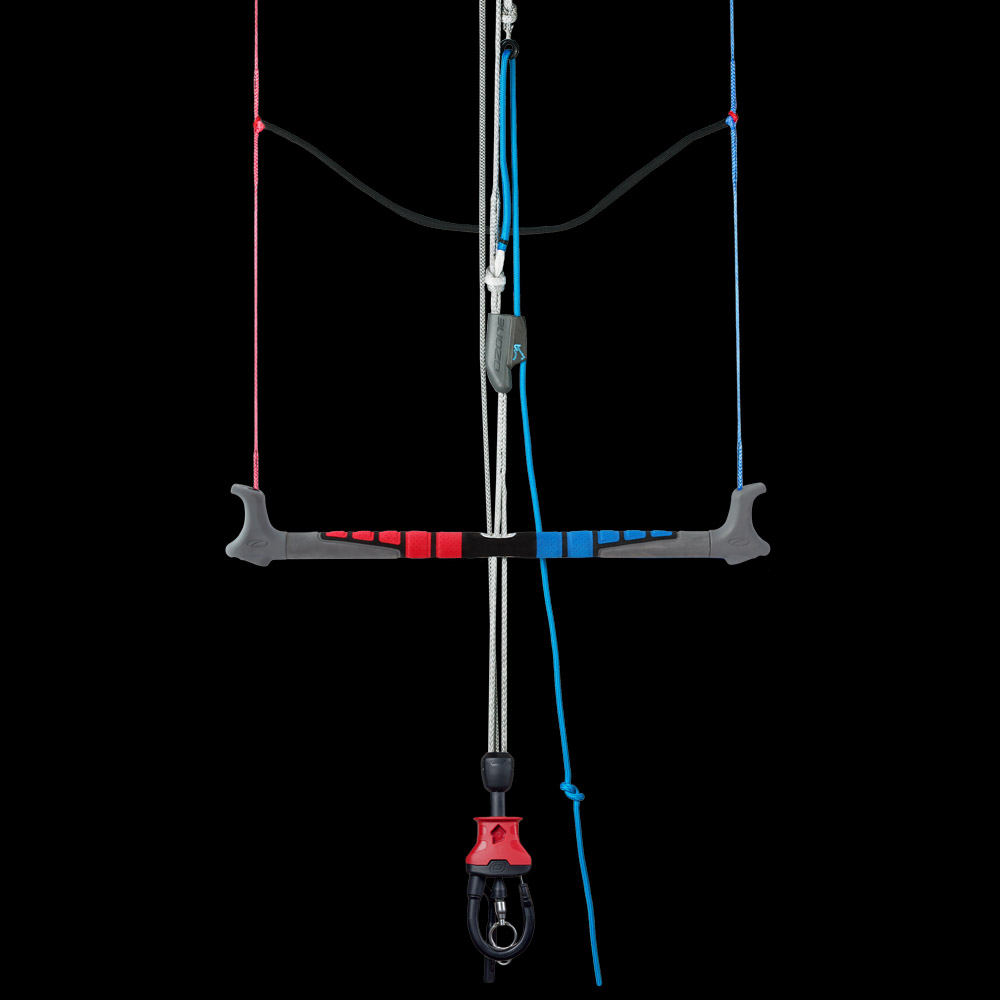
A lightweight control system designed specifically for the EXP - it is a must-have addition.

Find a dealer

Thank you for purchasing this Ozone product. Our mission is to design and build quality products with cutting edge performance that are easy, fun and safe to use.

At Ozone we are passionate about sports, and it is this passion that drives our design team to perfect and develop products that we love to ride with. We are proud of the quality of our products, and are constantly searching for the best components and materials to use in our designs. We manufacture in our own high-quality production facility in Vietnam, which guarantees a build quality that we are proud to put the Ozone name on. A close look at one of our products reveals that same superior quality and construction that ensures that every Ozone product will enjoy a long life, with consistent performance and aesthetics. To view the factory video visit our website www.flyozone.com. Many dynamic action sports carry inherent risks but with common sense and education from qualified instructors means you can easily enjoy these incredible sports. Accidents generally happen due to a lack of experience, changing weather conditions or from using equipment not suited to the riders’ ability and/or conditions. Always take the time to learn safely with qualified instruction and you will progress far quicker. Ride safe Team Ozone

Release of Liability

OZONE KITESURF LTD / OZONE KITES LTD RELEASE OF LIABILITY, CLAIM WAVIER, ASSUMPTION OF RISK

By assembling and/or using this Ozone product, you agree that you have read and understood the entire Ozone product owners manual, including all instructions and warnings contained in that manual, prior to using the Ozone product in any way. You additionally agree that you will ensure any additional or subsequent user of your Ozone product will read and understand the entire Ozone product owners manual, including all instructions and warnings contained in that manual, prior to allowing that person to use your Ozone product.

ASSUMPTION OF RISK

Use of the Ozone product and any of its components involve certain risks, dangers, and hazards which can result in serious personal injury and death to both the user and to non-user third parties. In using this Ozone product, you freely agree to assume and accept any and all known and unknown risks of injury to you and third parties while using this equipment. The risks inherent in this sport can be greatly reduced by abiding by the warning guidelines listed in this owner manual and by using common sense.

RELEASE AND WAIVER OF CLAIMS

In consideration of the sale of the Ozone product to you, you herby agree to the fullest extent permitted by law, as follows;

TO WAIVE ANY AND ALL CLAIMS that you have or may in the future have against Ozone Kitesurf LTD or Ozone Kites LTD and all related parties resulting from use of the Ozone product and any of its components.

TO RELEASE Ozone Kitesurf LTD or Ozone Kites LTD and all related parties from any and all liability for any loss, damage, injury or expense that you or any users of you Ozone product may suffer, or that your next of kin may suffer, as a result of the use of the Ozone product, due to any cause whatsoever, including negligence or breach of contract on the part of Ozone Kitesurf LTD or Ozone Kites LTD and all related parties in the design or manufacture of the Ozone product and any of its components.

In the event of your death or incapacity, all provisions contained herein shall be effective and binding upon your heirs, next of kin, executors, administrators, assigns, and representatives. Ozone Kitesurf LTD or Ozone Kites LTD related parties have not made and expressly deny and oral or written representations other than what is set forth herein and the Ozone product owners manual.

Warranty

Ozone warrants this product according to the laws in force against any major manufacturing defect. This warranty is subject to the following limitations:

  • The warranty is valid only when the product is used for its intended use, and does not cover products used in rental or teaching operations.
  • Ozone will make the final warranty determination, which may require inspection and/or photos of the equipment, which clearly show the defect(s). If necessary, this information must be sent to the Ozone dealer, postage prepaid.
  • If a product is deemed to be defective by Ozone, the warranty covers the repair or replacement of the defective product only.
  • Ozone will not be responsible for any costs, losses, or damages incurred as a result of loss of use of this product. The warranty does not cover damage caused by misuse, abuse, neglect or normal wear and tear including but not limited to; assembling with other than Ozone components, damage due to excessive sun exposure, damage caused by improper handling or storage, and damage caused by anything other than defects in material and workmanship.
  • This warranty is voided if any unauthorized repair, change or modification has been made to any part of the equipment. The warranty for any repaired or replaced equipment is good from the date of the original purchase only. The original purchase receipt must accompany all warranty claims.
  • The name of the retailer and date of purchase must be clear and legible.
  • There are no warranties that extend beyond the warranty specified herein.

WARRANTY CLAIMS

  • Warranty claims must be sent to Ozone by an official Ozone dealer or country distributor.
  • Warranty claims must be processed and be issued a return authorization prior to shipping to the Ozone dealer the product was purchased from.

Warnings & Safety Precautions

This manual refers to the current product it comes with. No information contained herein applies to previous and/or other products or components. Always read and understand all warnings and instructions for any other product or component being used. To read previous product manuals go to www.flyozone.com

Read the following points before assembling and/or using this product:

General Warnings:

  • Before using this product you must take lessons from a certified instructor/school.
  • Always wear a Coast Guard approved Personal Flotation Device when using this product near or on the water.
  • Always carefully inspect all of your equipment before using it.
  • The use of this product exposes the user to many unavoidable and unexpected risks, dangers and hazards.
  • Always use extreme caution when using this product.
  • Misuse of this product can cause serious injury or death.
  • Only use this product if you are in good physical health.
  • Never act in a careless manner when using this product.
  • You are responsible for your own safety and the safety of others around you when using this product.
  • If you are under the age of 18 you should have your parents or legal guardian read all warnings and instructions. You should not use this product unless you are under proper guidance and supervision.
  • Do not use this product if you are under the influence of alcohol, drugs or medications.

Kite and Control System Warnings:

  • Always have a partner when launching and landing your kite.
  • Always learn to use a small trainer kite before attempting to use a larger power kite.
  • Never allow anyone who is not familiar with power kites to use this product.
  • Never use this product without a safety leash system. A loose kite is extremely dangerous.
  • The kite/control system is equipped with passive safety systems, which need to be activated by the user for them to work.
  • The leash system is not a permanent attachment to this product. Never permanently attach yourself to the kite or any of its components.
  • Never use this kite with another control system or safety leash. Only use the control system that is supplied with this kite. Other brands are not compatible with this design therefore and the safety system will not work.
  • Always wear protective equipment when using this product, for example; helmet, gloves, shoes, protective eyewear etc.
  • Always use a high quality and well maintained kite specific harness.
  • Get yourself used to the way all quick release devices work by testing them often in a non-emergency situation.
  • Rinse all quick release devices in fresh water after each use. Quick release devices have a limited lifetime and must be checked and replaced often.
  • Always activate and re-load all safety systems to familiarize yourself with how they work. This is the only way to be sure that you know how to use them in all situations, and that they are correctly loaded and safe for use.
  • The quick release trim loop and kite leash equipped with a quick release must be replacement after 250hours of use. Replace them before if you see any sign of wear. The wearing of quick release devices is not considered a warranty issue.
  • Never touch the flying lines when the kite is in use. Flying lines are extremely dangerous while under tension and can cause serious injury or death.
  • Never use this product with worn lines. A line that breaks while under tension can cause serious injury or death.
  • Always check your flying lines for knots before each use. Knots greatly reduce the strength of the lines.
  • Stay away from tangled flying lines unless the kite is secured to the ground. An unsecured kite can self launch unexpectedly, and can cause serious injury or death.
  • Never allow yourself, or anyone else, to get between the control bar and the kite when using this product.

Choose safe weather conditions and locations:

  • Be aware of the general risks associated with action sports.
  • Ensure you understand all weather forecasts and prepare for changes in weather.
  • Never learn to use this product in more than 10 knots of wind.
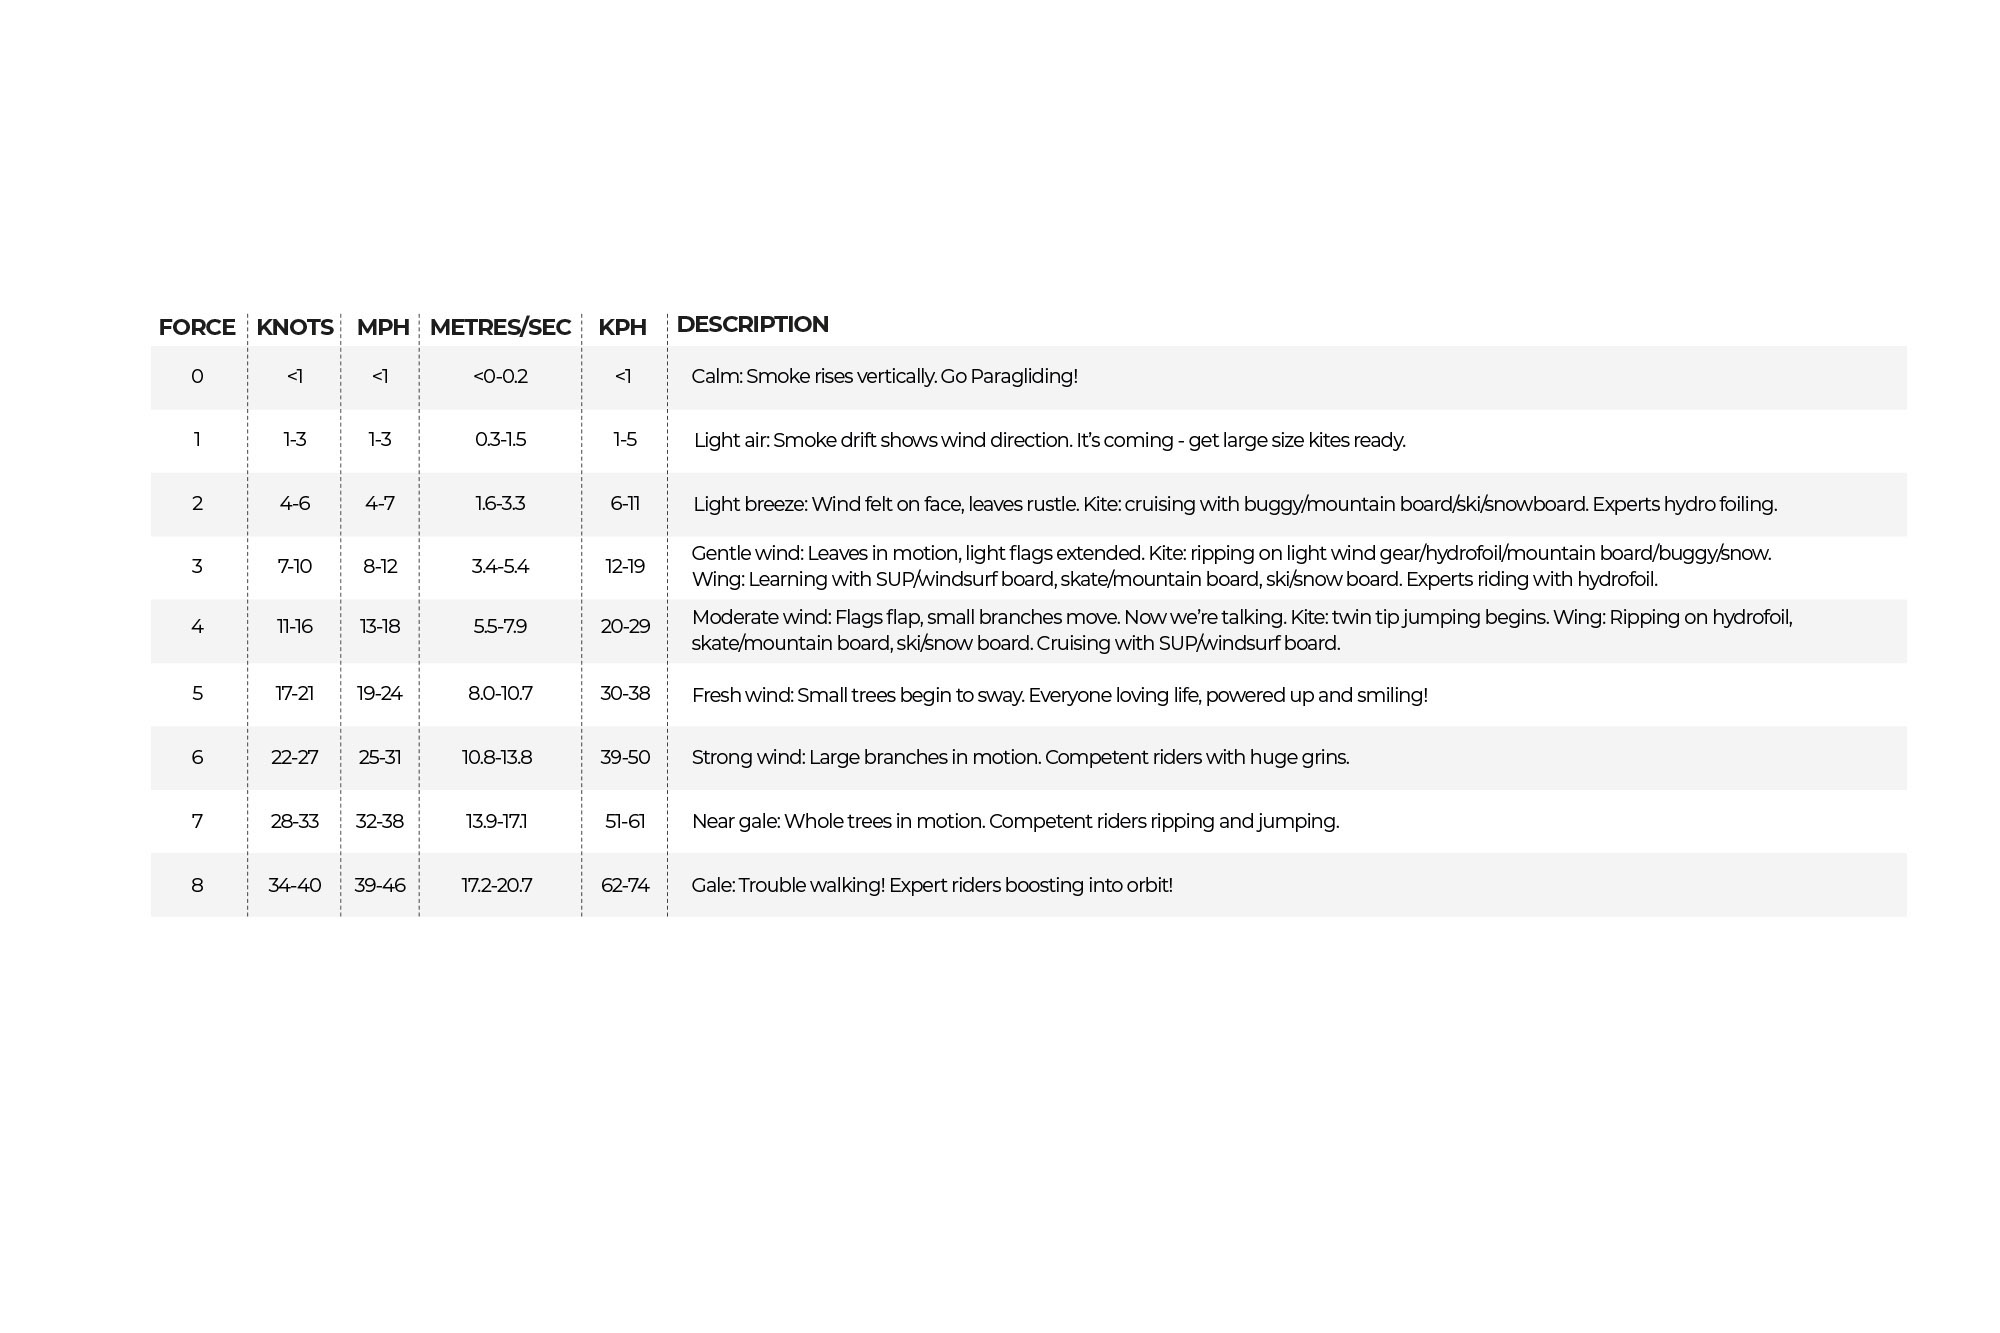
  • We highly recommend you purchase a wind speed indicator to be able to measure wind speeds. Study the wind guide to understand wind speeds.
  • Never use this product in high winds.
  • Never use this product in thunderstorm and lightning conditions.
  • Only use this product when you can remain in a standing position.
  • Never use this product in wind conditions that are above your ability level.
  • Never use this product near or on the water in offshore wind condition unless you are an expert swimmer.
  • Always observe local rules and regulations when using this product.
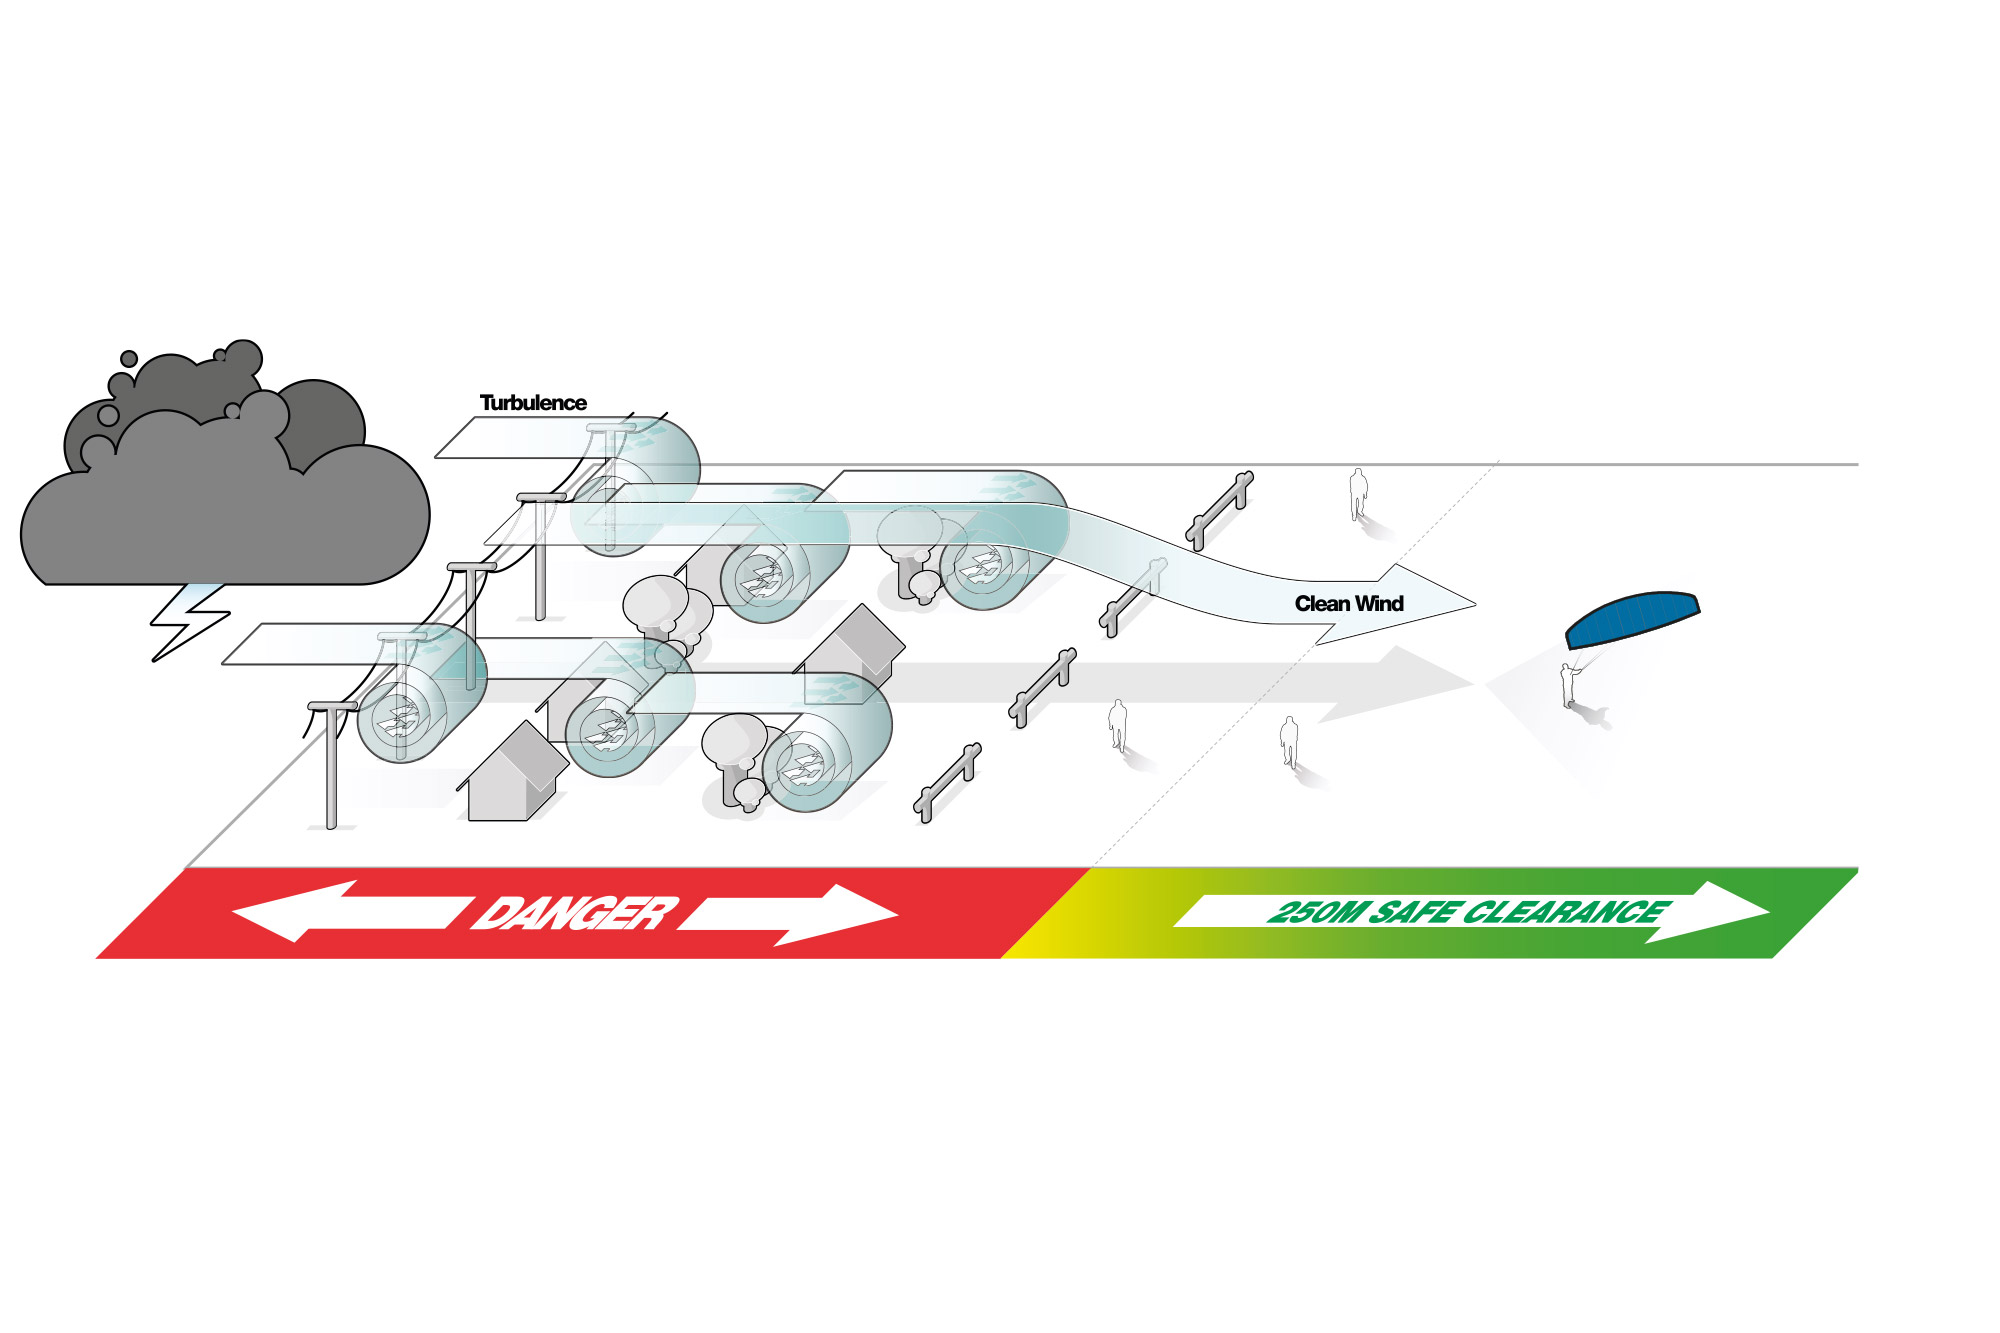
  • Never use this product near power lines, telephone poles, trees, bushes, roads, automobiles or airports.
  • Only use this product when you have at least 100m of clear space downwind, and on both sides of your launching position. The power of the kite can pull you downwind unexpectedly with great force.
  • Do not fly your kite over other people or pets. Spectators should remain upwind of you when using this product.
  • Never use this product on crowded beaches or fields.
  • Practice launching and landing procedures, and self rescue techniques before using this product near the water.


Set Up:

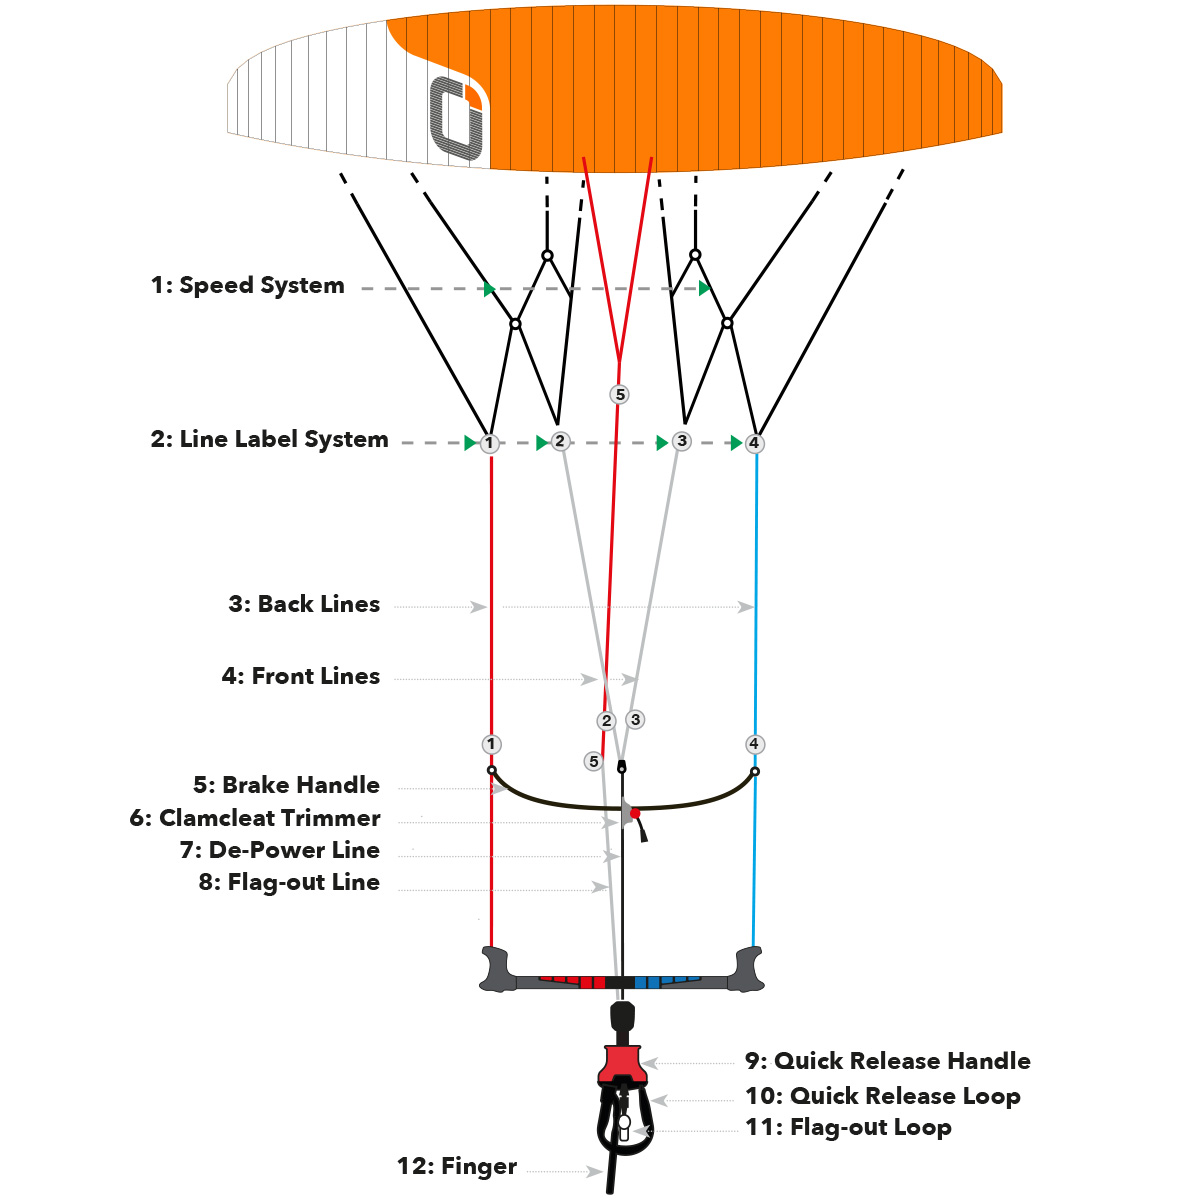
1: Speed System

2: Line Label System

3: Back Lines

4: Front Lines

5: Brake handle

6: Clamcleat Trimmer

7: De-Power line

8: Flag-out Line

9: Quick Release Handle

10: Quick Release loop

11: Flag-out Loop

12: Finger

Kite Set Up

IMPORTANT: Set up your kite for the first time in wind less than 12kph  to ensure your safety and the safety of others.

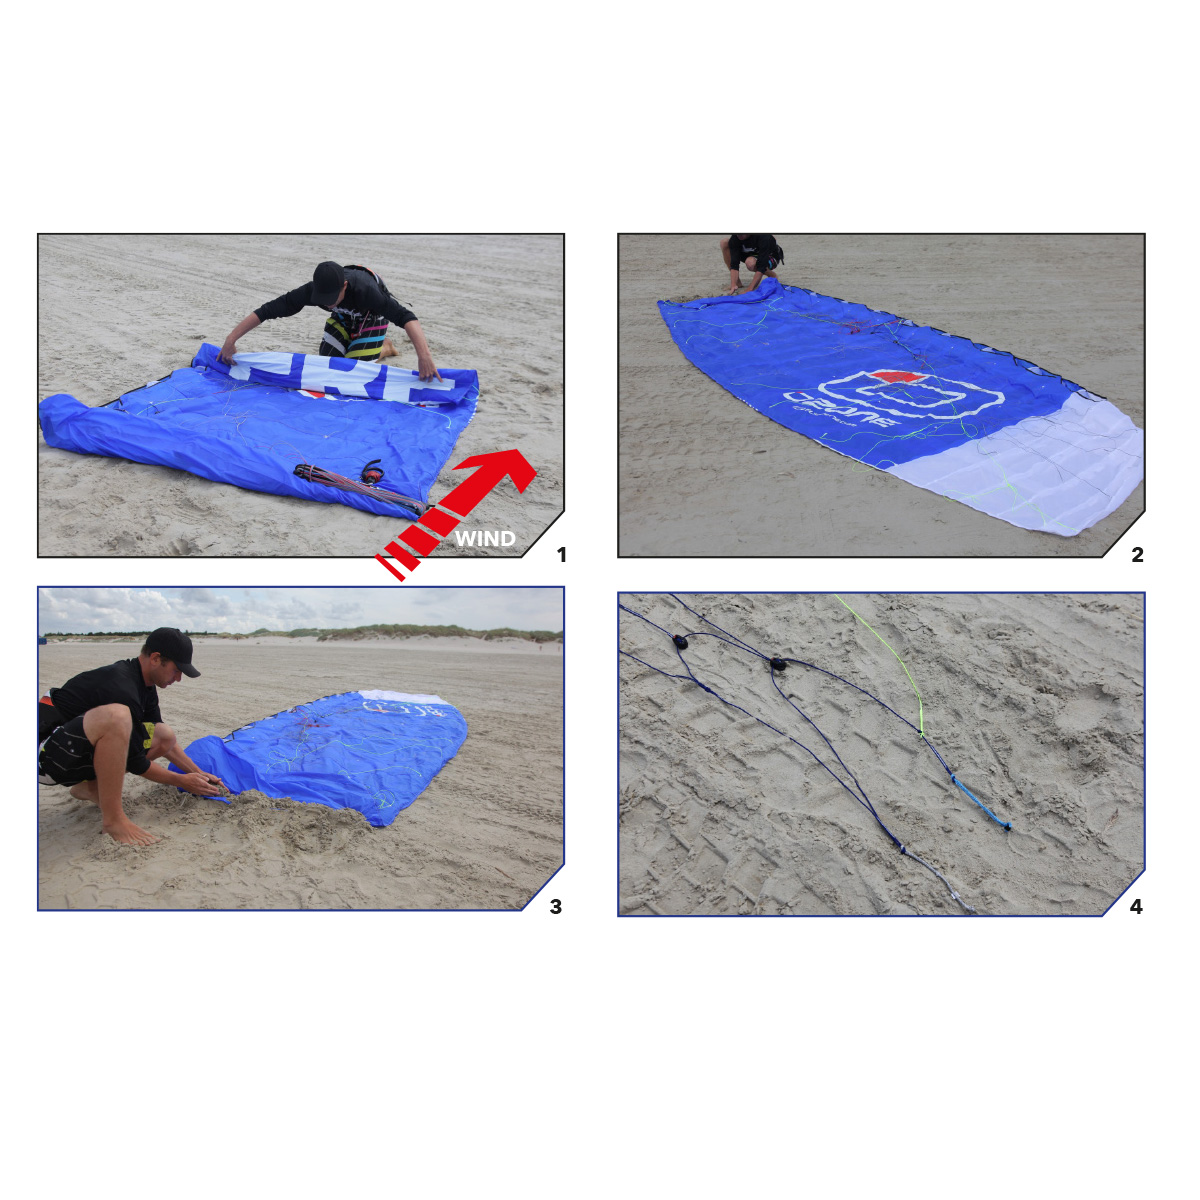
  • Unfold the kite on the ground, in the direction of the wind.
  • Fold over the upwind wing tip and put some snow, sand, or your board on the tip to secure the kite.
  • Take the speed system from the Velcro retainer and lay out on the ground. Untangle if necessary.
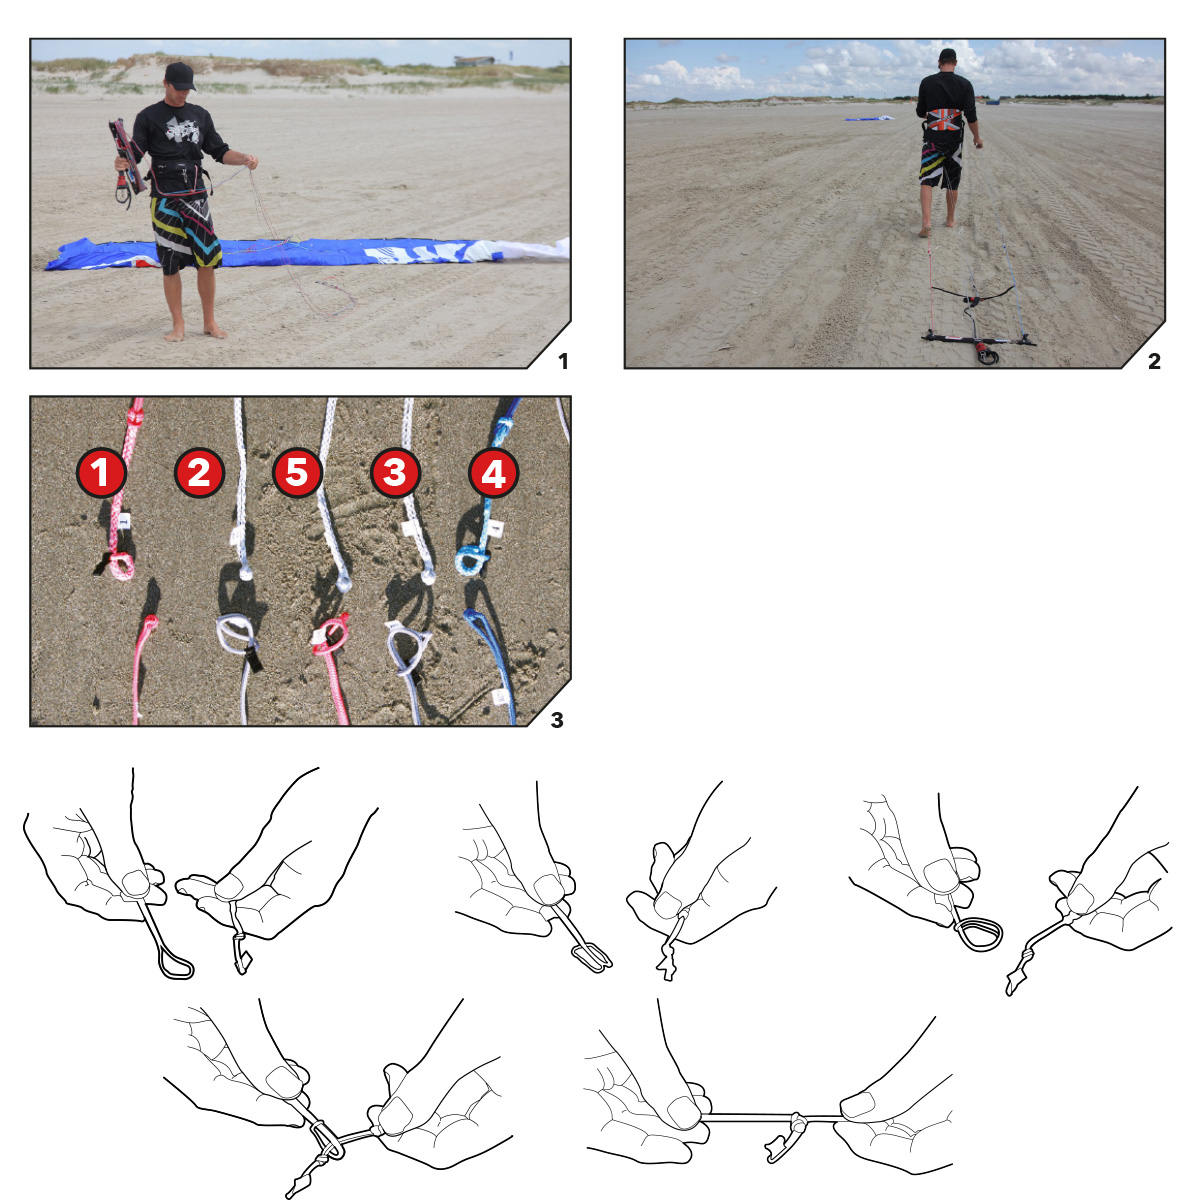
  • Take the bar and unwind the lines at 90 deg to the kite. (Bars are delivered with the flying lines already connected.)
  • Connect the lines to the kite following the numbered label system ensuring all lines are free from each other.

Now you’re ready to fly!

Bar Set Up

All line to kite connections are made using a “LARKS HEAD” knot.

Always double check your lines before launching. Wrongly attached lines will stop the kite flying correctly and could therefore mean you have no control of the kite putting yourself in a dangerous situation.

Security

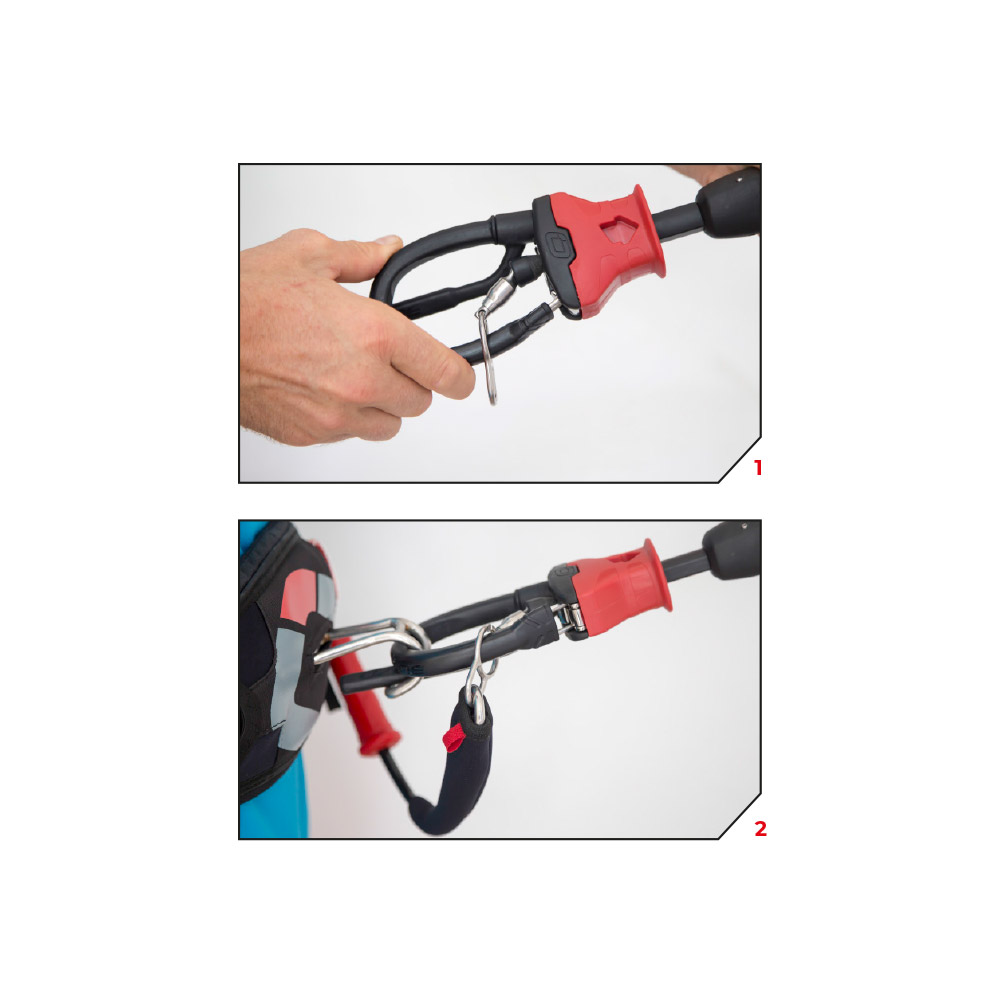
IMPORTANT: All Ozone release systems require the user to operate them manually in the case of an emergency. It is imperative the kite is set-up as shown in the manual, incorrect setup will compromise the operation of the release system.  All lines and de-power systems must be tangle free and the kite leash connected in the right way, see pictures.

Quick Release Connection

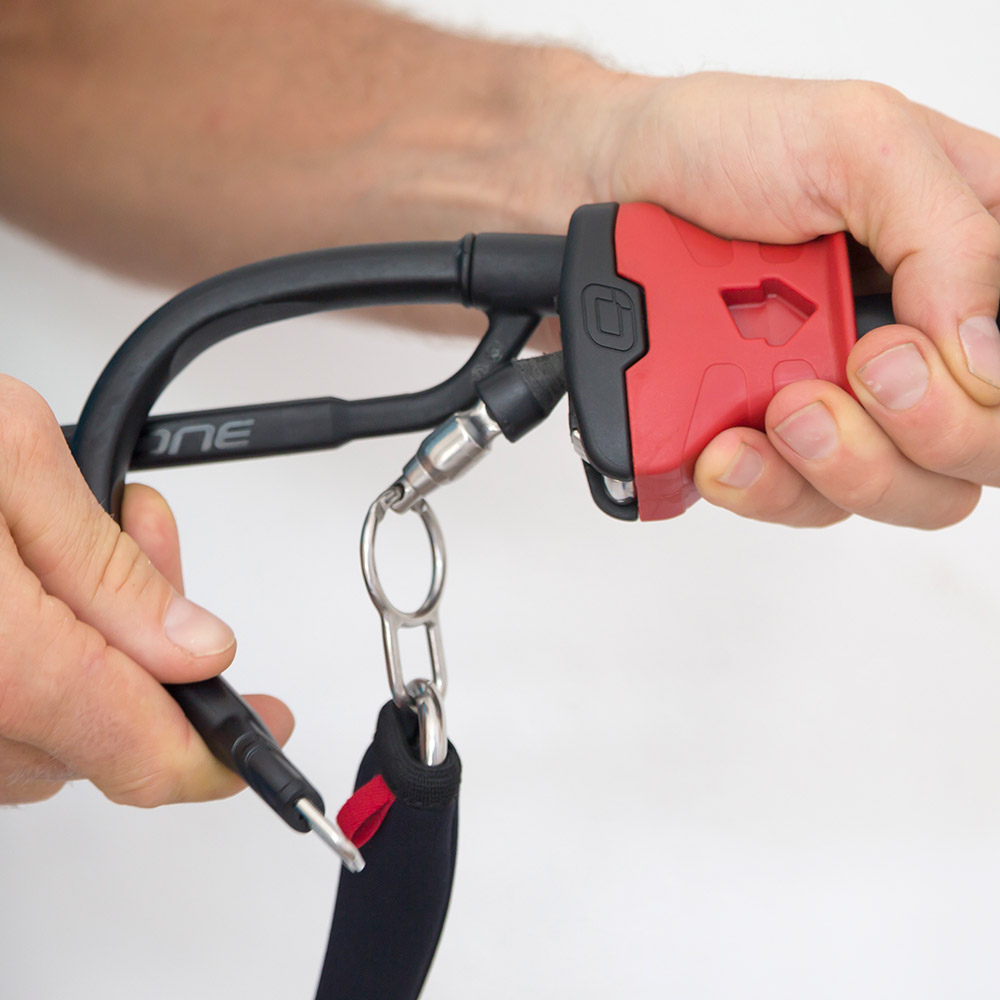
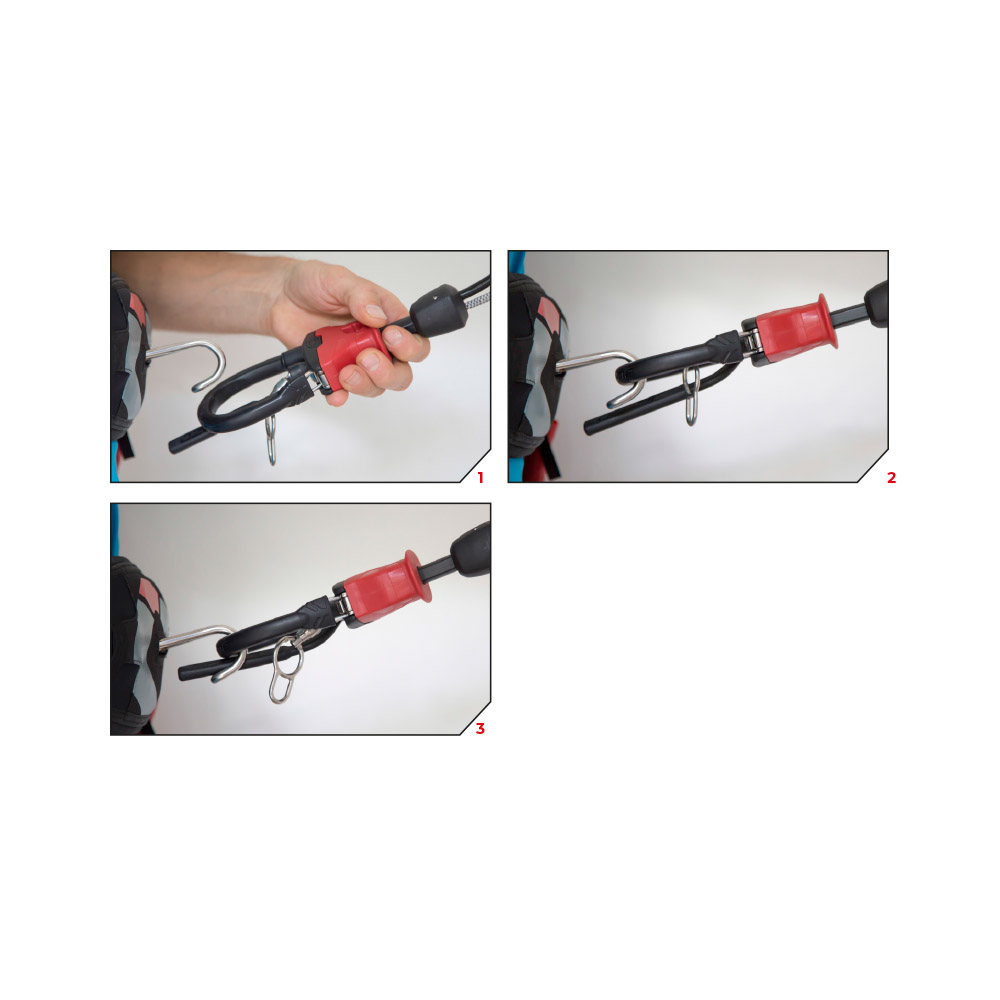
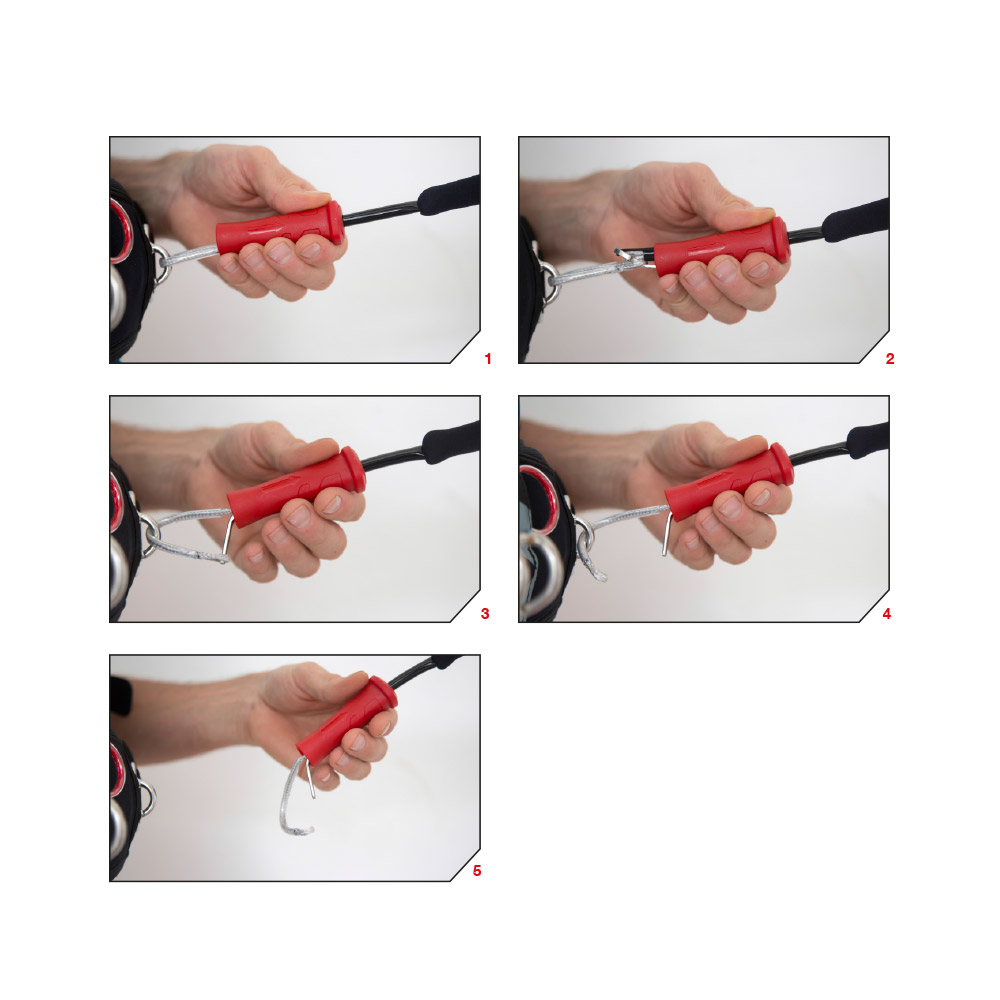
The Quick Release is the primary connection to the kite. Make sure you connect to the Quick Release using the finger as shown in the pictures.

Below the Bar Release (Recommended Mode)

All riders should attach their Kite Leash to the Flag Out System. This is the small eyelet on the Stainless Steel Swivel Ring.
When the release is activated, the kite will flag out and fall to the water/ground.

In all situations make sure that all lines are clear of all working release systems and the kite leash is connected in the right way.

Advanced Riders (Use at your own risk, not recommended) 

Riders performing unhooked tricks or who are more confident and have spent many hours Kiting can attach in Expert mode, where the loop part runs through the large eye of the steel ring. When letting go of the bar in Expert mode (without activating the release e.g. missed handle pass) the kite will depower but WILL NOT flag out.

Be aware in this situation, the Quick Release will be out of reach and can therefore not be released. When hooked in and activating the Quick Release the steel ring automatically slips off and the kite will flag out.

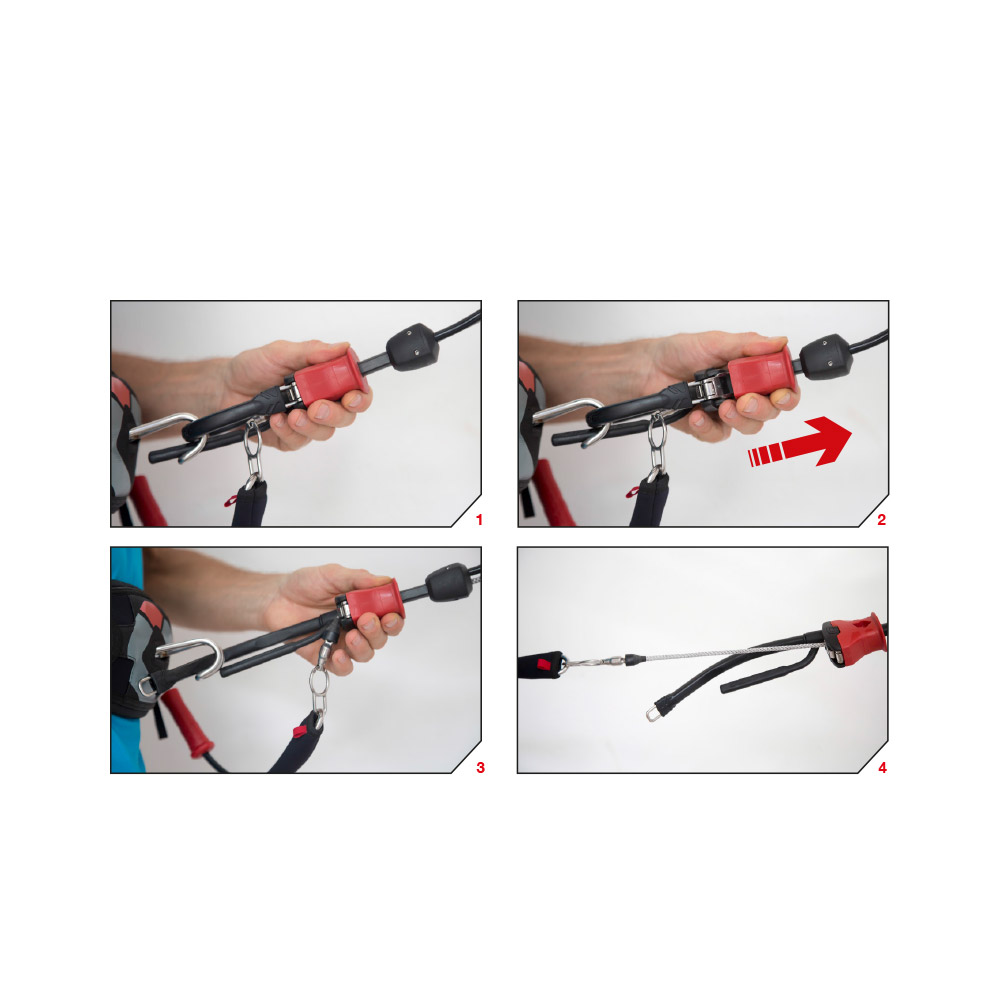
1st Stage of  Release

Activate the Quick Release as shown in the pictures. Providing your leash is attached to the flag out system the kite will 100% depower.

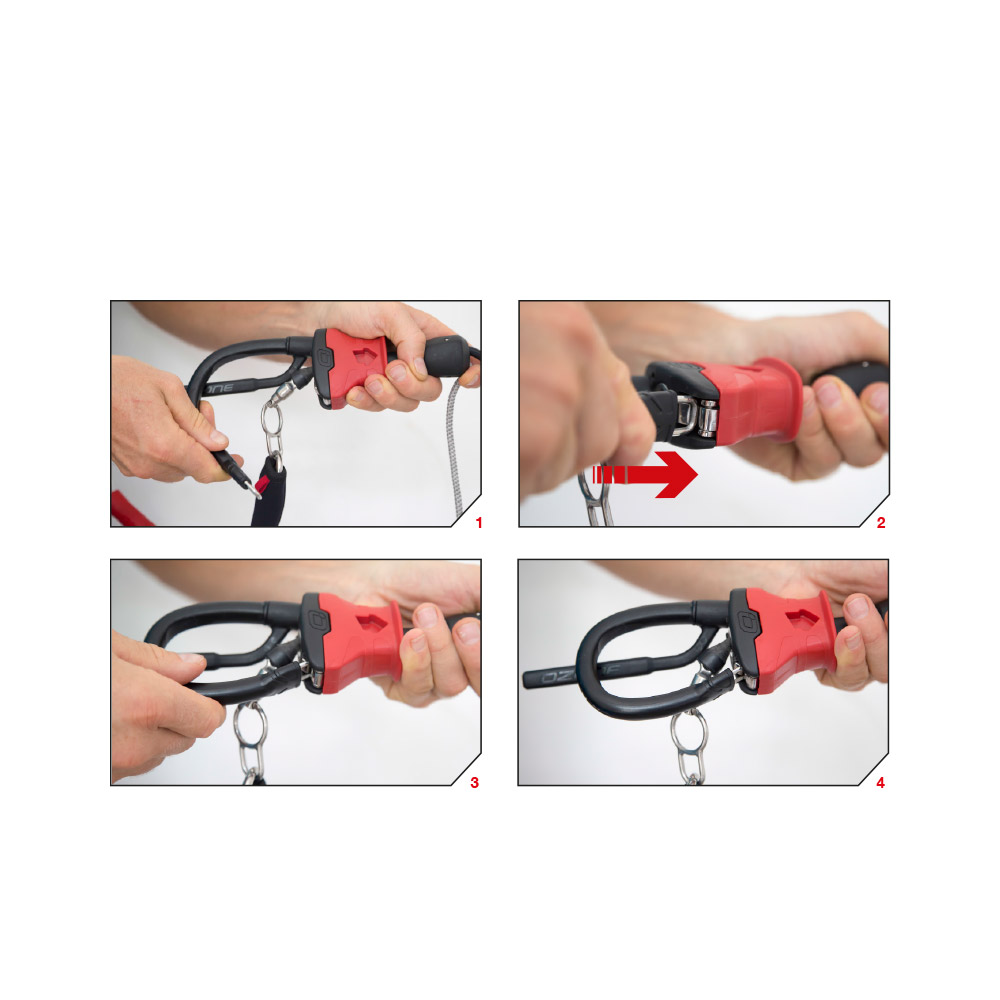
Reloading the Quick Release

Final Stage of Release (in an extreme emergency)

In the case of an extreme emergency where you need to completely release from the kite, use the quick release on the kite leash. This will completely detach the kite and control system from the user, and could therefore hit anything or anyone downwind causing damage, serious injury or death. RIDE RESPONSIBLY.

1st FLY 

WARNING: 
Never fly your kite in strong wind for the 1st time. Do not attempt to fly a kite without being taught by a certified kite instructor.

Light Winds

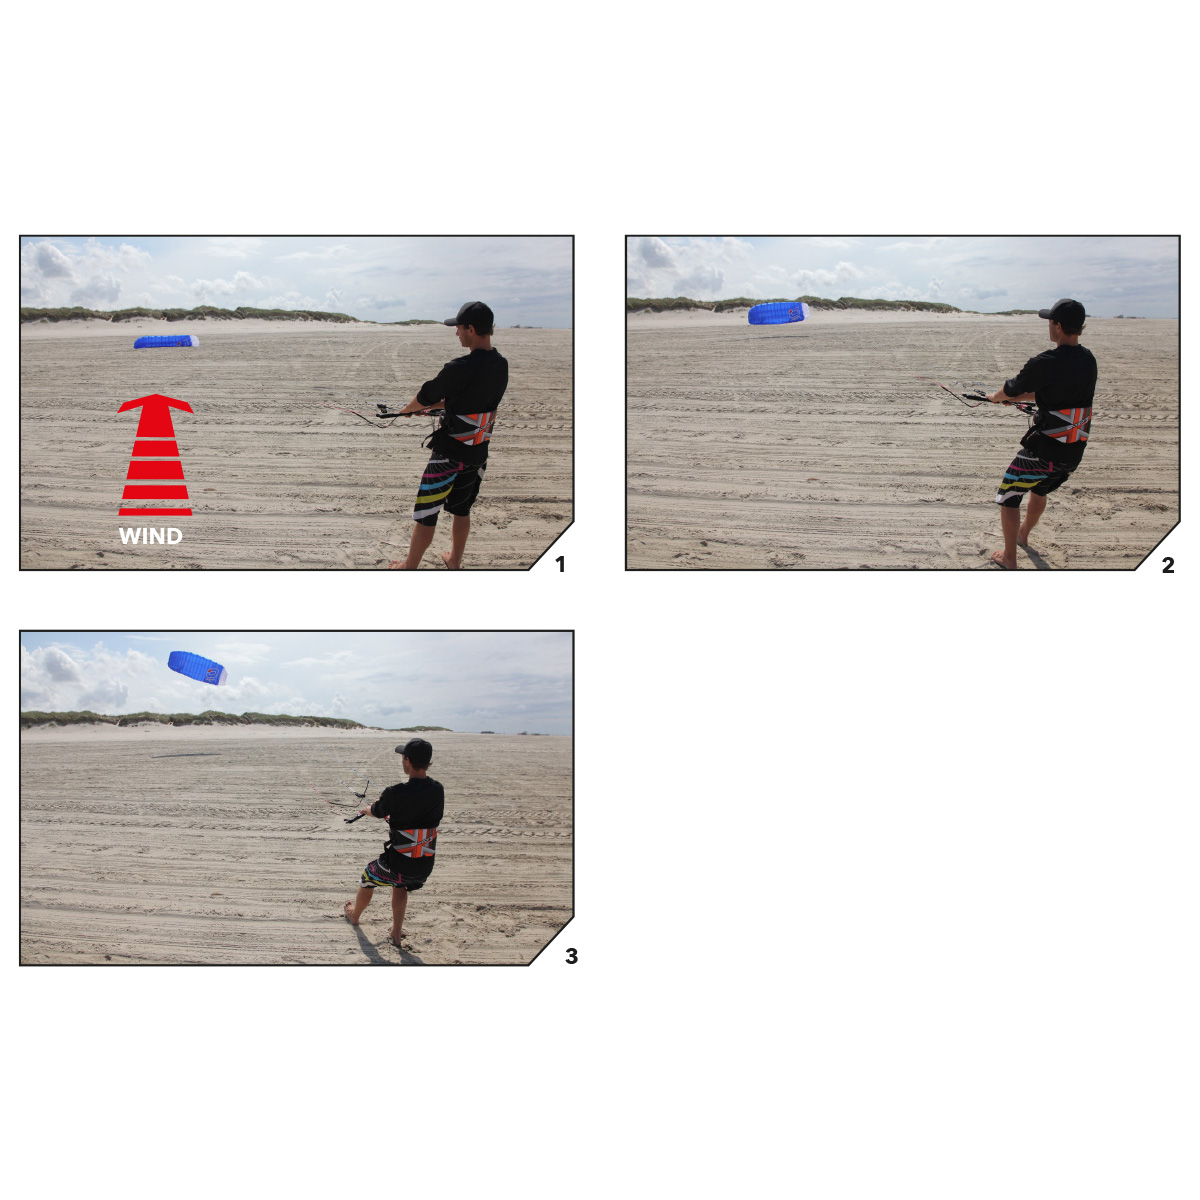
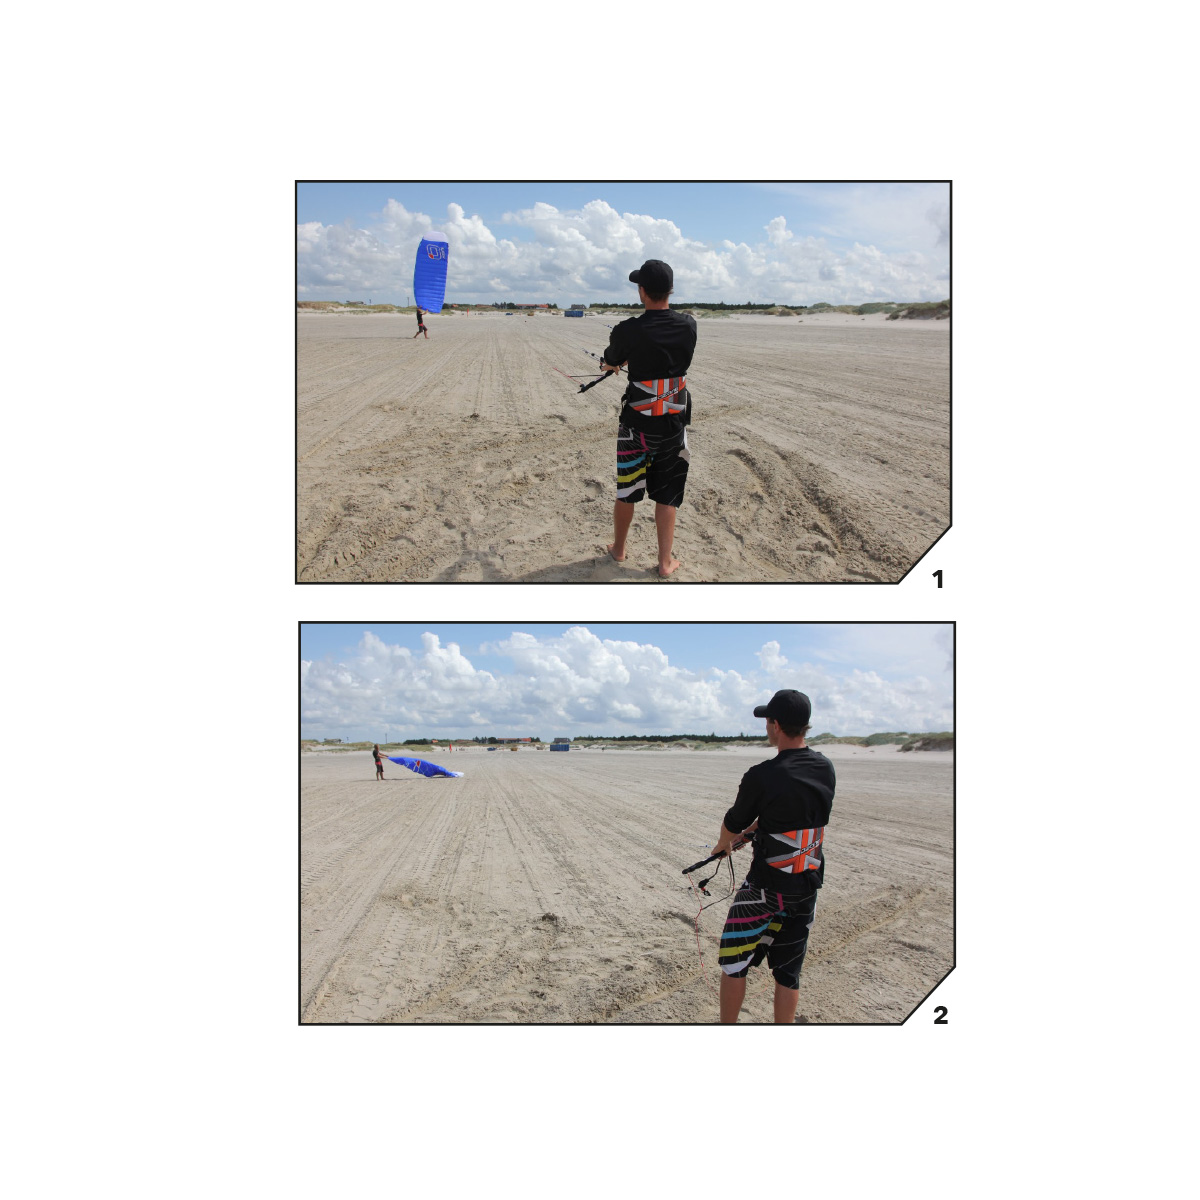
If the wind is light (less than 12 kph) lay trailing edge directly into the wind with sand/snow to secure kite. Place yourself directly in front of the kite. Hook into the Quick Release.

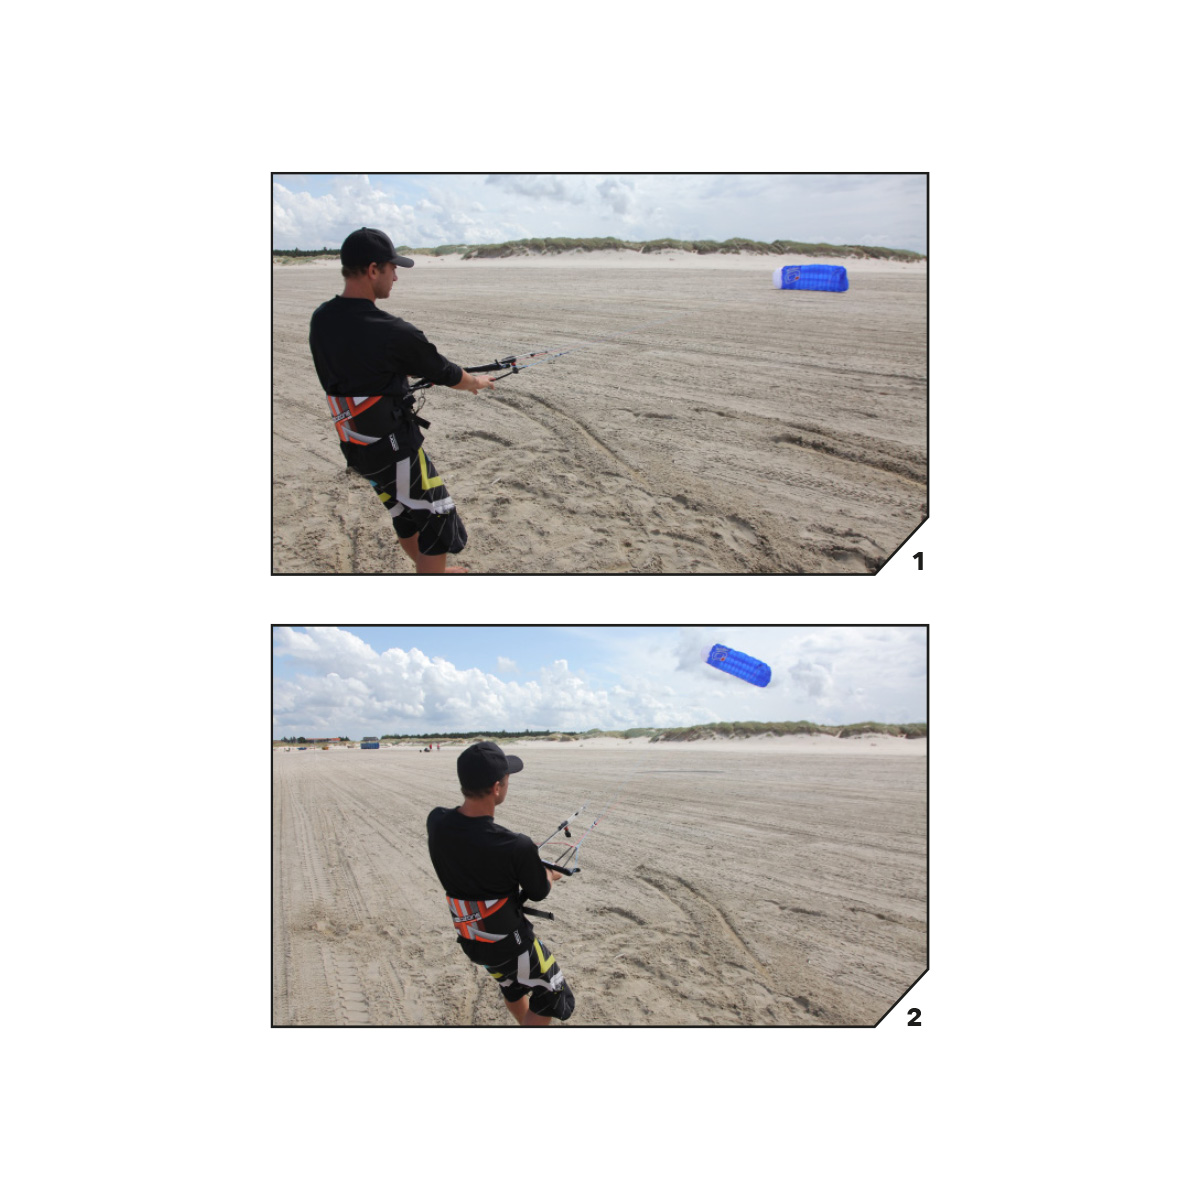
Step backwards while pushing the bar forward. The kite will inflate and take off.
In light winds, to assist launching, gently grab and pull on the front lines.

Strong Winds

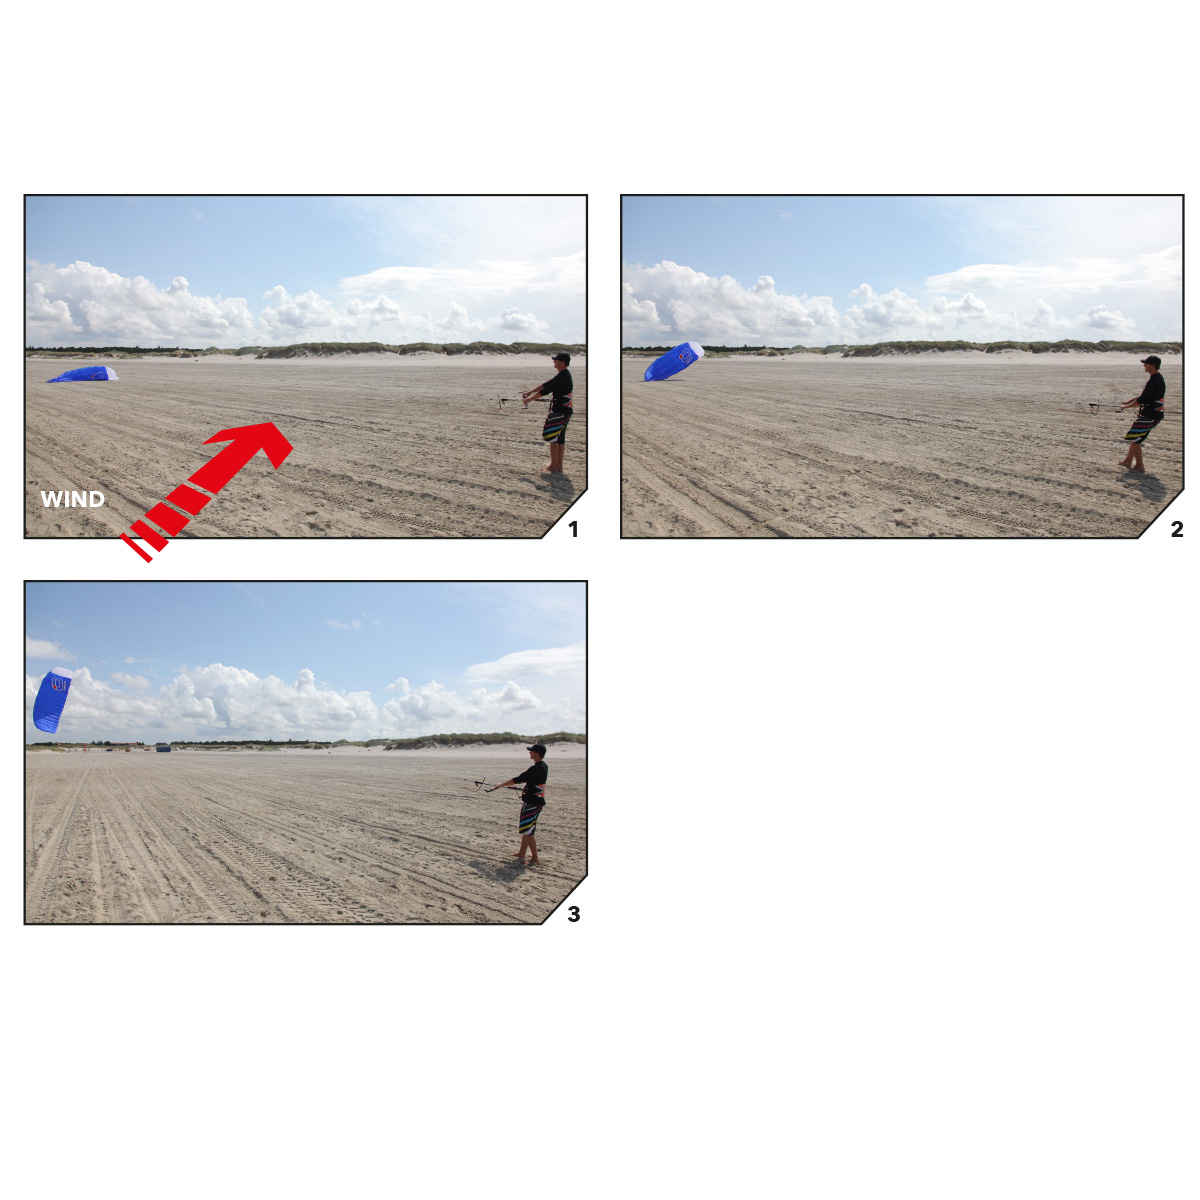
If the wind is strong (more than 12 kph), lay kite directly downwind with sand/snow or board securing the upwind tip.

Place yourself at 45 deg to the kite upwind. Hook into the Quick Release. Step backwards while pulling the down wind side of the bar to ease kite into the air.  The kite will inflate and take off on the side of the wind window.

Landing

Option 1:

Release the Primary Security.

Ensure the safety leash is connected to the total flag out line (see pictures, this is the recommended safety option). Activate the Quick Release and the kite will flag out completely and fall to the ground. (see SECURITY)

Option 2:

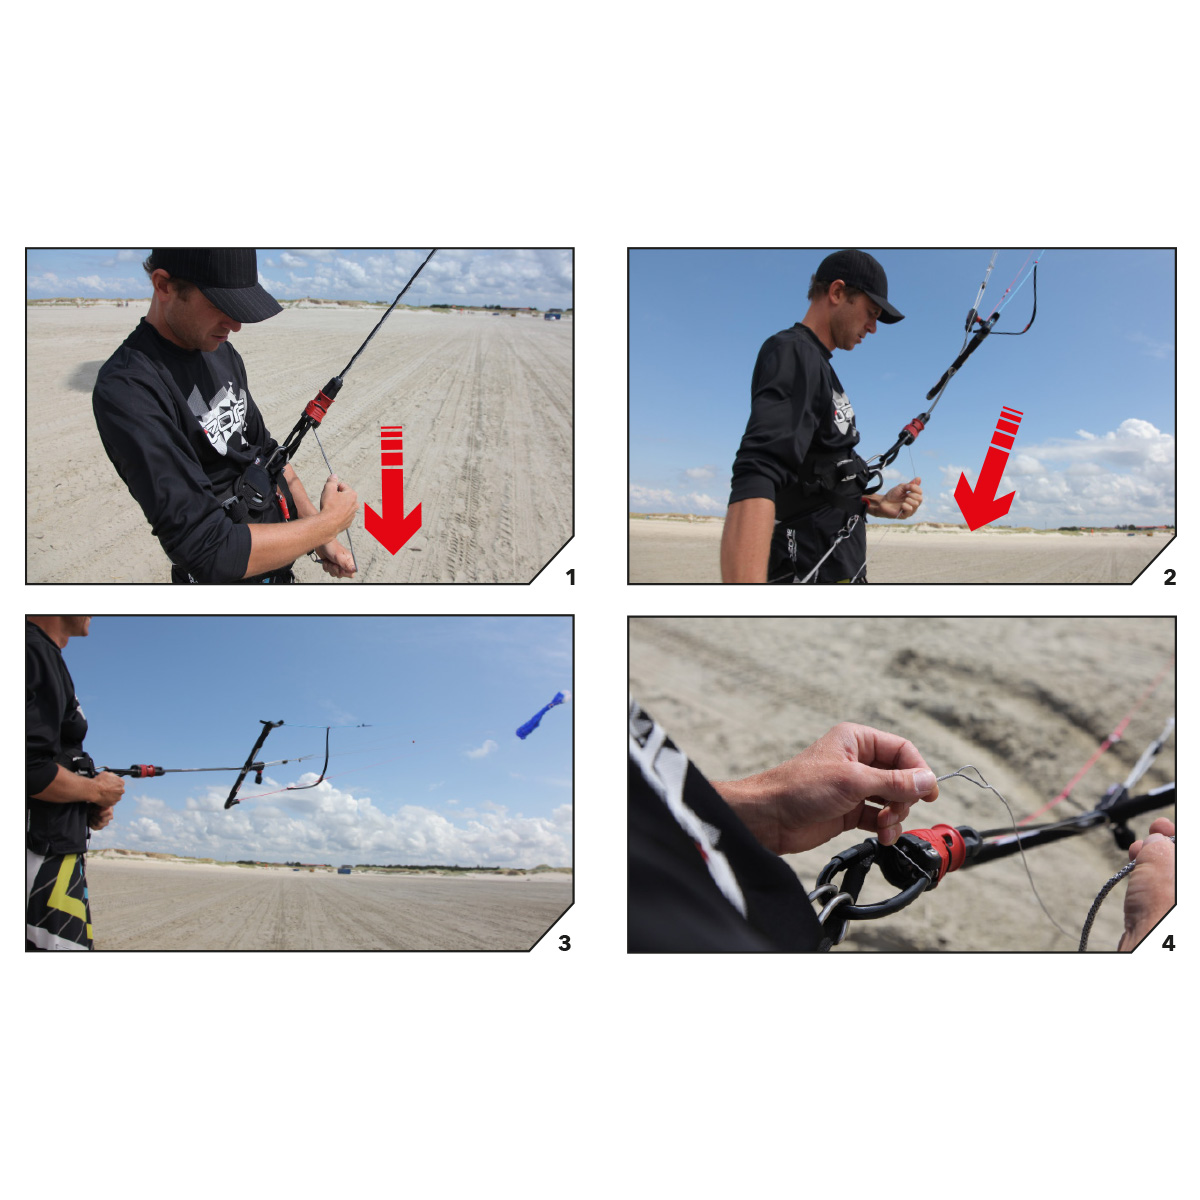
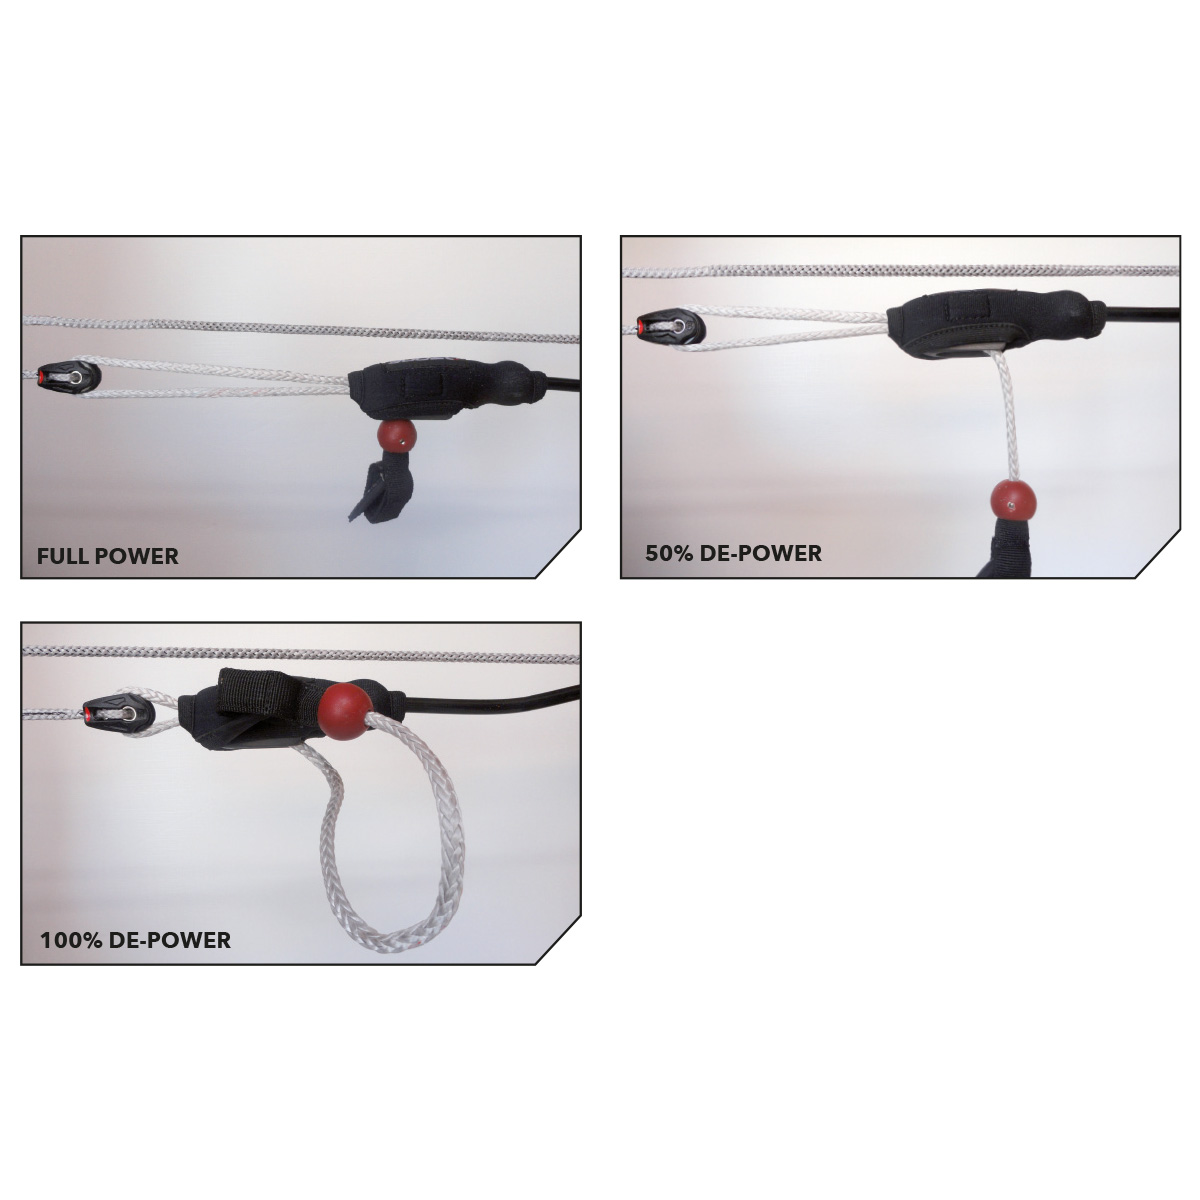
Pull the 5th line quickly through the Quick Release for about 2m. The kite will loose its power and stall to the ground. The more you pull, the less power. To secure the kite on the ground, hook the loop you find in the 5th line about 2m up, into your spreader hook, ground stake or bar horn.

Option 3:

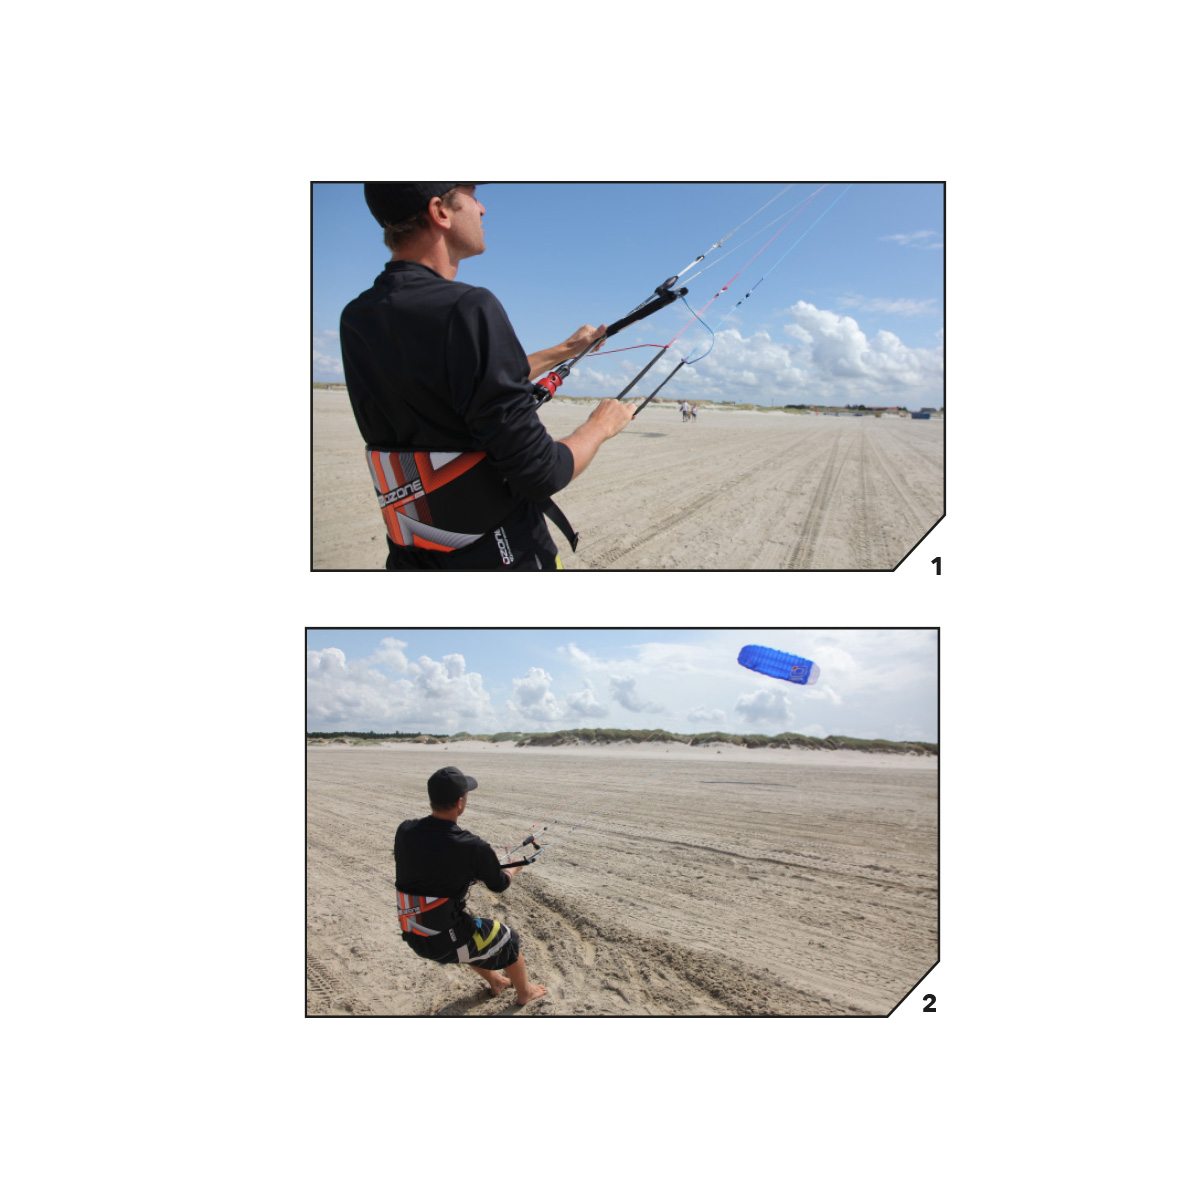
Grab the Brake Handle with one hand then pull it behind your back and HOLD.

  • The kite will stall evenly and reverse to the ground.
  • Take care not to release the Brake Handle until the kite has been secured with sand or snow.

Option 4:

Fly the kite to the edge of the window and lower it gently and controlled.

  • Have a friend catch and take control of the kite.
  • Run towards the kite to take all tension from the lines.

Reverse Relaunch

When the kite is landed face down, take the Brake Handle  firmly, pull and hold. The kite will reverse from the ground, turn over, and land leading edge up. The kite is now ready to launch normally.
See “LAUNCHING”.

Clamcleat Trimmer

To release the line from the cleat teeth, first pull out and down to unlock the line from the teeth, then set the trimmer line to the desired amount.

Pull the trimmer line down to de-power the kite. This is needed if you are overpowered, for unhooked riding, or if you are walking on the beach or snow.

Release the trimmer line away from you to increase kite power.

Triming for Line Stretch

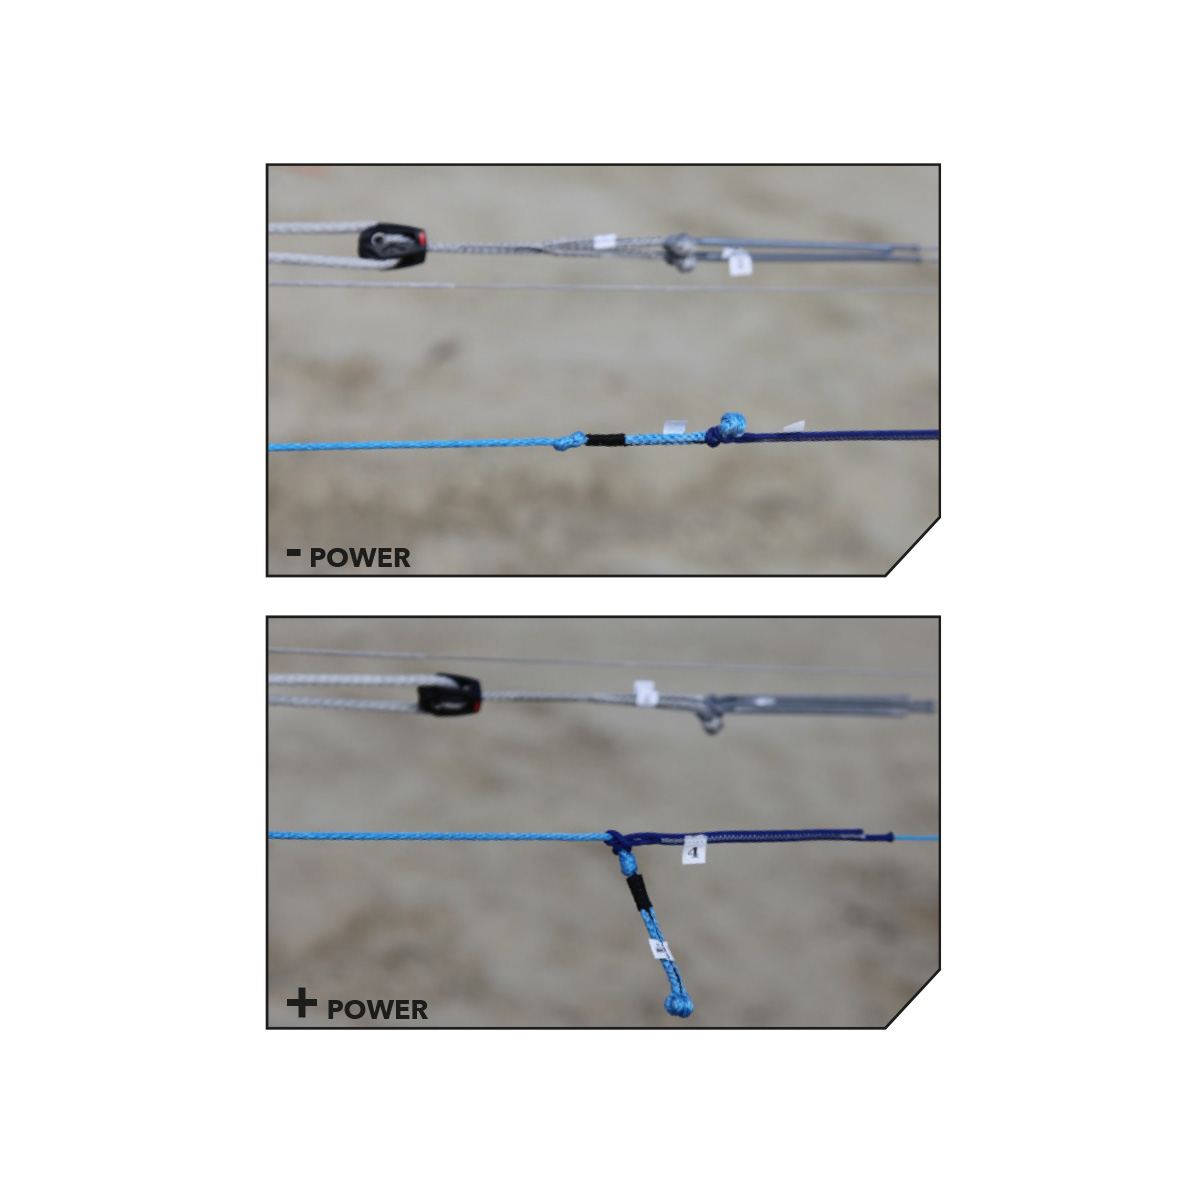
All lines should be maintained as close to equal length as possible. Flying lines can stretch over time, generally the front lines stretch more as these take the majority of the load.

To check your lines, unwind the lines from the bar and have a partner hold the lines even at the bar end. Taking hold of the lines at the other end, pull on the lines to check they are even. If the lines are not even you may either;

1)
Stretch out the shorter lines. Attach the shorter lines to a car hitch or something very solid. Then take hold of the bar and pull with enough force to stretch the line. Do this to any lines that are shorter and re-check that all 4 lines are equal length.

2) Use the Leader Line trimming knots..

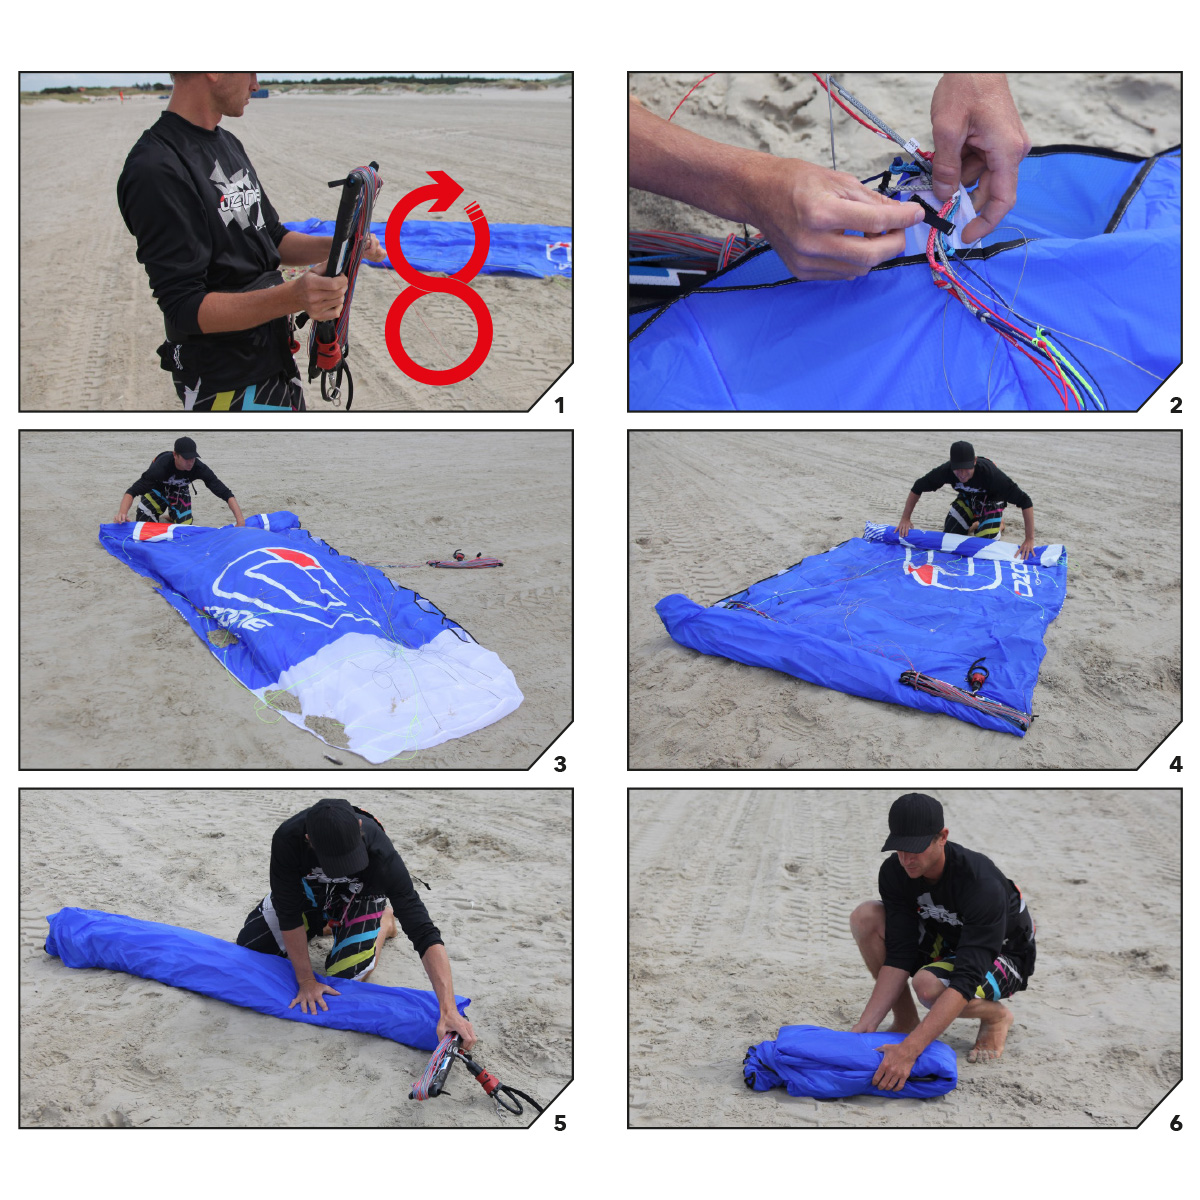
Packing

  • Land and safely secure your kite with sand, snow or your board.
  • Wind the lines around the bar horns. Secure the lines with the elastic.
  • Put the bar next to the trailing edge, and secure lines with velcro retainer.
  • Fold your kite from the tips to the centre.
  • Fold the sail from the trailing edge to the leading edge with the bar inside. Avoid folding close to the leading edge if your kite has plastic reinforcements there.
  • Fasten the webbing tie around the folded kite.

Maintenance

Speed System and Bridle lines should be regularly checked and maintained in the correct trim or the kite will not perform as designed. If they are worn or not to factory specification (+ or – 15mm) they must be replaced. How To videos and a Bridle Check PDF with all measurements can be found at www.ozonekites.com

You must inspect all your equipment before and after every use. Check the entire kite including upper and lower surfaces, line attachment points, speed system and bridles. Immediately replace any worn or damaged parts with original parts only.

Pre and post use check list.

  • Control System and Quick Release: Check for abrasion/wear, if any part is damaged replace it immediately. Reload/release the Quick Release to check the system is functioning correctly. Store your Control System with the Quick Release open. Reload the next time you set up your kite.
  • Lines: Check them every time you wind and unwind the lines. If one of them is damaged, change the corresponding pair.
  • Speed System: Check the pulleys and lines for abrasion, if any are damaged change them immediately.
  • Bridle Lines: Check the bridle lines for abrasion, if any are damaged change them immediately.
  • Sail: Check there are no holes or tears in the sail. If your sail is torn, you can repair it with the sticky cloth, provided in repair kit. To repair the sail, make sure it is clean and dry. Prepare two pieces of sticky cloth, one for each side of the damaged area. The patch should cover the hole by at least 2cm all round. Lay flat and stick on both sides.
  • Packing: Dry your kite after use away from the sun and direct heat. Never leave a wet kite in its bag. Store your kite in a dry place out of the sun. Never wash or clean it with detergent.