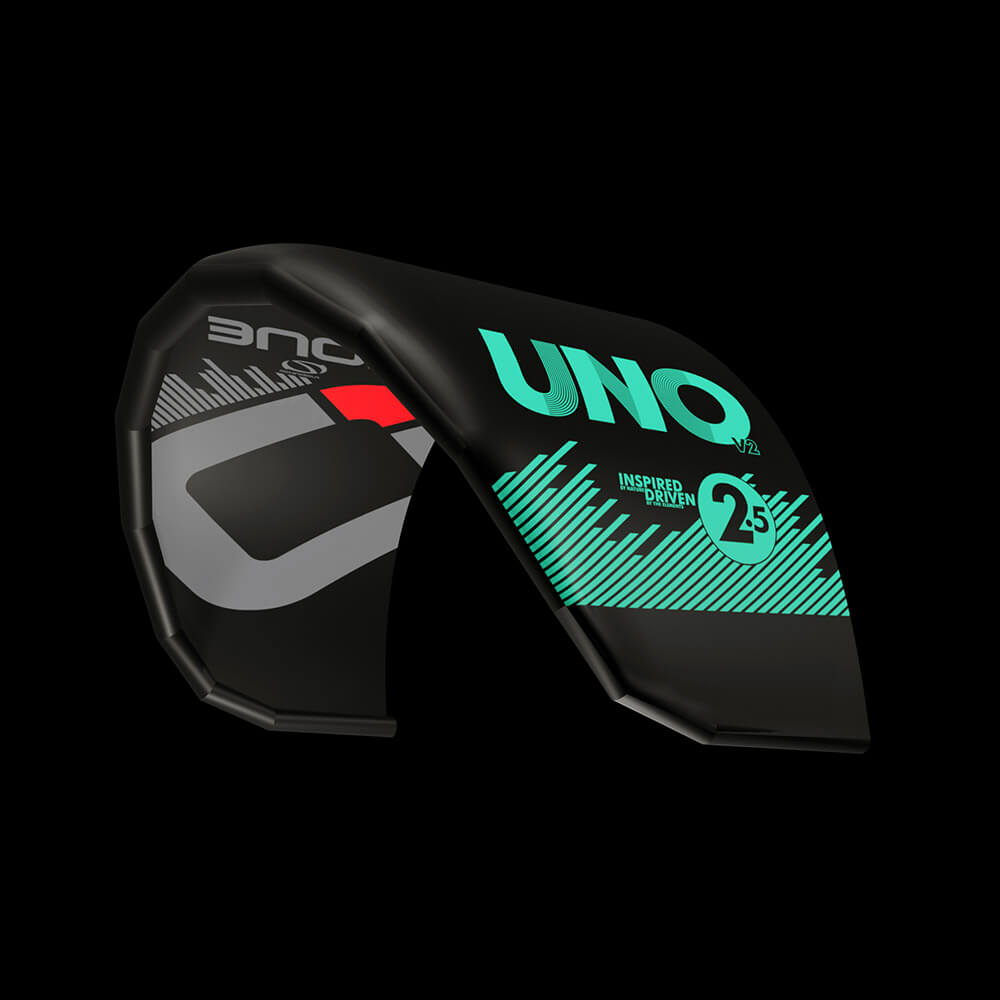
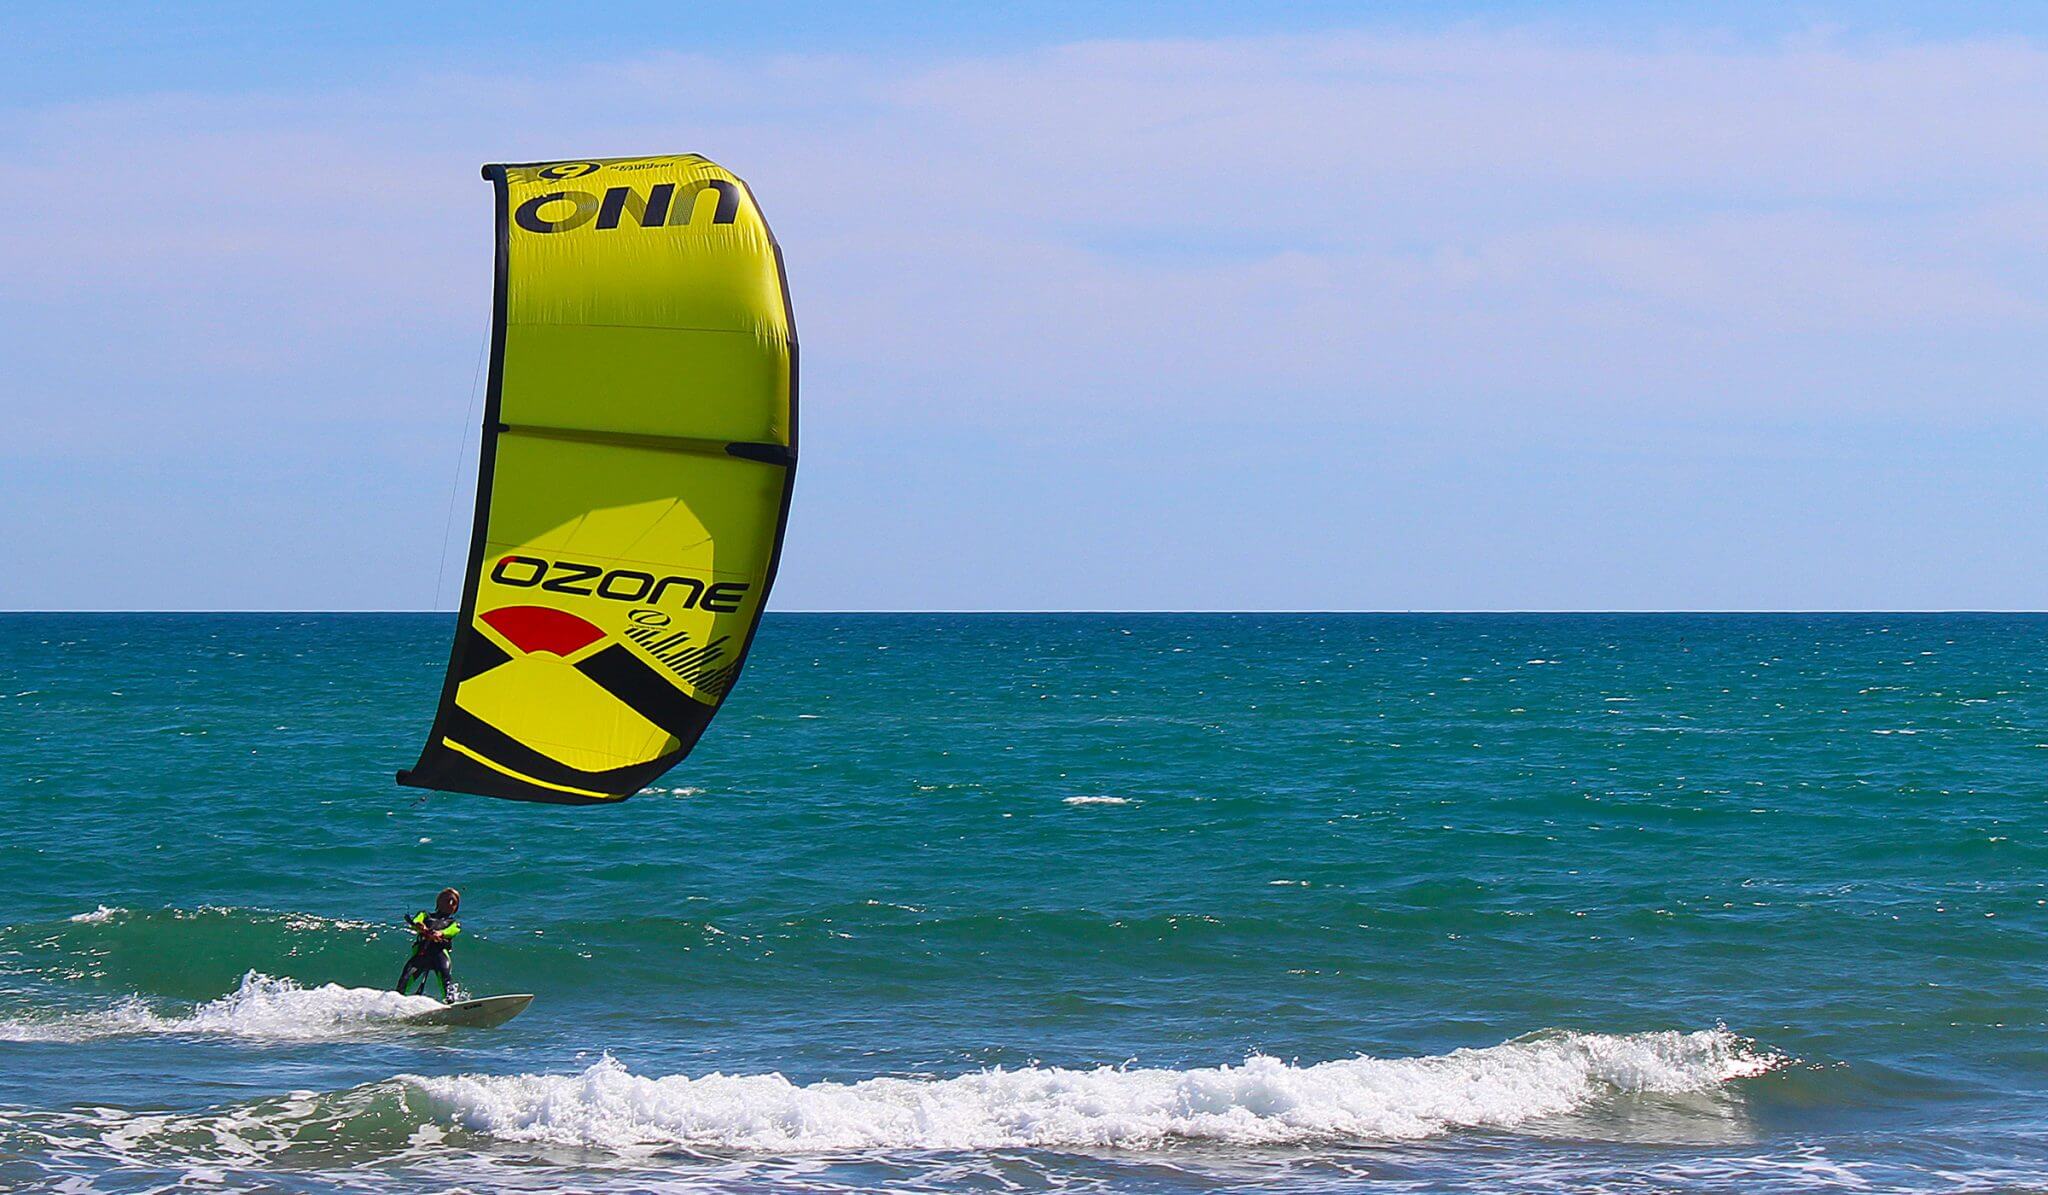
La Uno V2 es una cometa inflable, sencilla, asequible y robusta para practicar el despotenciado. Es una cometa ideal para las escuelas de kitesurf y perfecta y divertida para tener en tu material y hacer que tu familia y amigos prueben el kite. Al ser ligera, es cómodo y fácil viajar con ella y llevarla en el coche.
Encontrar una tiendaÁgil, divertida, suave y estable. Así es la Uno V2. Está disponible en tres tamaños: 2.5, 4 y 6 metros, y tiene potencia suficiente para garantizar que quienes empiezan puedan progresar fácilmente al nivel siguiente.
La Uno V2 vuela con nuestro sistema de control estándar de kitesurf, lo que permite que el alumno progrese fácilmente hacia cometas más grandes y siga estando familiarizado con el funcionamiento del sistema de control. Recomendamos usar longitudes de línea de 15-25m.
Ágil, divertida, suave y estable. Así es la Uno V2. Está disponible en tres tamaños: 2.5, 4 y 6 metros, y tiene potencia suficiente para garantizar que quienes empiezan puedan progresar fácilmente al nivel siguiente.
La Uno V2 vuela con nuestro sistema de control estándar de kitesurf, lo que permite que el alumno progrese fácilmente hacia cometas más grandes y siga estando familiarizado con el funcionamiento del sistema de control. Recomendamos usar longitudes de línea de 15-25m.
La Uno V2 es estupenda para enseñanza; los alumnos pueden aprender todo lo básico sobre volar una cometa inflable y aprender a usar los sistemas de suelta rápida al tiempo que usan una cometa de tamaño pequeño y menos potencia. La Uno V2 es ideal también para que naveguen sobre agua riders que pesen menos de 45 kilos.
LaUno V2 también puede usarse en tierra para las primeras clases de toma de contacto. No se requiere experiencia previa si se está acompañado por un kiter adulto y competente o por un instructor.
Productos de máxima calidad mundial, hechos en nuestra propia planta, confeccionados con los mejores materiales y sometidos en cada fase de fabricación a una rigurosa inspección manual. La fábrica Ozone también produce nuestra gama de velas de parapente, paramotor, speed flying y speed riding; todos nuestros productos pasan los mismos procesos de control de calidad.
El nuevo material ripstop tiene una imprimación ultraflexible que hace que la cometa transmita mejor en condiciones racheadas y permite navegar con mayor suavidad. El nuevo y técnico dacron ripstop es super robusto y se emplea en el borde de ataque y las costillas para mejorar la resistencia, durabilidad y vida útil.
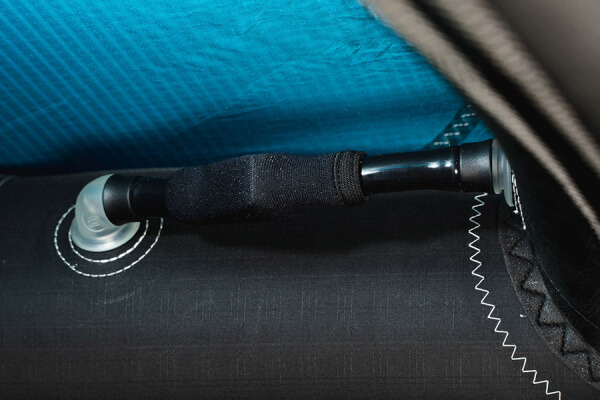
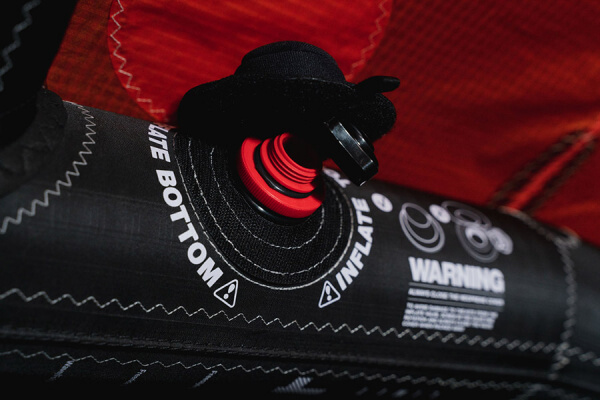
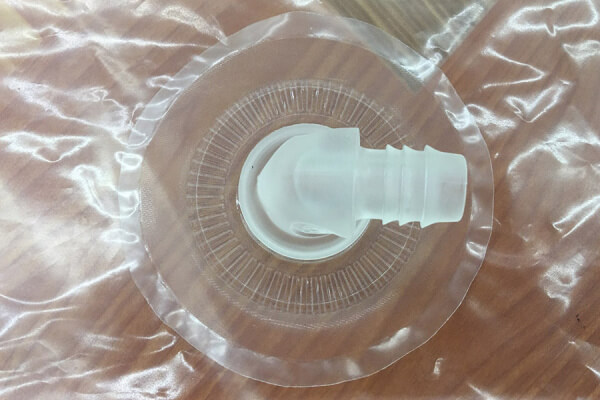
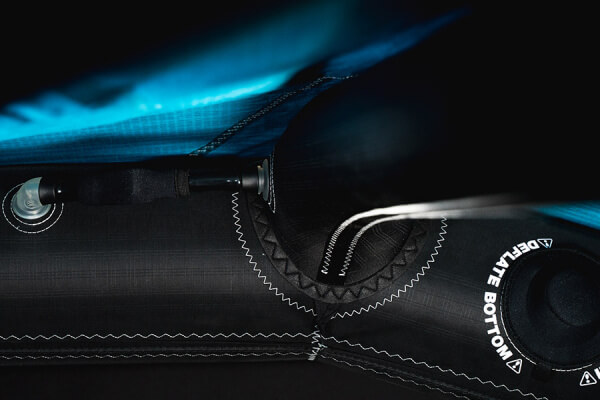
El nuevo sistema de inflado Fast Flow One-Pump hace rápido y sencillo armar y recoger la cometa. Hay un único punto de inflado/desinflado, y un elevado flujo de aire entre las costillas y el borde de ataque, con clips para estrangular los tubos y prevenir escapes no deseados en caso de daños.
Una válvula de gran caudal hace que el inflado y el desinflado sean rápidos y sencillos. Inflar es rapidísimo gracias al elevado caudal que entra en cada bombeo, y el sellado interior se activa para evitar que escape aire debido a la presión. Para desinflar y guardar la cometa basta con desenroscar la parte inferior de la válvula.
Los conectores de línea infalibles evitan montar de manera incorrecta las líneas de vuelo de la cometa.
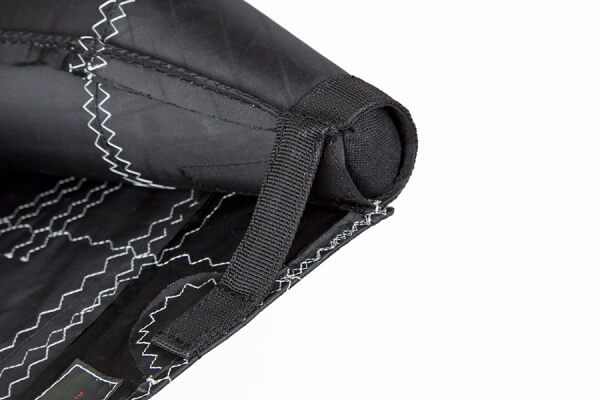
Los deflectores de línea antienganches evitan que las bridas y las líneas se enganchen en las puntas de la cometa. Mejora la seguridad cuando se despega con un compañero y facilita relanzar la cometa desde el agua.
Nuestras cámaras de aire las fabricamos nosotros mismos con maquinaria de soldadura propia y vanguardista. En todas las zonas de desgaste potencial se aplican capas dobles.
Nuestro método de construcción Direct Connect mejora la distribución de la carga entre el borde de ataque, las costillas y la cúpula. Las costillas van conectadas directamente al borde de ataque y llevan refuerzos internos y externos. Este exclusivo método de fabricación garantiza que se mantengan unos perfiles limpios y con la tensión óptima en la cometa.
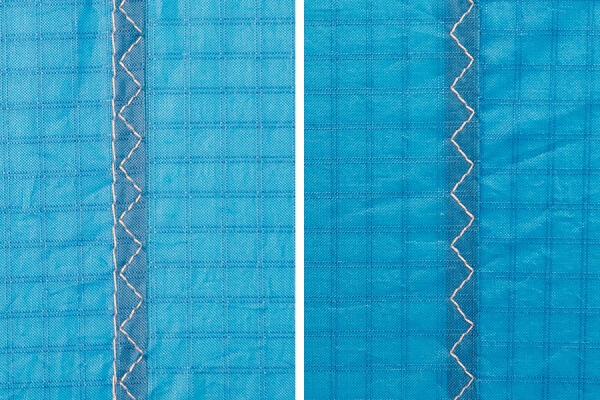
Las costuras del tejido de la cometa reciben una segunda costura tras el solape, para que la unión de los paneles quede limpia y robusta.
Lo que hay en el interior también cuenta: refuerzos internos para mejorar la robustez y la durabilidad, como la costura de cierre del borde de ataque, con hilos de elevada resistencia y doble capa de dacron + cinta de sellado Insignia.
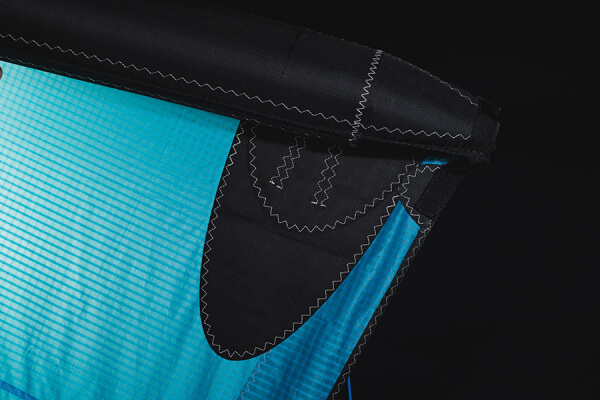
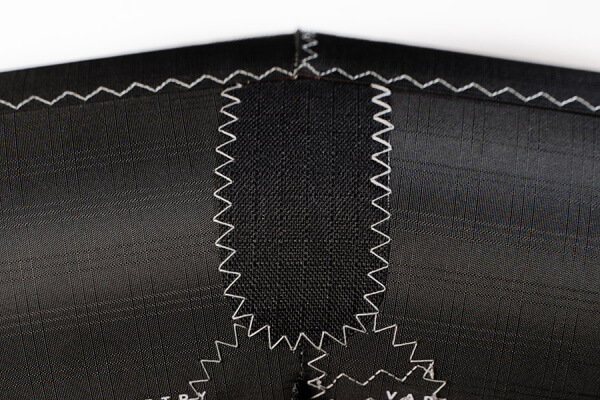
En todas las zonas que reciben carga, se emplean refuerzos de dacron para mejorar la distribución de la misma. Esto permite que todas las cargas se se repartan de manera uniforme en la vela para que la cometa vuele y rinda al máximo.
Los parachoques de borde de ataque a menudo son elementos abultados, cosméticos e innecesarios. En Ozone fabricamos nuestras cometas y velas para que rindan y duren, y empleamos los mejores materiales y componentes disponibles. En las zonas que requieren protección contra las rozaduras utilizamos un material ligero y duradero con una excelente resistencia a la abrasión, y los hacemos poco abultados para reducir la resistencia parásita y mantener las prestaciones.
El borde de ataque y las costillas están reforzados en las zonas de mayor tensión para garantizar que la cometa mantenga su forma y rinda al máximo.
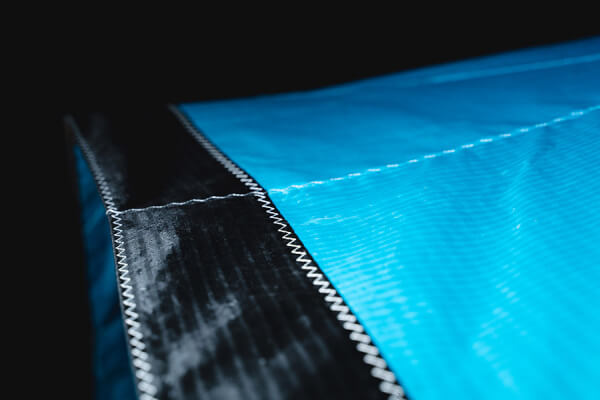
Una tira de doble capa en el borde de fuga, con un refuerzo interno de dyneema ligero reduce el desgaste de la cometa y contribuye a mantener la tensión óptima del borde de fuga que se calculó en el diseño. La tira de dyneema también reduce cualquier posible estiramiento en el borde de fuga.
Trabajamos a fondo durante nuestro proceso de I+D en el desarrollo del rango de tamaños para que las sensaciones sean homogéneas. Cada cometa tiene una geometría de bridas propia, que se prueba de manera individual y se afina para maximizar las sensaciones que transmite y sus prestaciones.
At Ozone we are passionate about sports, and it is this passion that drives our design team to perfect and develop products that we love to ride with. We are proud of the quality of our products, and are constantly searching for the best components and materials to use in our designs. We manufacture in our own high-quality production facility in Vietnam, which guarantees a build quality that we are proud to put the Ozone name on. A close look at one of our products reveals that same superior quality and construction that ensures that every Ozone product will enjoy a long life, with consistent performance and aesthetics. To view the factory video visit our website www.flyozone.com. Many dynamic action sports carry inherent risks but with common sense and education from qualified instructors means you can easily enjoy these incredible sports. Accidents generally happen due to a lack of experience, changing weather conditions or from using equipment not suited to the riders’ ability and/or conditions. Always take the time to learn safely with qualified instruction and you will progress far quicker. Ride safe Team Ozone
By assembling and/or using this Ozone product, you agree that you have read and understood the entire Ozone product owners manual, including all instructions and warnings contained in that manual, prior to using the Ozone product in any way. You additionally agree that you will ensure any additional or subsequent user of your Ozone product will read and understand the entire Ozone product owners manual, including all instructions and warnings contained in that manual, prior to allowing that person to use your Ozone product.
Use of the Ozone product and any of its components involve certain risks, dangers, and hazards which can result in serious personal injury and death to both the user and to non-user third parties. In using this Ozone product, you freely agree to assume and accept any and all known and unknown risks of injury to you and third parties while using this equipment. The risks inherent in this sport can be greatly reduced by abiding by the warning guidelines listed in this owner manual and by using common sense.
In consideration of the sale of the Ozone product to you, you herby agree to the fullest extent permitted by law, as follows;
TO WAIVE ANY AND ALL CLAIMS that you have or may in the future have against Ozone Kitesurf LTD or Ozone Kites LTD and all related parties resulting from use of the Ozone product and any of its components.
TO RELEASE Ozone Kitesurf LTD or Ozone Kites LTD and all related parties from any and all liability for any loss, damage, injury or expense that you or any users of you Ozone product may suffer, or that your next of kin may suffer, as a result of the use of the Ozone product, due to any cause whatsoever, including negligence or breach of contract on the part of Ozone Kitesurf LTD or Ozone Kites LTD and all related parties in the design or manufacture of the Ozone product and any of its components.
In the event of your death or incapacity, all provisions contained herein shall be effective and binding upon your heirs, next of kin, executors, administrators, assigns, and representatives. Ozone Kitesurf LTD or Ozone Kites LTD related parties have not made and expressly deny and oral or written representations other than what is set forth herein and the Ozone product owners manual.
A: Pump Leash
B: Leading Edge
C: Trailing Edge
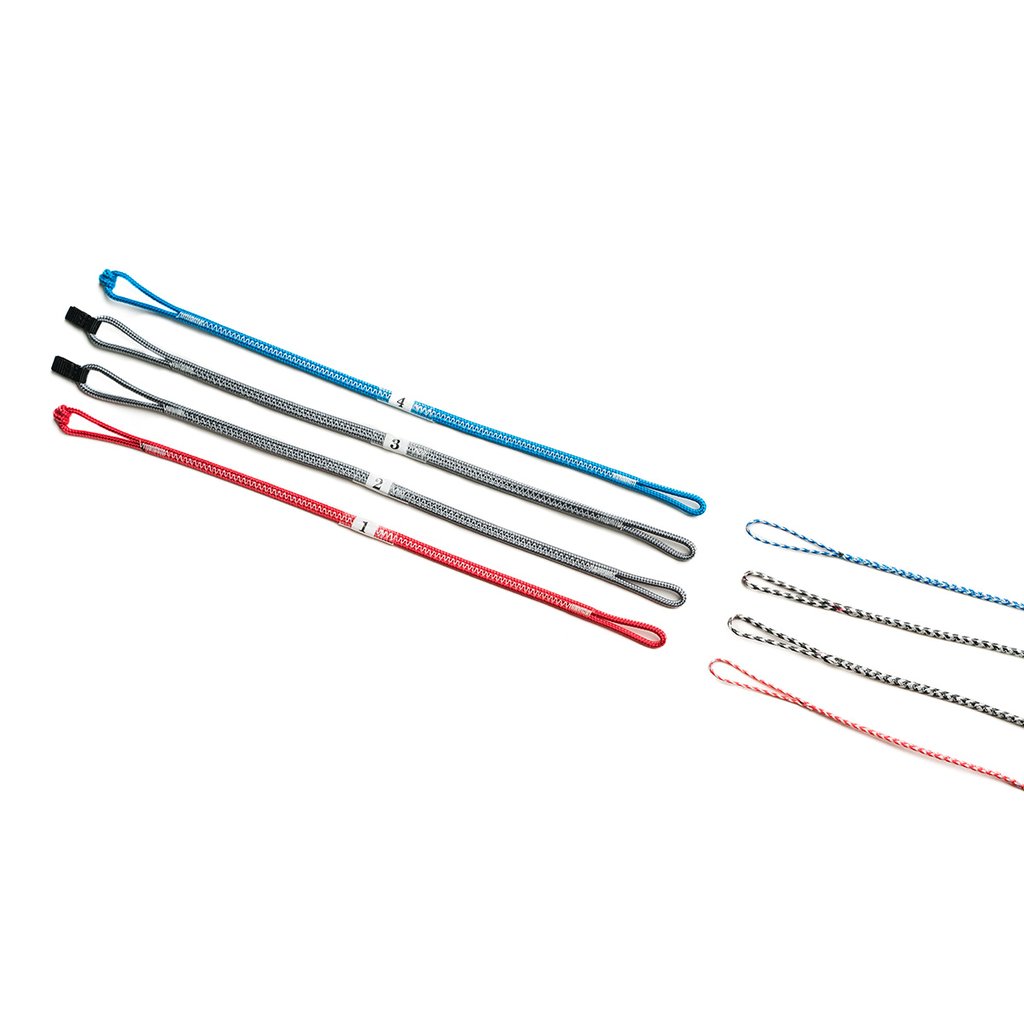
1 & 4: Back Lines
2&3: Front Lines
1 & 4: Back Lines
2&3: Front Lines
A: Clamcleat Trimmer
B: Flag Out Line
C: De-Power Line
D: Quick Release Handle
E: Quick Release Loop
F: Flag-out Loop
G: Finger
Do not ride the kite with the one pump clips undone. If you get a puncture the whole kite will deflate! Always close the one pump clips inside the neoprene covers after pumping up. Do not under inflate the kite or it will not perform to its designed trim and will not relaunch easily.
Always double check your lines before launching. Wrongly attached lines will stop the kite flying correctly and could therefore mean you have no control of the kite putting yourself in a dangerous situation.
The Quick Release is the primary connection to the kite. Make sure you connect to the Quick Release using the finger as shown in the pictures.
All riders should attach their Kite Leash to the Flag Out System. This is the small eyelet on the Stainless Steel Swivel Ring.
When the release is activated, the kite will flag out and fall to the water/ground.
In all situations make sure that all lines are clear of all working release systems and the kite leash is connected in the right way.
Riders performing unhooked tricks or who are more confident and have spent many hours Kiting can attach in Expert mode, where the loop part runs through the large eye of the steel ring. When letting go of the bar in Expert mode (without activating the release e.g. missed handle pass) the kite will depower but WILL NOT flag out.
Be aware in this situation, the Quick Release will be out of reach and can therefore not be released. When hooked in and activating the Quick Release the steel ring automatically slips off and the kite will flag out.
Activate the Quick Release as shown in the pictures. Providing your leash is attached to the flag out system the kite will 100% depower.
In the case of an extreme emergency where you need to completely release from the kite, use the quick release on the kite leash. This will completely detach the kite and control system from the user, and could therefore hit anything or anyone downwind causing damage, serious injury or death. RIDE RESPONSIBLY.
WARNING:
NEVER LAUNCH A KITE DIRECTLY DOWNWIND OF YOU IN THE POWER ZONE!
Instruct your partner on how to handle the kite and agree on a sign together for the release and landing. They should hold the kite in the center of the leading edge at the edge of the window and double check that all lines are clear. It is possible for lines to get wrapped around the tip so make sure they understand that all lines must run clearly from each attachment point.
Before you give the signal to release make sure you are 100% confident that all lines are clear. Then give your pre-agreed signal for your partner to release the kite and gently launch the kite to the top of the window.
Landing the kite use the same principles >> Most importantly keep your head clear, be smooth and controlled with the kite and land before you are too tired or overpowered.
WARNING:
Make sure you grab the correct side of the bar
– we colour code the bar red for left.
Once the kite is face down with the leading edge touching the water:
NOTE: If the kite somehow lands nose down but with the tips facing away, pull one of the rear leader lines to help the kite blow around to the correct position then follow the steps above for getting the kite re-launched.
If you get in trouble out in the water, there is a simple way to self rescue yourself.
Firstly kill the kite’s power with the flag out system by releasing the chicken loop. The kite will flag out and drop to the water.
Lines are dangerous in this situation so make sure you wind the flag out frontline around the bar at least 10x to disable the kite. Then wrap all the lines together onto the bar as you normally would. You will end up at the kite ideally with the lines wrapped tightly and neatly on the bar. Make a few half hitches to secure the lines.
Once you have got hold of the kite you can drop the bar. When you have reached the kite, take hold of the bridle lines at each wingtip. Hold both bridals to use the kite as a sail to get back to shore safely.
To release the line from the cleat teeth, first pull out and down to unlock the line from the teeth, then set the trimmer line to the desired amount.
Pull the trimmer line down to de-power the kite. This is needed if you are overpowered, for unhooked riding, or if you are walking on the beach or snow.
Release the trimmer line away from you to increase kite power.
1: FULL POWER
2: HALF POWER
3: FULL DEPOWER
All lines should be maintained as close to equal length as possible. Flying lines can stretch over time, generally the front lines stretch more as these take the majority of the load.
To check your lines, unwind the lines from the bar and have a partner hold the lines even at the bar end. Taking hold of the lines at the other end, pull on the lines to check they are even. If the lines are not even you may either;
1) Stretch out the shorter lines. Attach the shorter lines to a car hitch or something very solid. Then take hold of the bar and pull with enough force to stretch the line. Do this to any lines that are shorter and re-check that all 4 lines are equal length.
2) Use the Leader Line trimming knots located underneath the bar ends.
Kites are very technical products and are used in the harsh marine environment. If you use common sense and care for your equipment it will look after you and keep its factory trim for hundreds of hours.
Never pump up your kite on a rough surface which may have sharp objects.
Be very careful with your flying lines. If you catch them on a rock or sharp object thoroughly check each one and we recommend you replace your lines. Also make sure there are no knots in the lines. Knots weaken the line by up to 50%.
Once you have pumped up secure your kite with sand or use sandbags – Do not use heavy objects or even your board, the fins have been known to rip kites.
Never leave your kite on the beach un-used for long periods of time in the sun and wind. The trailing edge flapping and sand hitting the sail cloth will severely shorten the kite’s life. UV also shortens the lifespan of a kite so pack away when not using your kite.
Never pack away your kite wet, only when 100% dry – This will damage the cloth and its coatings and may lead to dye running. This is not valid for warranty.
Never leave your kite inside your car in direct sunlight.
Always clean your control system with fresh water after every session, and reload/release the Quick Release to check the system is functioning correctly. Store your control system with the Quick Release open. Reload the next time you set up your kite.
When inflating the bladders always inflate slowly and ensure the bladders are inflating correctly in the struts or leading edge. If you see a twist or something looks strange STOP pumping immediately and check bladders. They may need re-inserting to ensure they inflate properly.
We supply a repair kit with the following contents:
1. A4 pieces of sail cloth
2. A4 piece of Dacron
3. 1 x length of 50mm wide sticky black repair tape
4. 6” x 3” Tear-Aid bladder repair patch
5. 2 Alcohol wipes
6. One pump clip / hose / hose retainer
If you have a major repair like a tear across panels, struts or the leading edge take the kite to your local sail repair shop. For minor tears and bladder punctures you can easily fix these yourself with the repair kit supplied with the kite.
A clean and simple design, featuring an easy-to-use trim system and our innovative Click-In Loop Quick Release.
Encontrar una tiendaPush-away quick release with an innovative one-step Click-In reload function that is incredibly intuitive. The release handle fits comfortably in the hand, it is quick and easy to activate the release by pushing the handle away. A self-positioning release mechanism locates automatically, ready to be re-loaded by simply ‘clicking’ in the loop. The Click-In Loop is AFNOR NF S52-503 certified.
Colour coded 500kg front / 300kg back lines are precision cut, pre-stretched, spliced and sewn in our own production facility to guarantee accuracy. We use the highest quality Bio-based Dyneema® – this material has the same performance as conventional Dyneema® with a carbon footprint that is 90% lower than generic HMPE fiber.
Our modular design makes adding or removing extensions quick and easy via removable pigtail end connectors.
3D pressed EVA with ergonomic shaping and a lightly sanded finish provide the ultimate bar grip. It is colour coded with the leader lines and flying lines for an added visual safety feature.
What’s the first thing you do when you get in a car? You click in your seatbelt, hearing that ‘click’ sound makes you feel secure that you are safely buckled up, and you know instinctively how to release it. The design of our innovative quick release system, the Click-In Loop, was inspired by the same principle. In the same way fastening your seatbelt has become a natural action when getting into a car, riders should activate and reload their release systems before and after every use. Although this important safety check is often overlooked, checking your release before each session will ensure it is functioning properly. We developed the Click-In function to be simple and intuitive, so activating and reloading will become second nature.
All riders should attach their Kite Leash to the Flag Out System. This is the small eyelet on the Stainless Steel Swivel Ring.
When the release is activated, the kite will flag out and fall to the water/ground.
Riders performing unhooked tricks or who are more confident and have spent many hours Kiting can attach in Expert mode, where the loop part runs through the large eye of the steel ring. When letting go of the bar in Expert mode (without activating the release e.g. missed handle pass) the kite will depower but WILL NOT flag out.
Be aware in this situation, the Quick Release will be out of reach and can therefore not be released. When hooked in and activating the Quick Release the steel ring automatically slips off and the kite will flag out.
In all situations make sure that all lines are clear of all working release systems and the kite leash is connected in the right way.
Always clean your control system with fresh water after every session, and reload/release the Click-In Loop to check the system is functioning correctly. Store your control system with the Click-In Loop release open. Reload the next time you set up your kite.