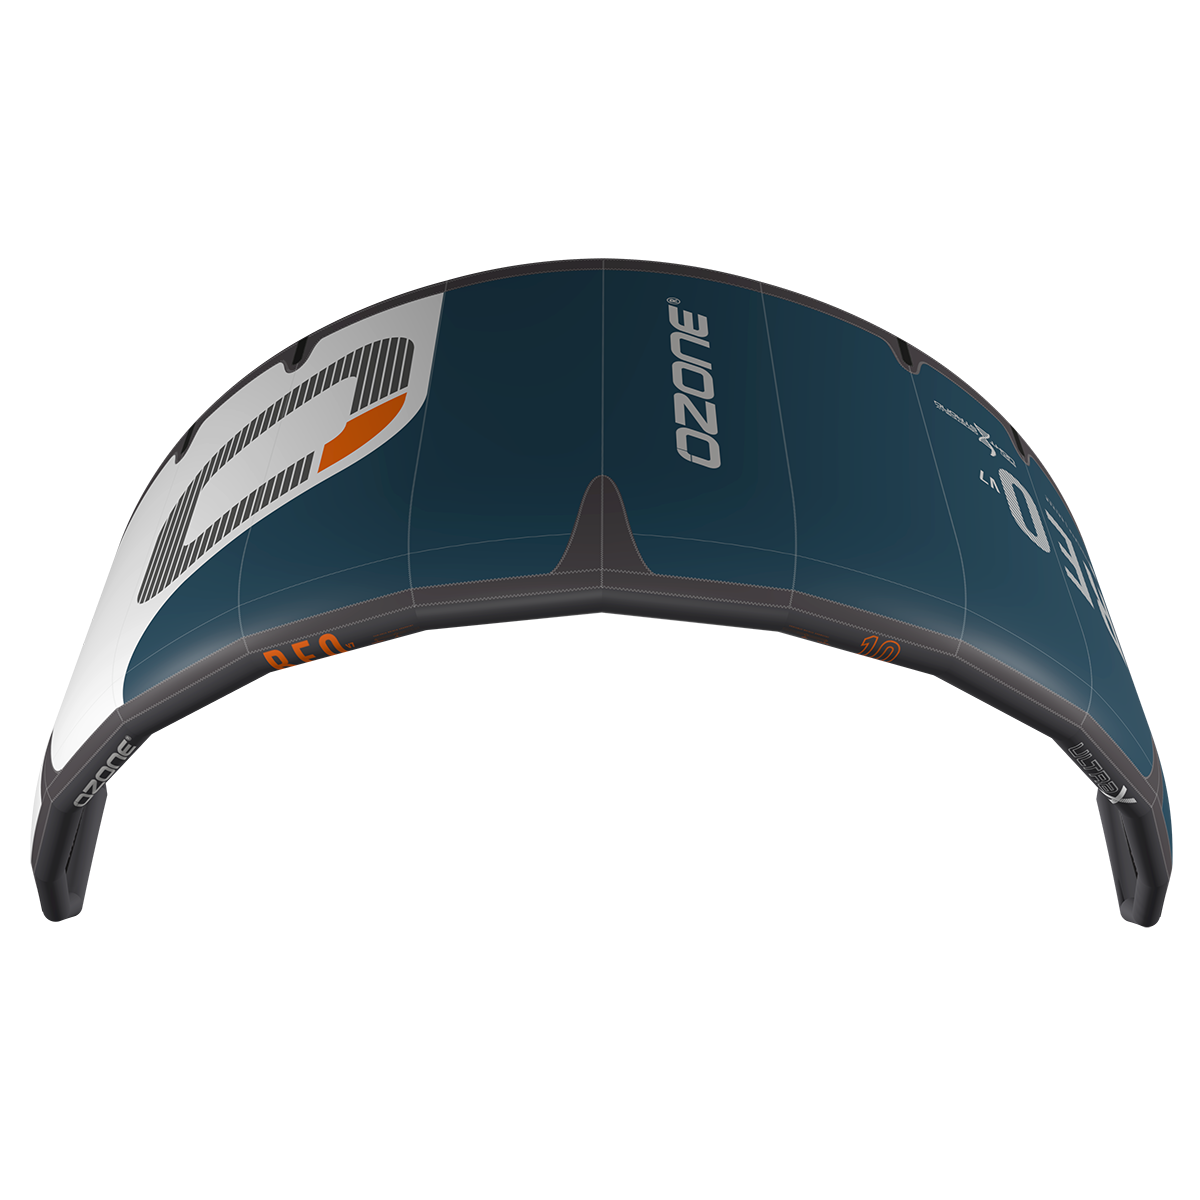
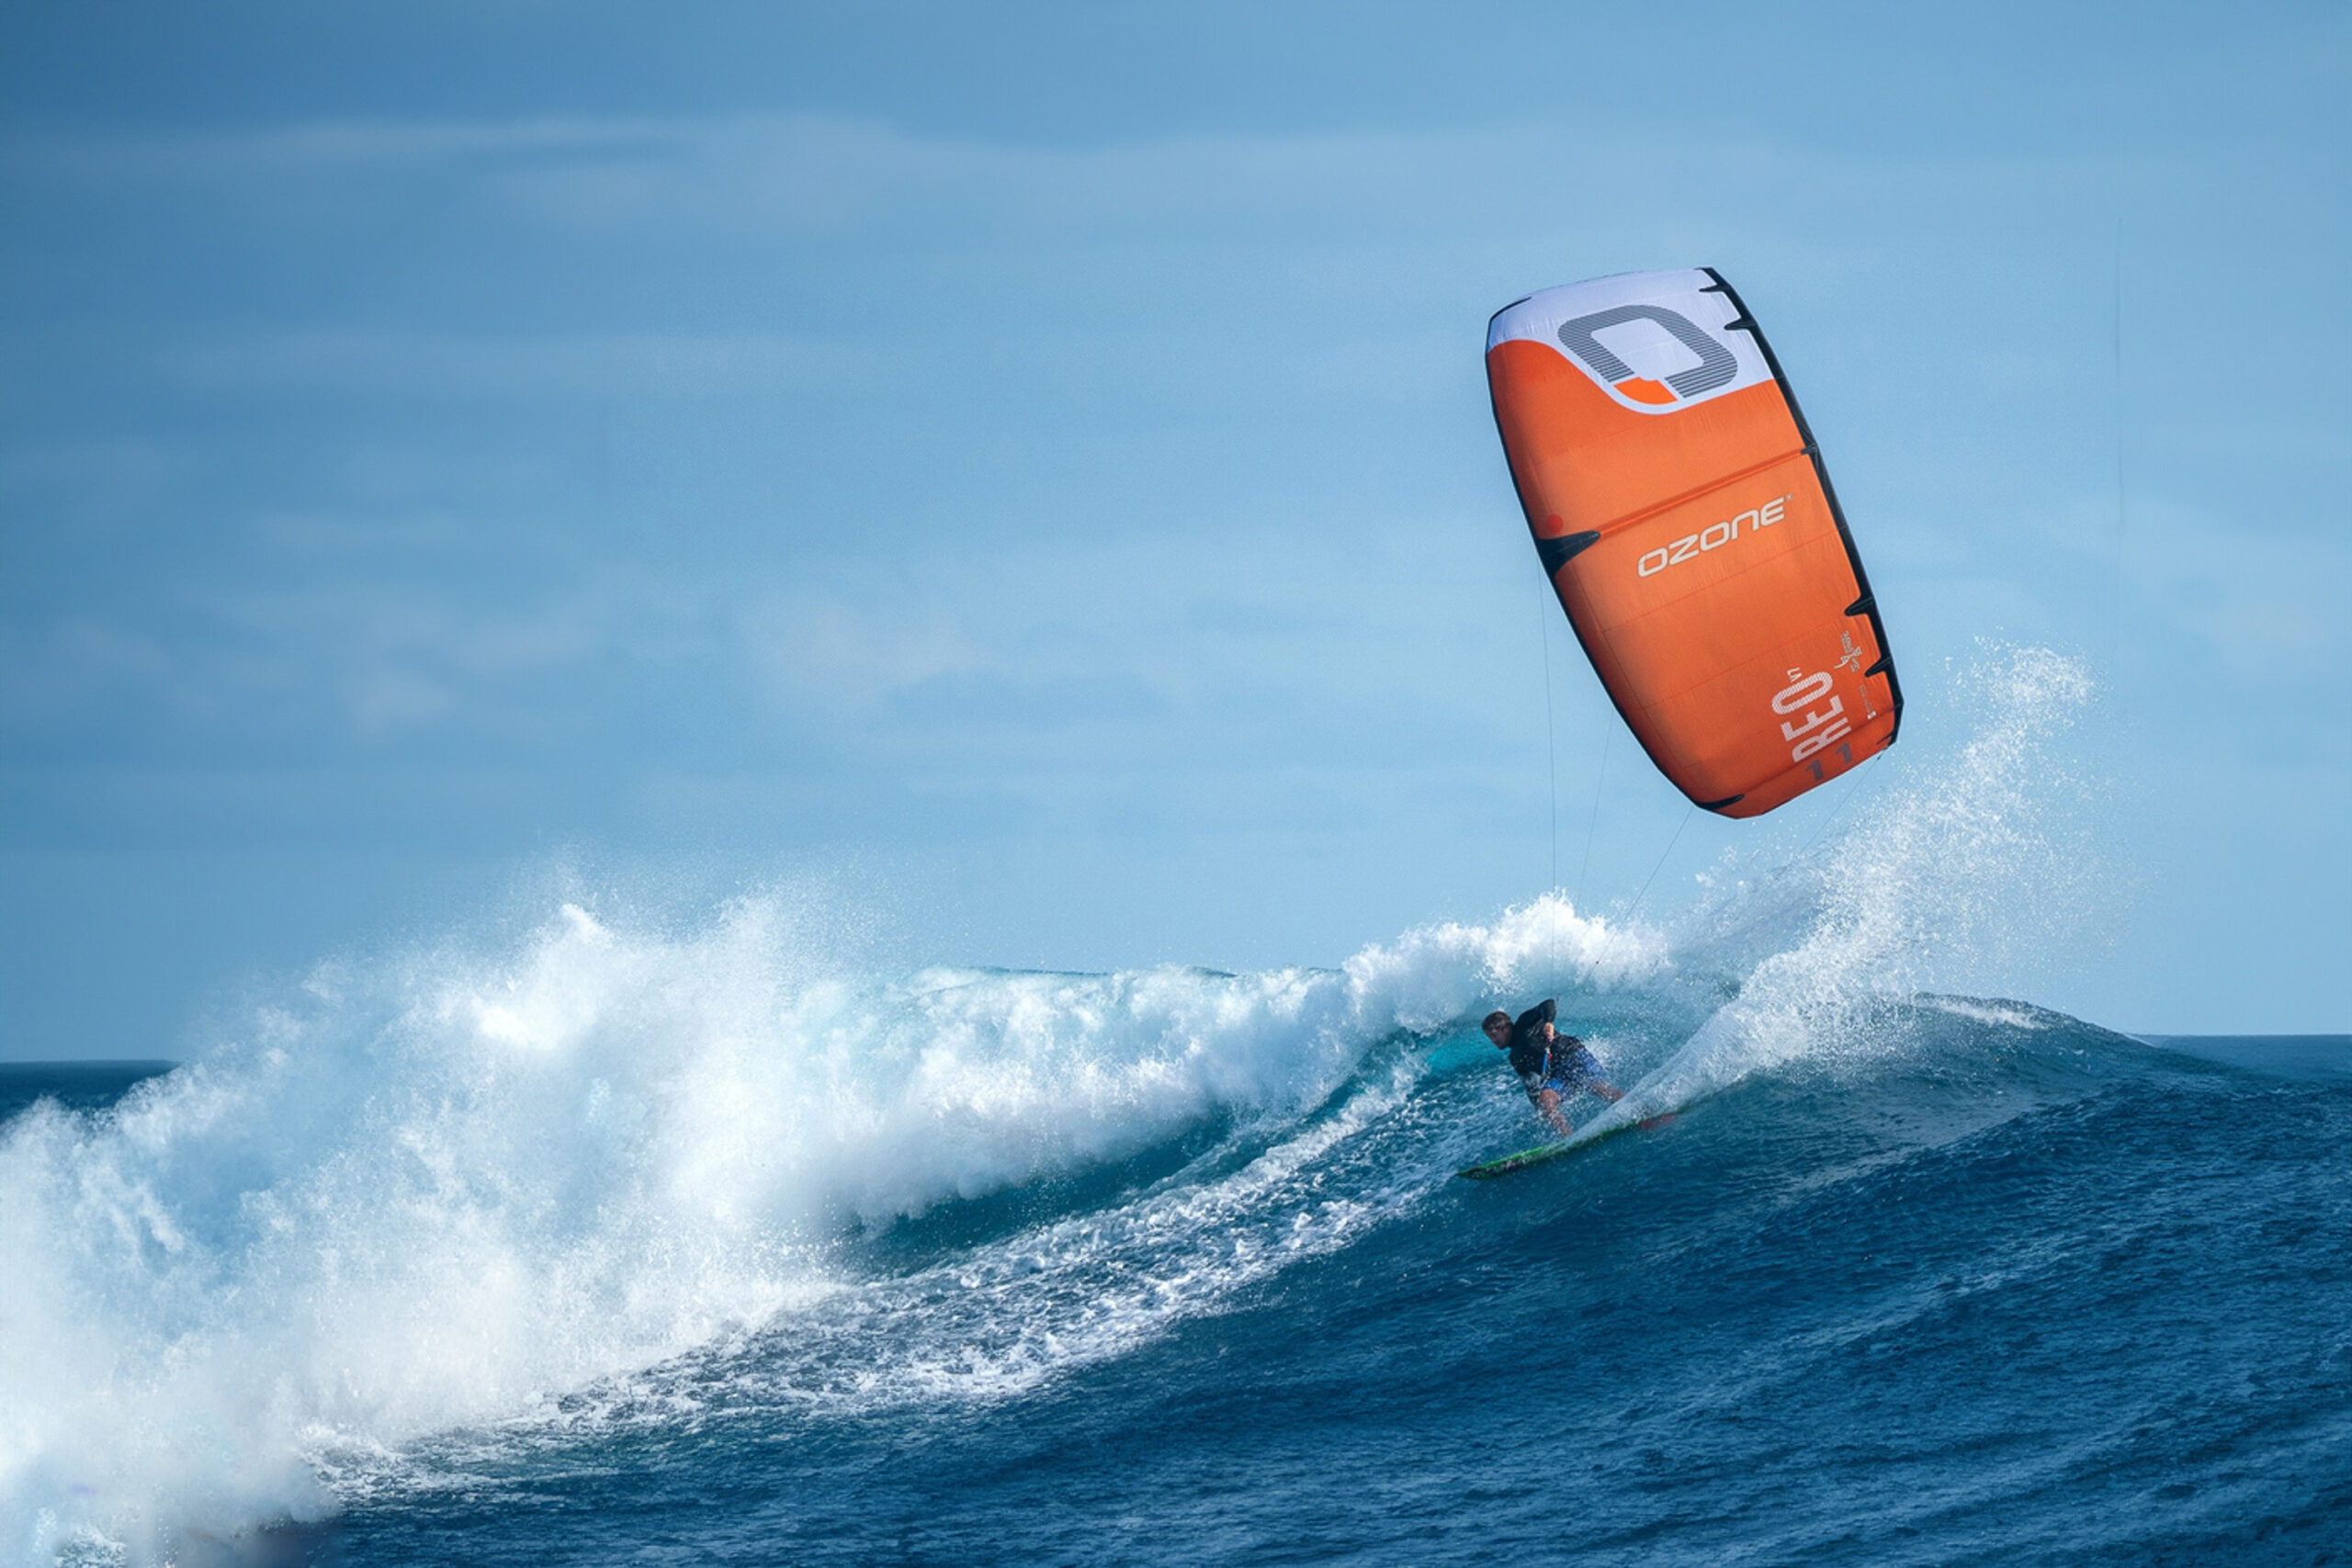
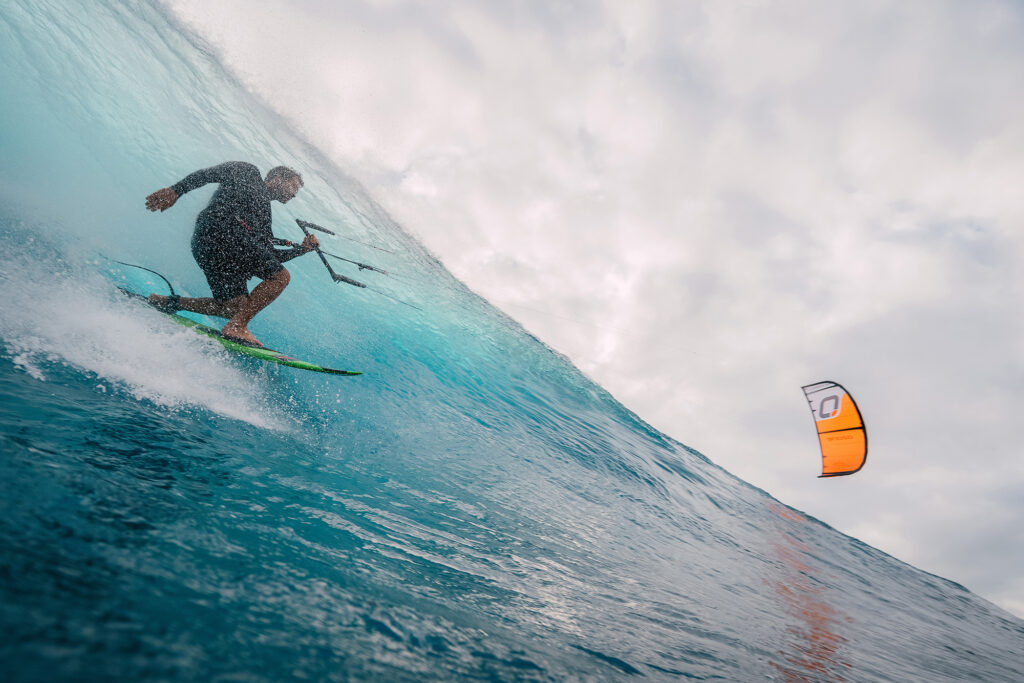
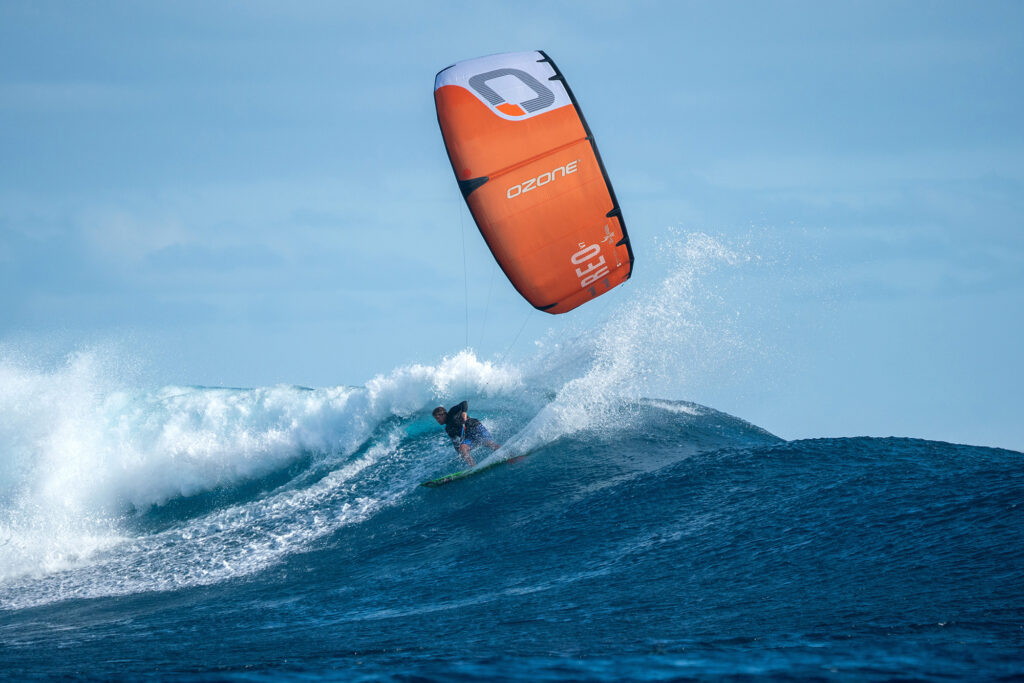
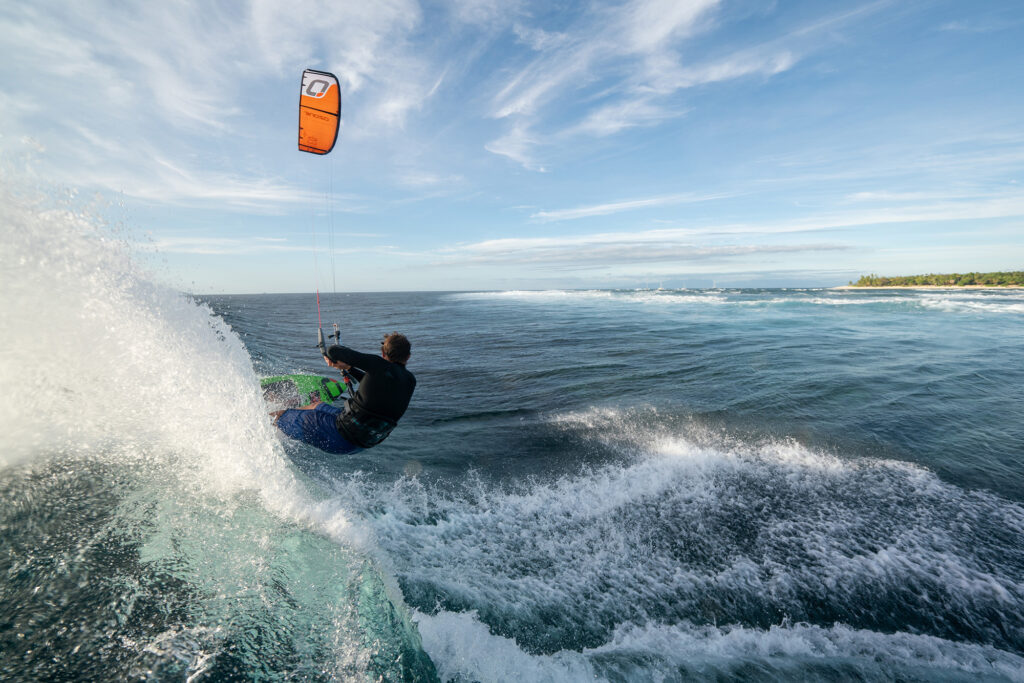
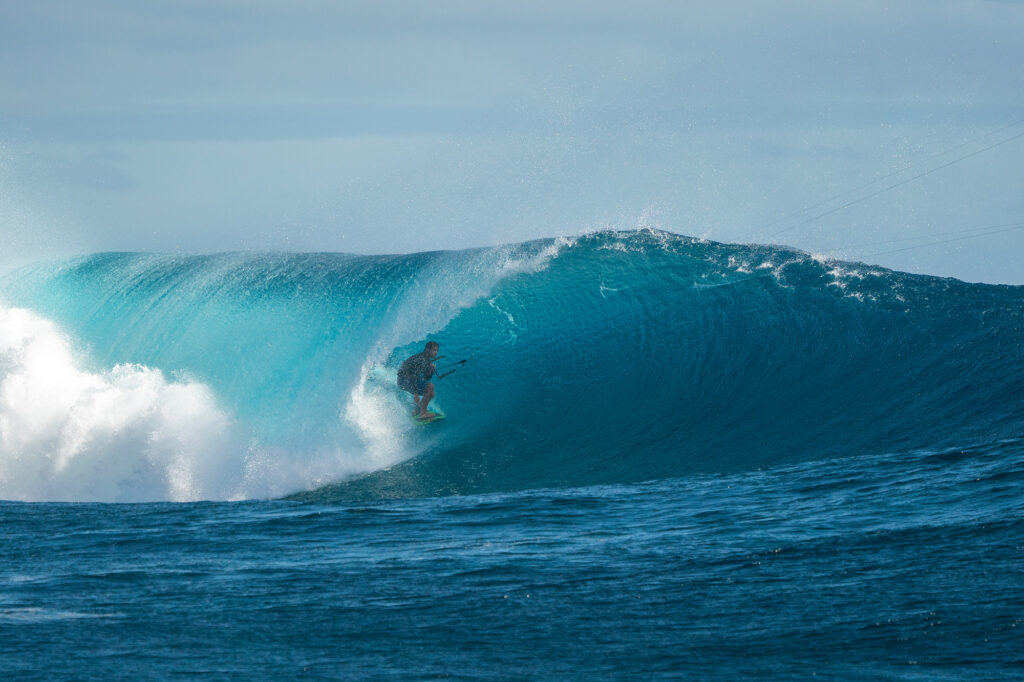
Reo V7 Ultra-X

LA HERRAMIENTA MÁS AFILADA DE LA CAJA

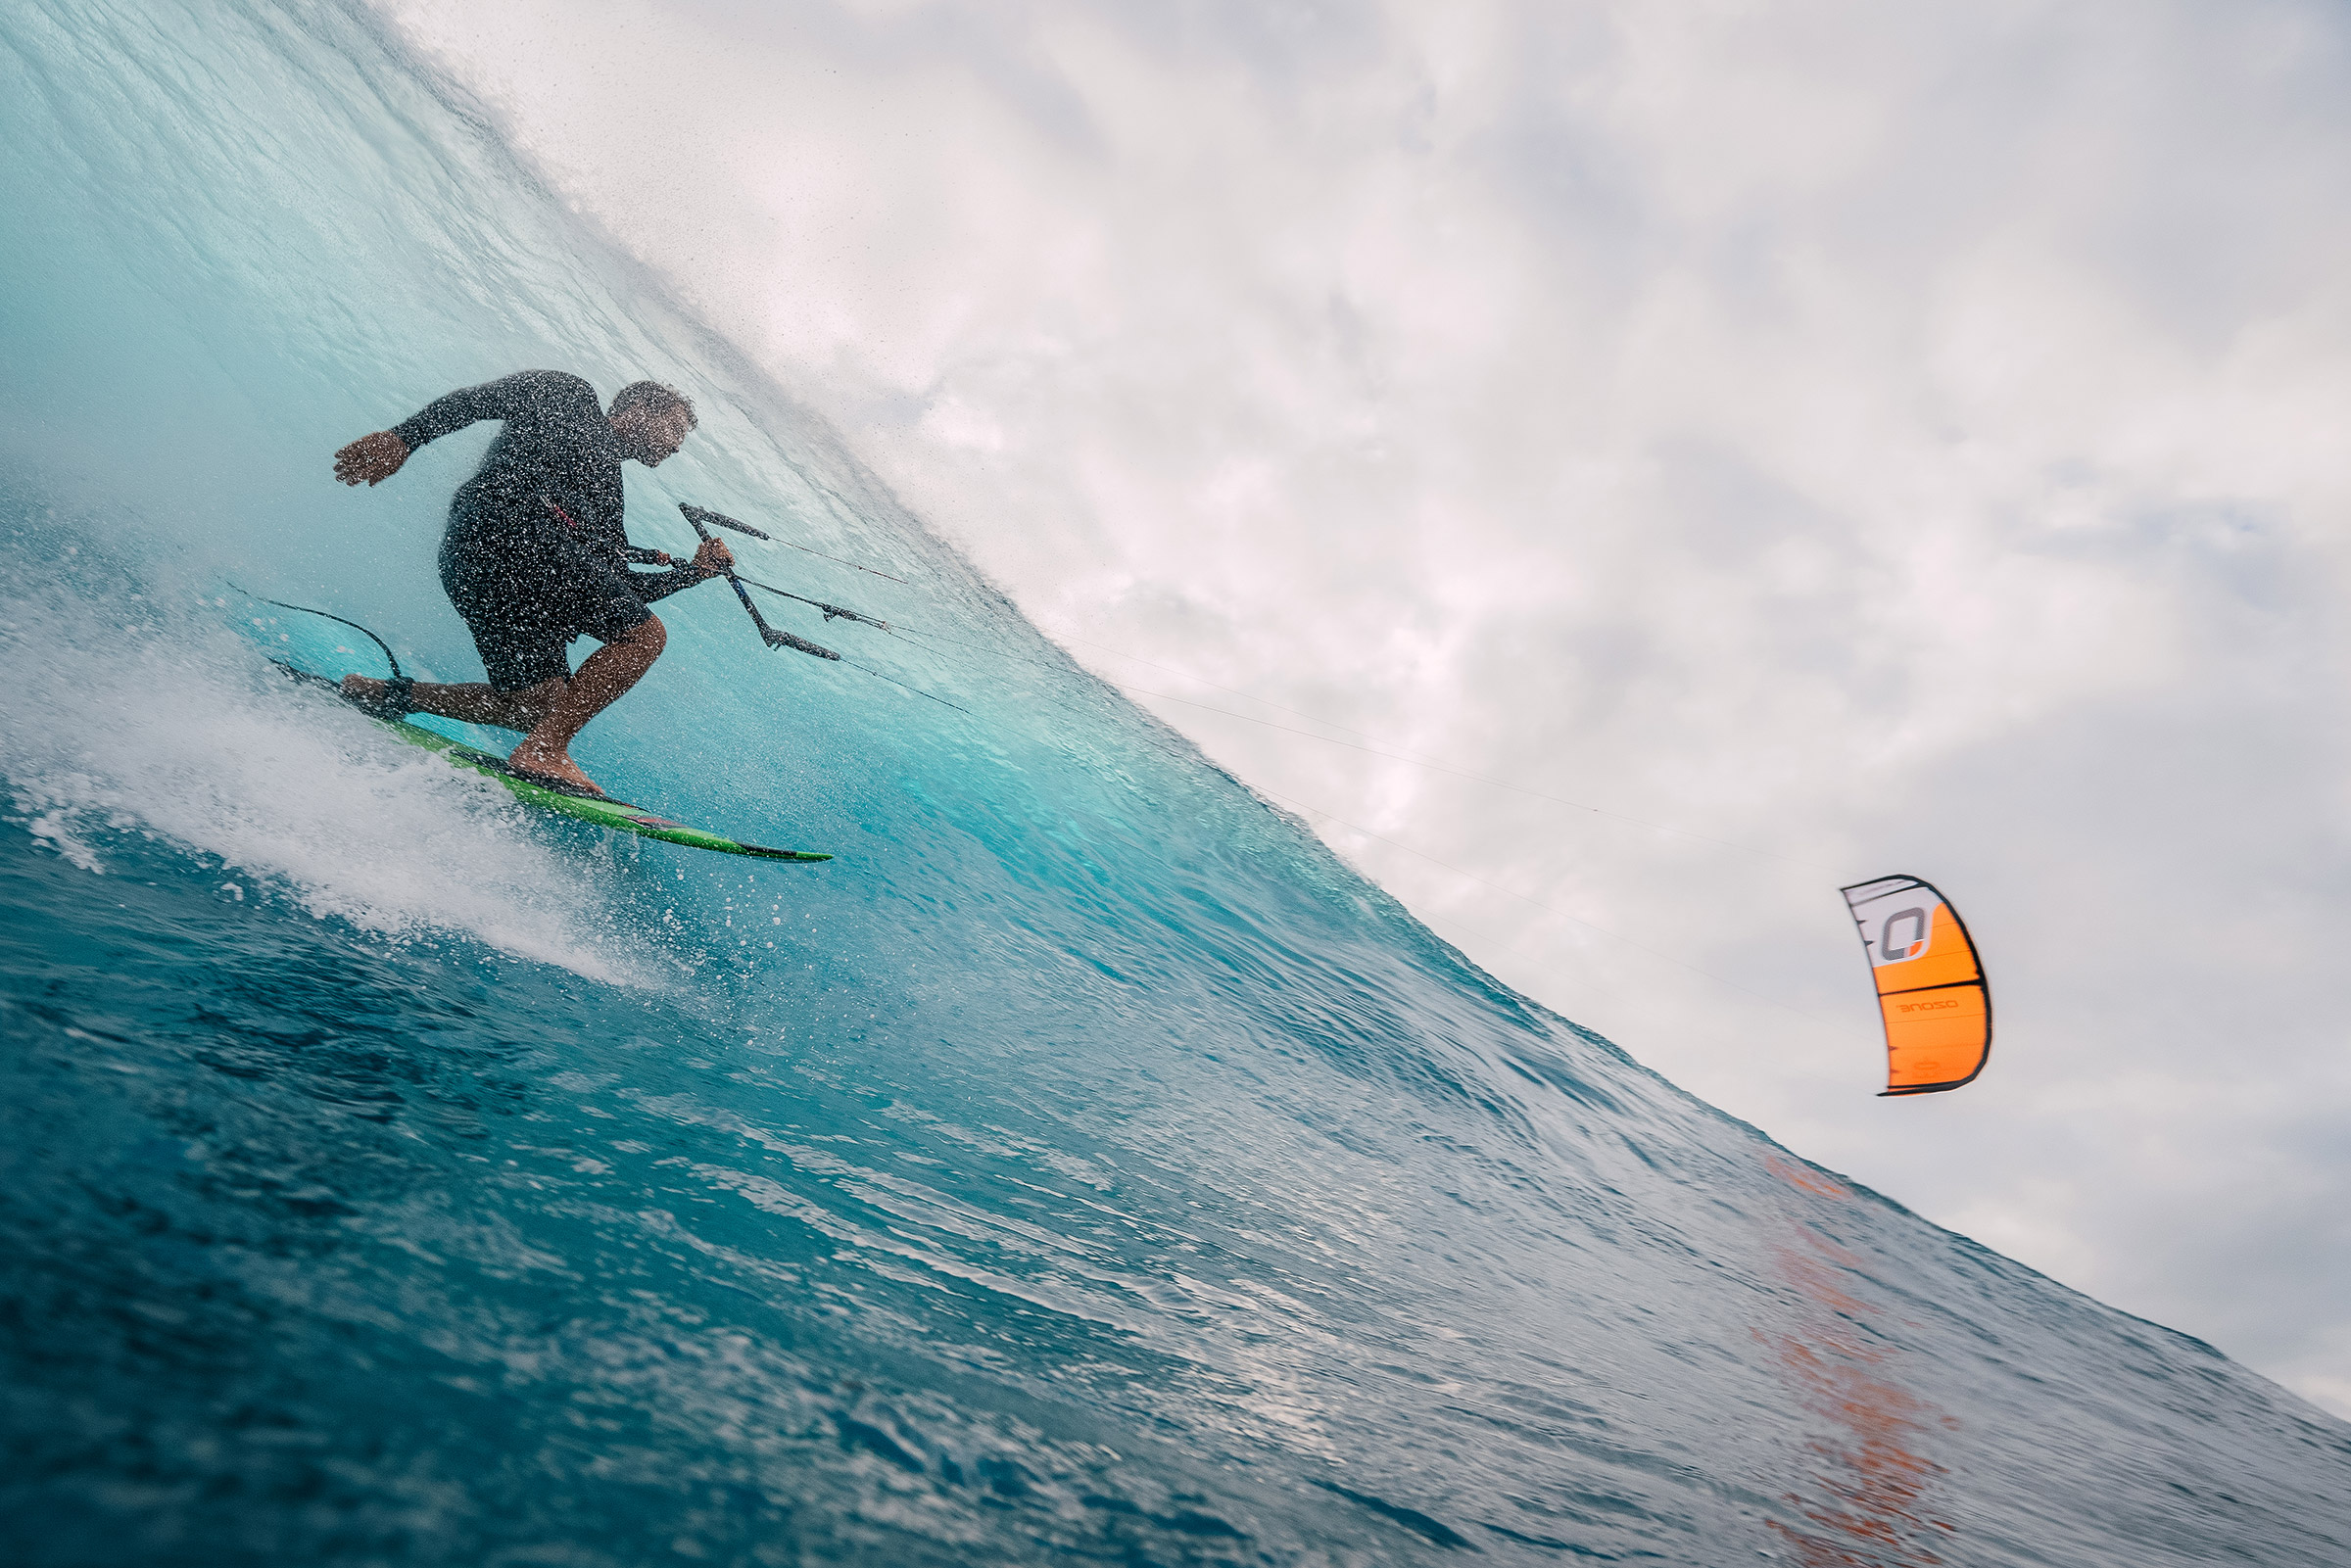
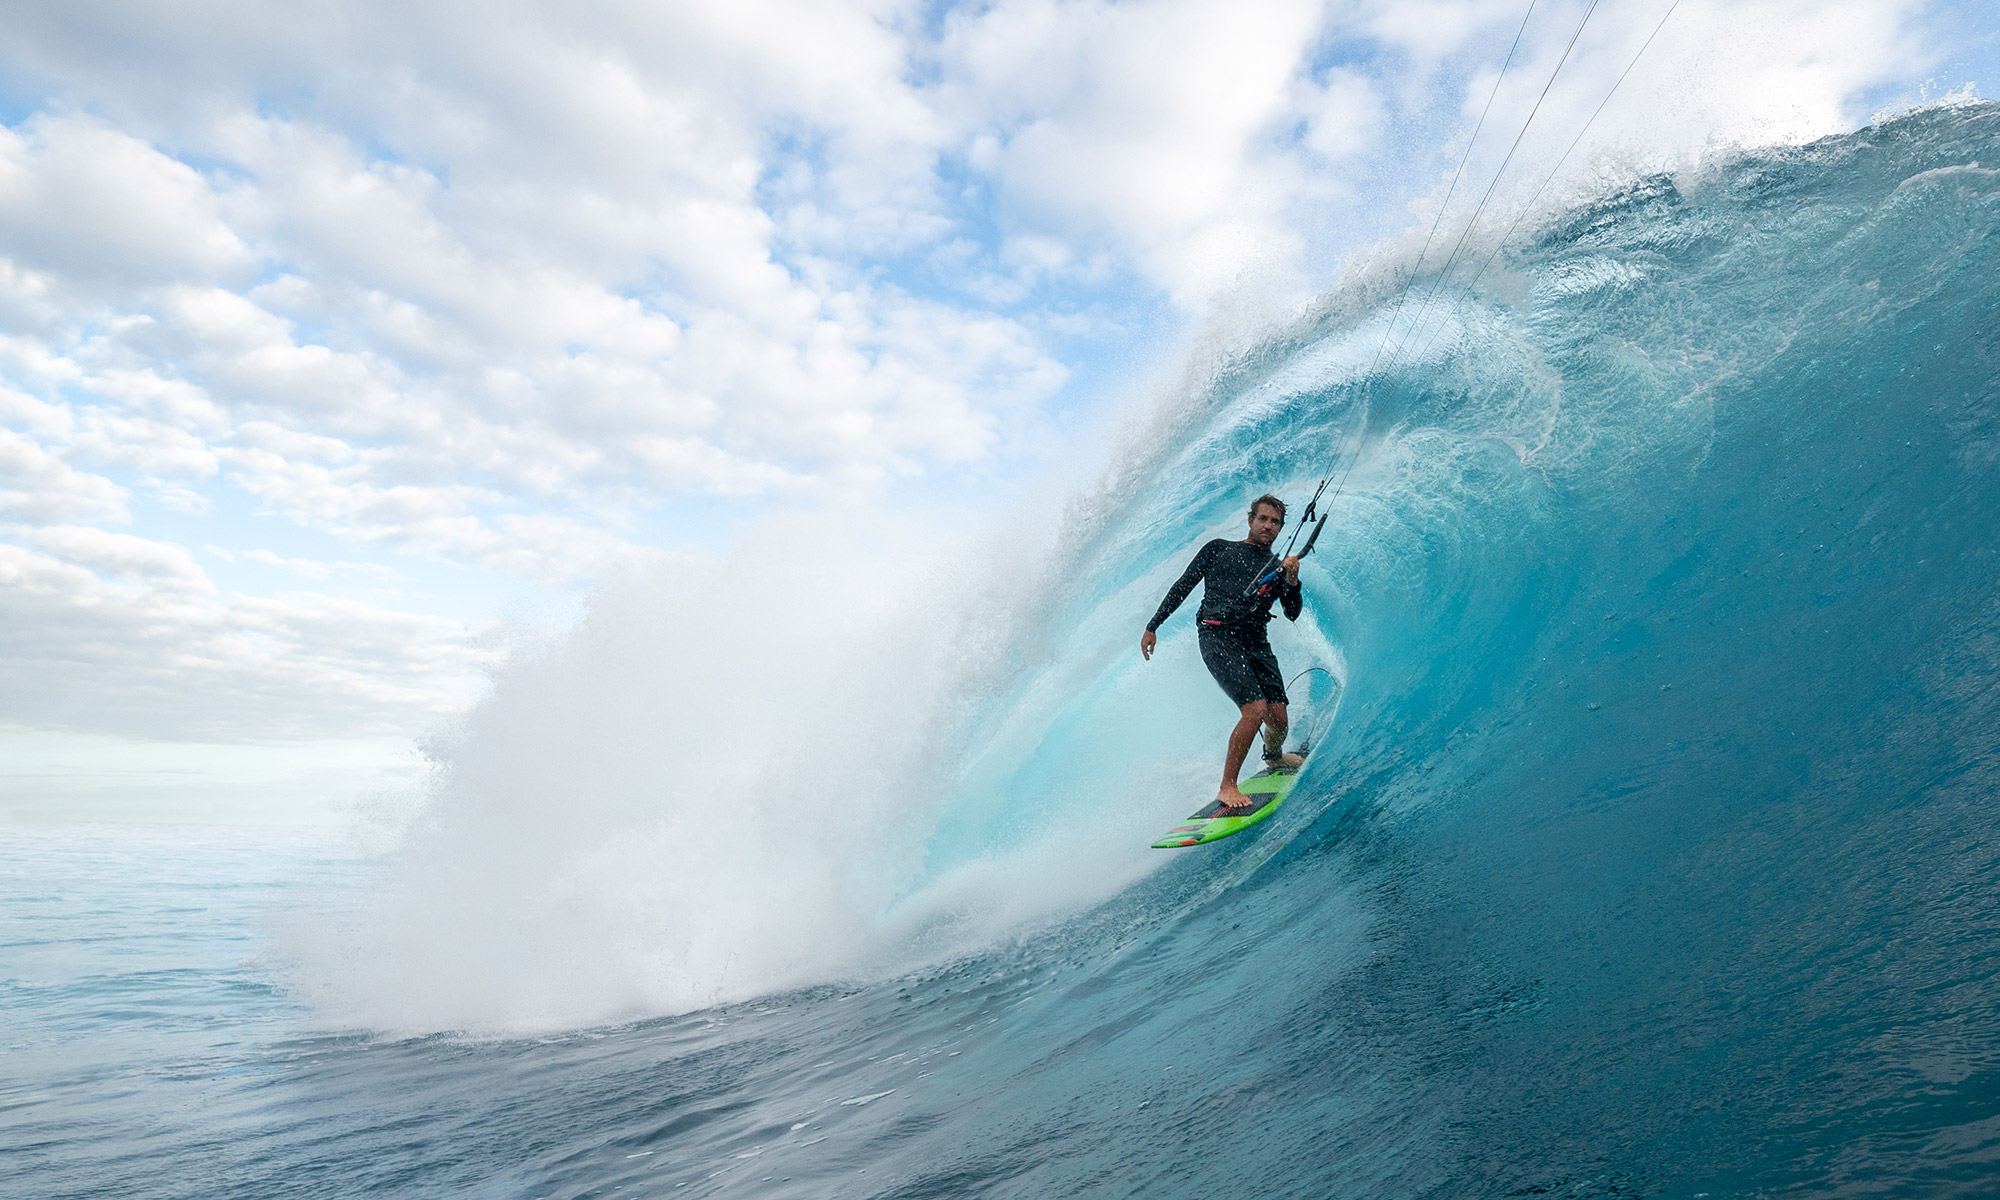
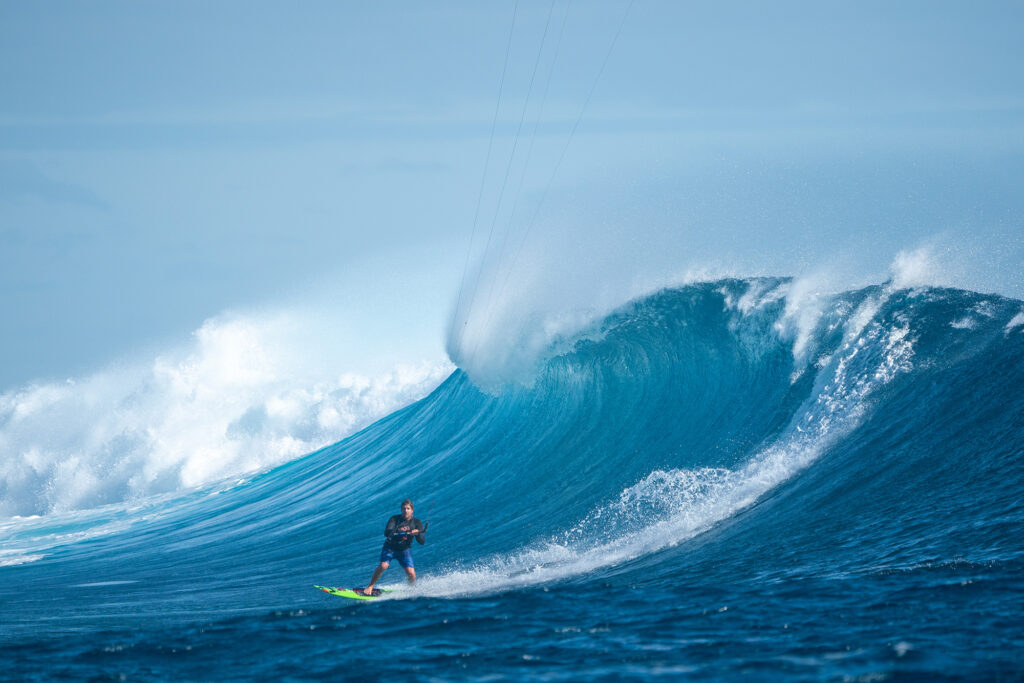
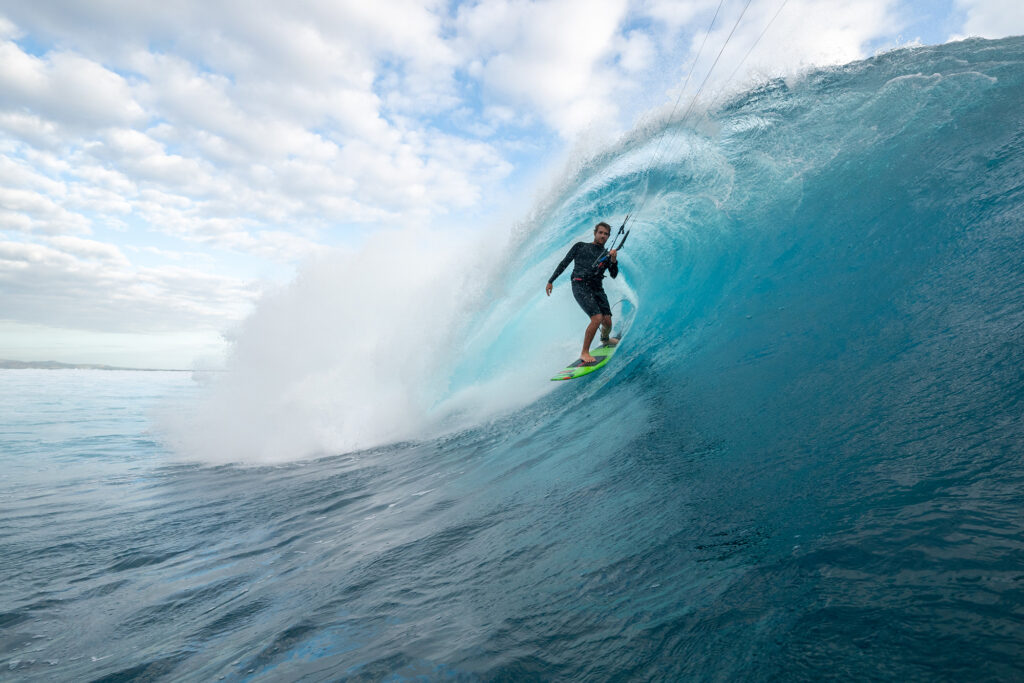
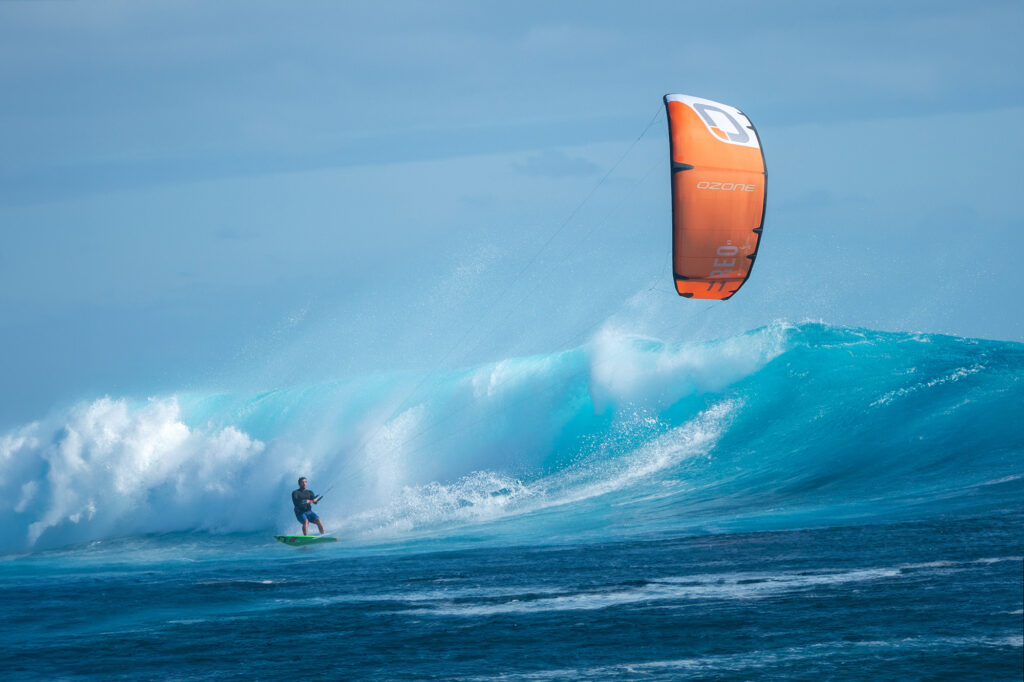
Para navegar a saco cuando la cosa está seria. Ultraligera, ultrarrápida, ultrasensible y ultrafiable. La sensación más cercana a la pura libertad del surf que puedas imaginar mientras navegas con una cometa.

Encontrar una tienda
Estimated current manufacturing time: 26 days

Ultraligera, ultrarrápida, ultrasensible y ultrafiable.

El empleo de nuevos materiales técnicos, ligeros y rígidos, sometidos a prueba durante tres años, ha permitido que esta última evolución de la saga Reo sea sencillamente impresionante.

  • Diseño específico para surfear olas a un nuevo nivel
  • Materiales ligeros de altas prestaciones para que el mando en olas sea insuperable
  • Respuesta superrápida y directa, incluso en el borde de la ventana
  • Alucinante control del drift y del afloje de líneas
  • Perfilado transversal de la vela que hace la cometa más tensa y le aporta un rango de vientos enorme

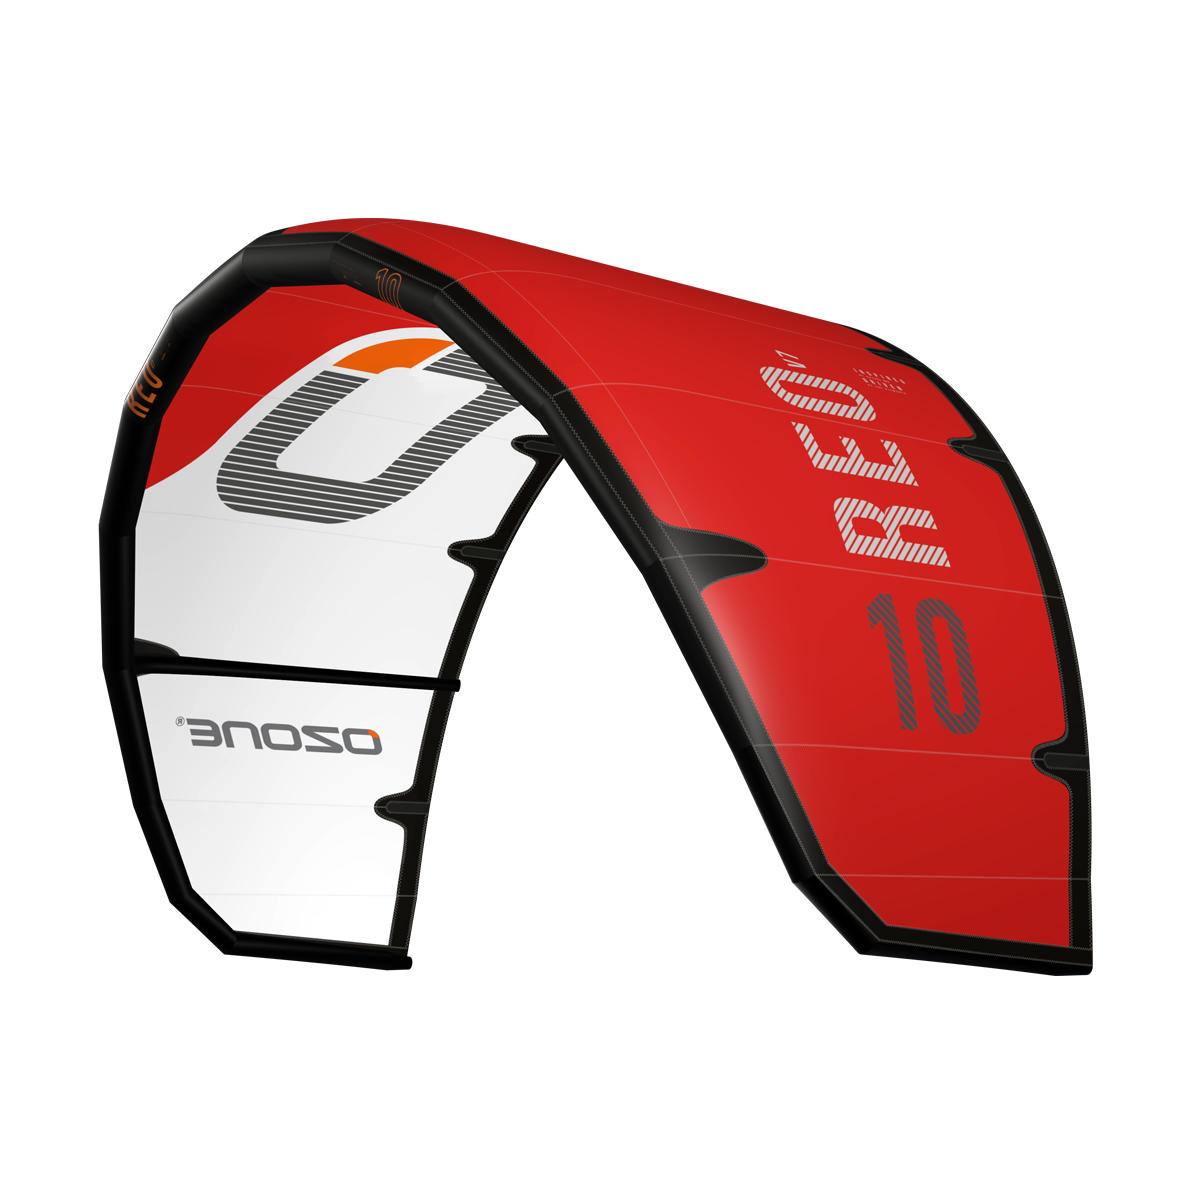
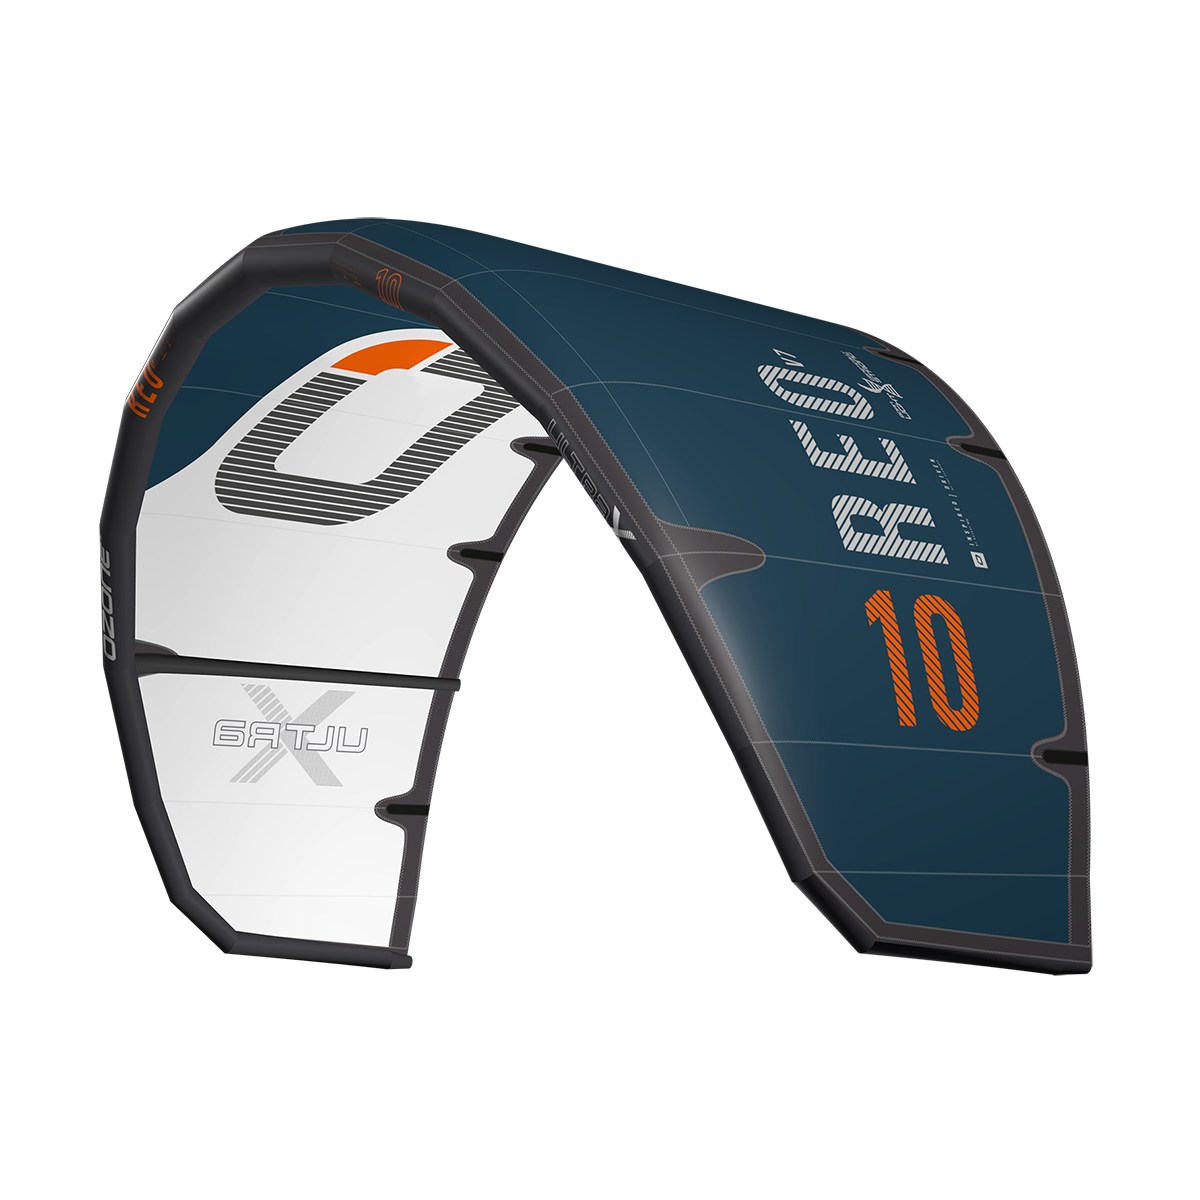
Este año tenemos dos modelos Reo V7.
El modelo V7 original puedes verlo aquí… Reo V7

¿PARA QUIÉN ES?

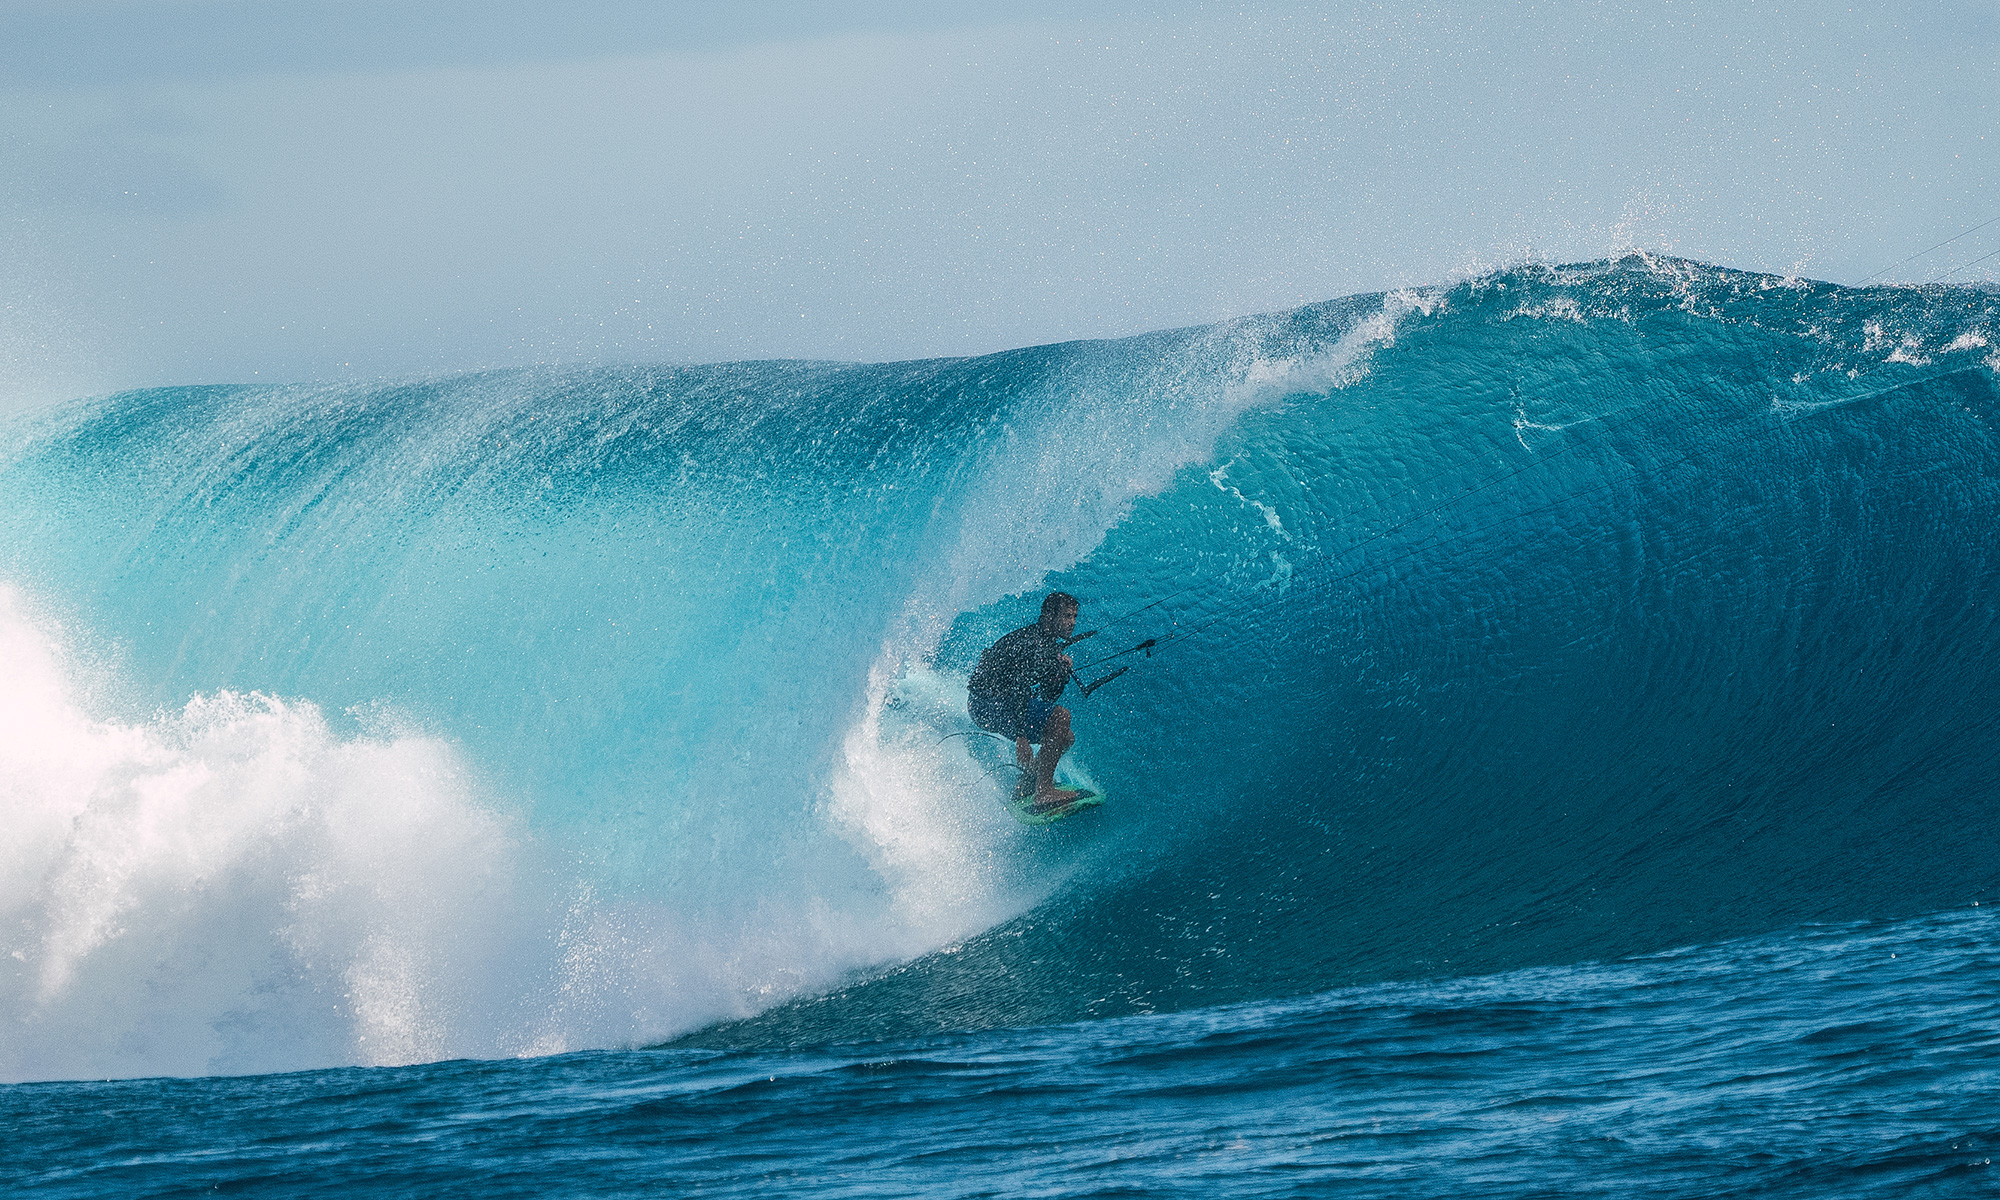
Este segundo modelo, que nace junto a la Reo V7, está destinado a riders que adoran surfear olas con una cometa precisa y ágil de máximas prestaciones.

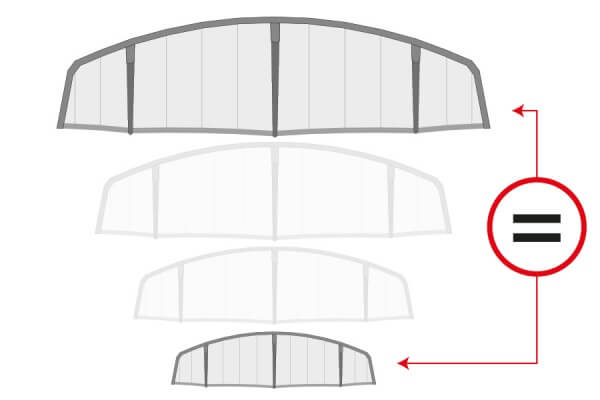
La versión Ultra-X está diseñada con la misma forma transversal y estructura que la Reo V7, pero está hecha con materiales que son un 17% más ligeros, y un dacron que pesa un 20% menos. Puede ser una de las cometas puras para olas más ligeras del mercado, pero no sólo se trata de peso.

Como siempre, nos hemos centrado principalmente en el rendimiento aerodinámico y la Ultra-X es más rígida en todo, lo que aporta más drift, logra que el morro caiga menos en el borde de la ventana cuando las olas son radicales y entrega una respuesta super precisa y rápida como el rayo.

Su rendimiento en drift y lo bien que responde en el borde de la ventana de viento cuando las líneas se aflojan, tal vez sea lo que más atraiga a quienes buscas puras prestaciones de surf. Si bien la Reo siempre ha sido una purasangre para olas, todas estas ganancias de rendimiento gracias a la ligereza también ofrecen enormes ventajas para los freeriders de kitefoil.

LA V7 COMO PUNTO DE PARTIDA

La Ultra-X está hecha partiendo de la nueva estructura de la V7. Desde la V6 se han introducido muchos retoques sutiles en las líneas en las líneas de costura y los paneles, pero la mayor mejora en la tensión de la cometa se ha conseguido gracias al perfilado transversal de la vela en el borde de ataque, que mejora la sensación de control.

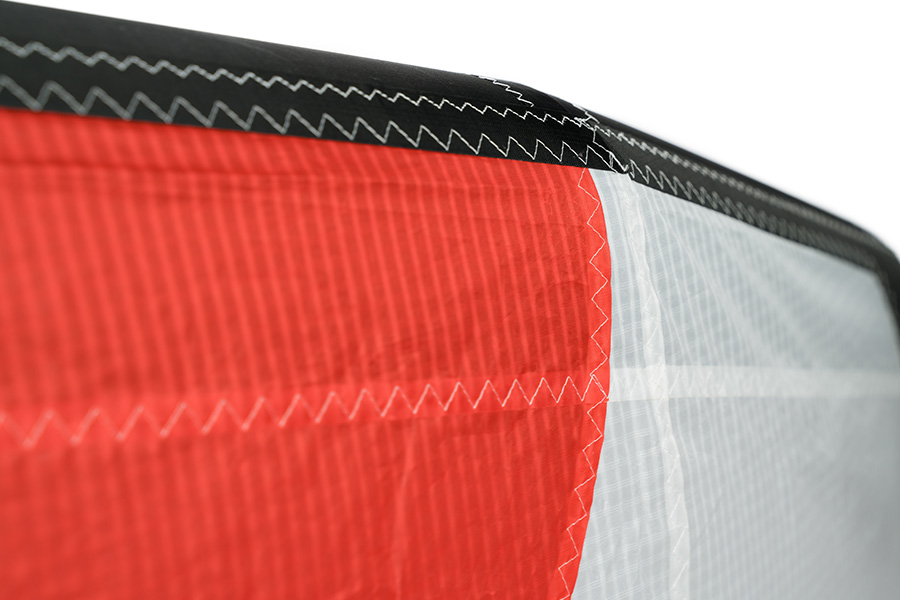
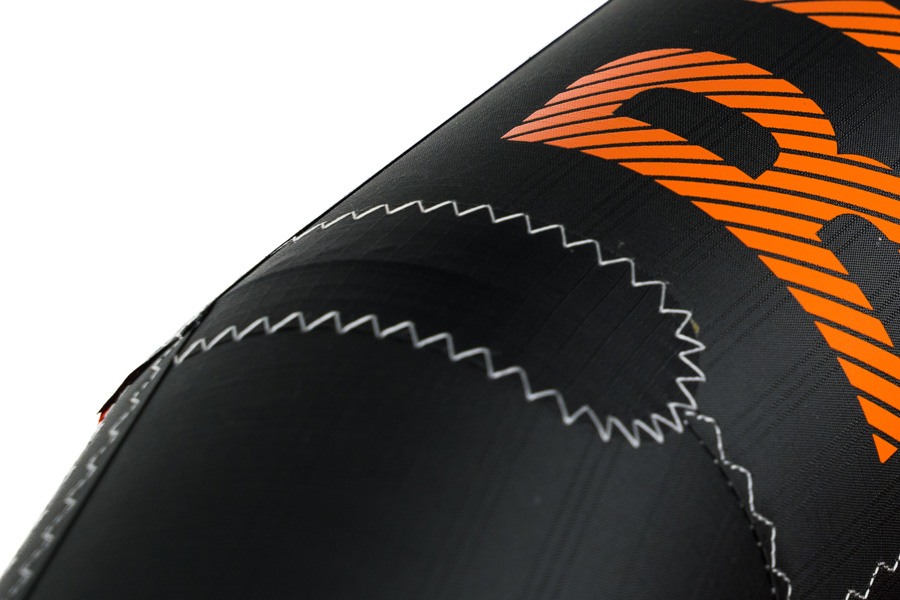
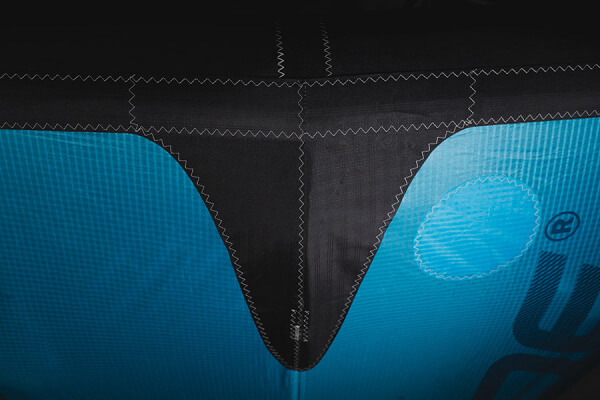
Aplicando la experiencia de nuestros colegas diseñadores de parapentes, la estructura de la V7 incorpora una costura adicional en la vela que discurre cerca del borde de ataque, lo que permite una forma 3D más real.

No sólo hemos conseguido añadir más curvatura al perfil, sino que gracias a esa costura también hemos añadido más resistencia a la zona de mayor sustentación.

MATERIALES ULTRA-X

En colaboración con otros colegas del departamento de la fábrica de Ozone dedicado a prototipos, nuestro equipo de diseño se embarcó en un intenso programa de desarrollo de materiales y pruebas que ha abarcado más de tres años.

El uso de materiales técnicos ligeros de altas prestaciones ha contribuido a mejorar el drift, la velocidad de giro y la capacidad de reacción, y a aumentar la tracción en toda la ventana. A pesar de ser alrededor de un 20% más ligera que la V7, todos los materiales empleados en la Reo Ultra-X han demostrado ofrecer también una resistencia magnífica.

DACRÓN DE ALTAS PRESTACIONES Y MÁS LIGERO

El dacron empleado en el borde de ataque y las fundas de las costillas no es sólo un 20% más ligero que el dacron estándar de 160 gramos, sino también más rígido. Este nuevo dacron técnico de 125 gramos, empleado también en nuestra nueva vela Flux V1, garantiza que la forma se conserve durante más tiempo, pero también aporta un mando más sensible y una cometa más tensa y con mayor ganancia aerodinámica.

COMETA MÁS LIGERA

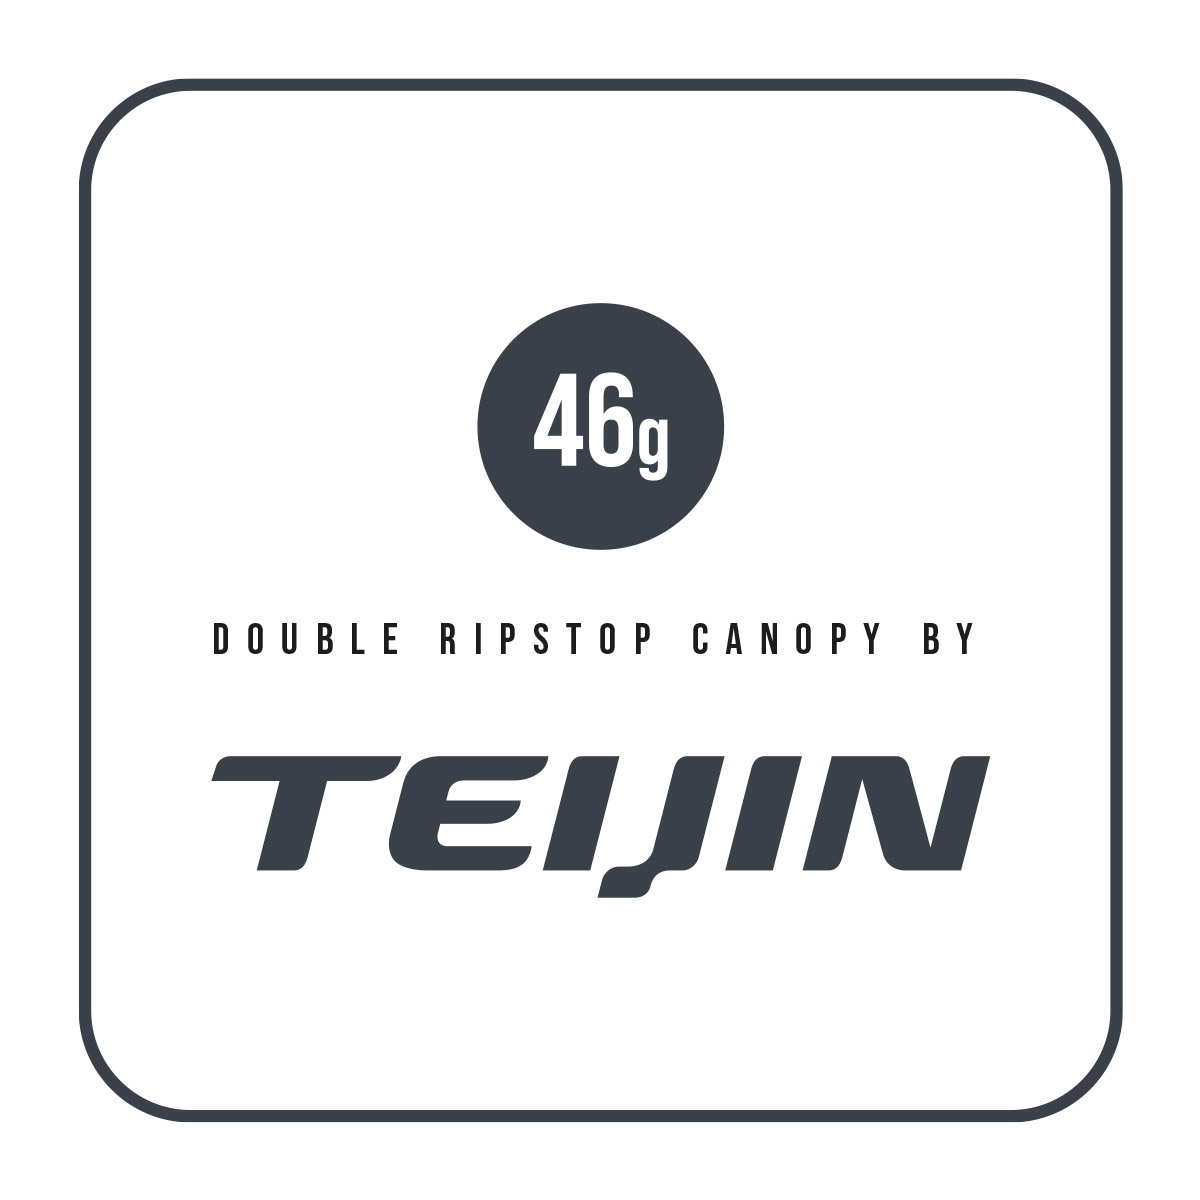
El ahorro de peso que permiten las propiedades del tejido Teijin doble ripstop de 46 gramos más reciente (un 17% más ligero que el ripstop triple estándar) contribuye aún en particular aún más a la ganancia de rendimiento en drift. El revestimiento técnico garantiza altos niveles de robustez y durabilidad con un peso reducido.

BRIDAS QUE COMPLETAN EL ALCANCE DE LA MISIÓN

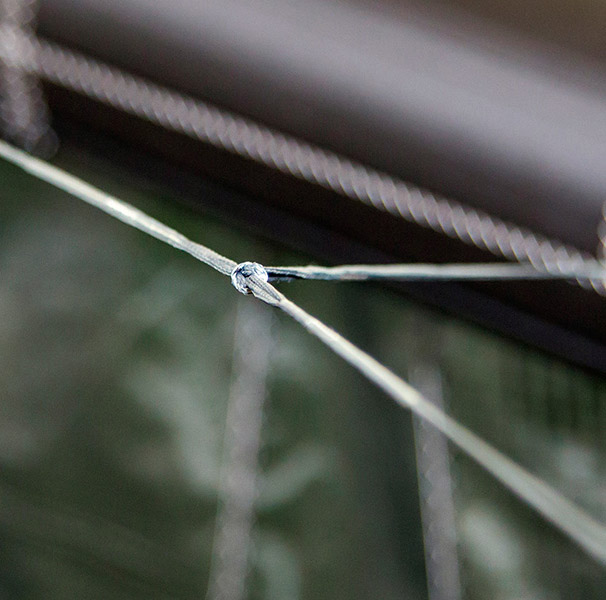
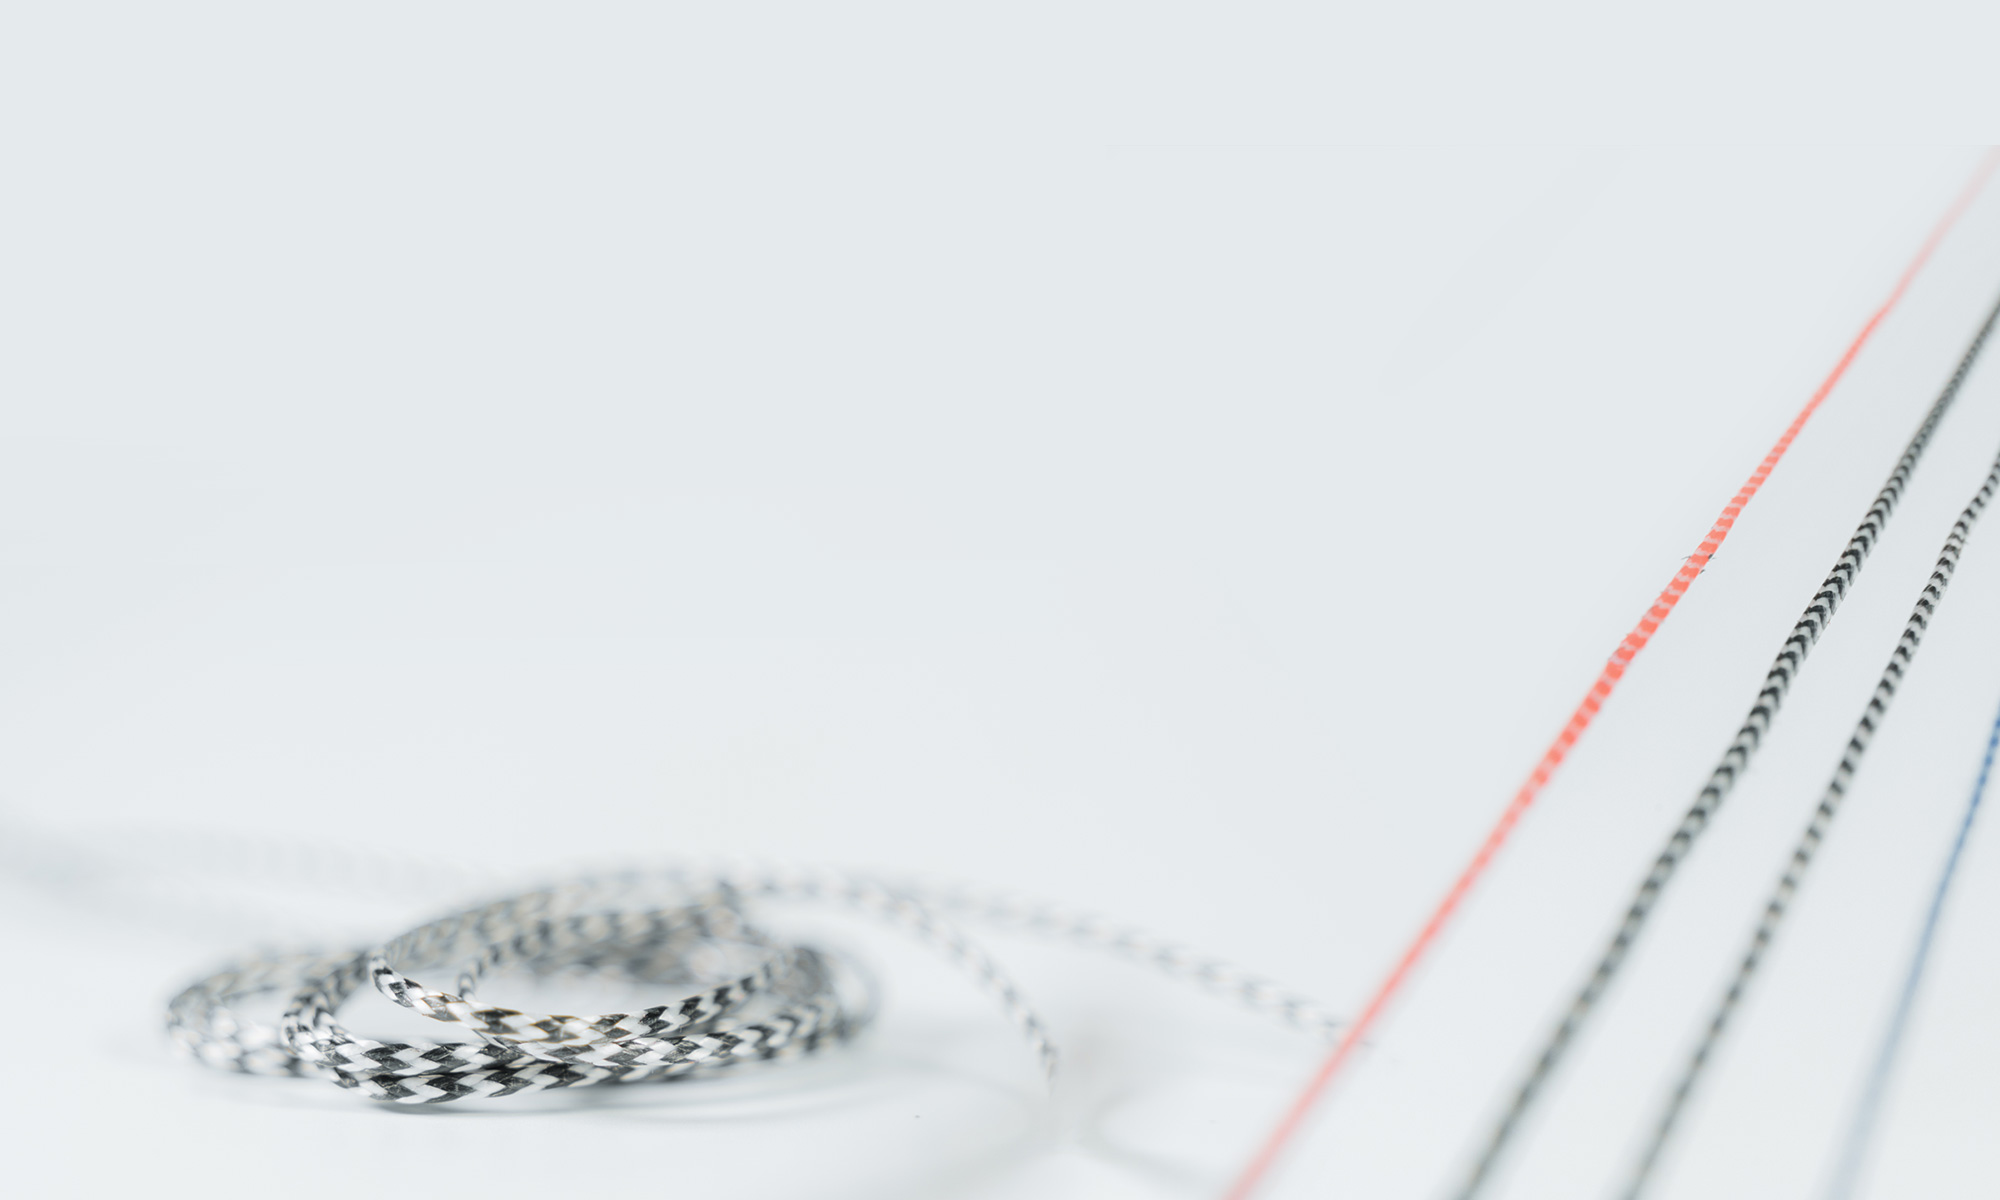
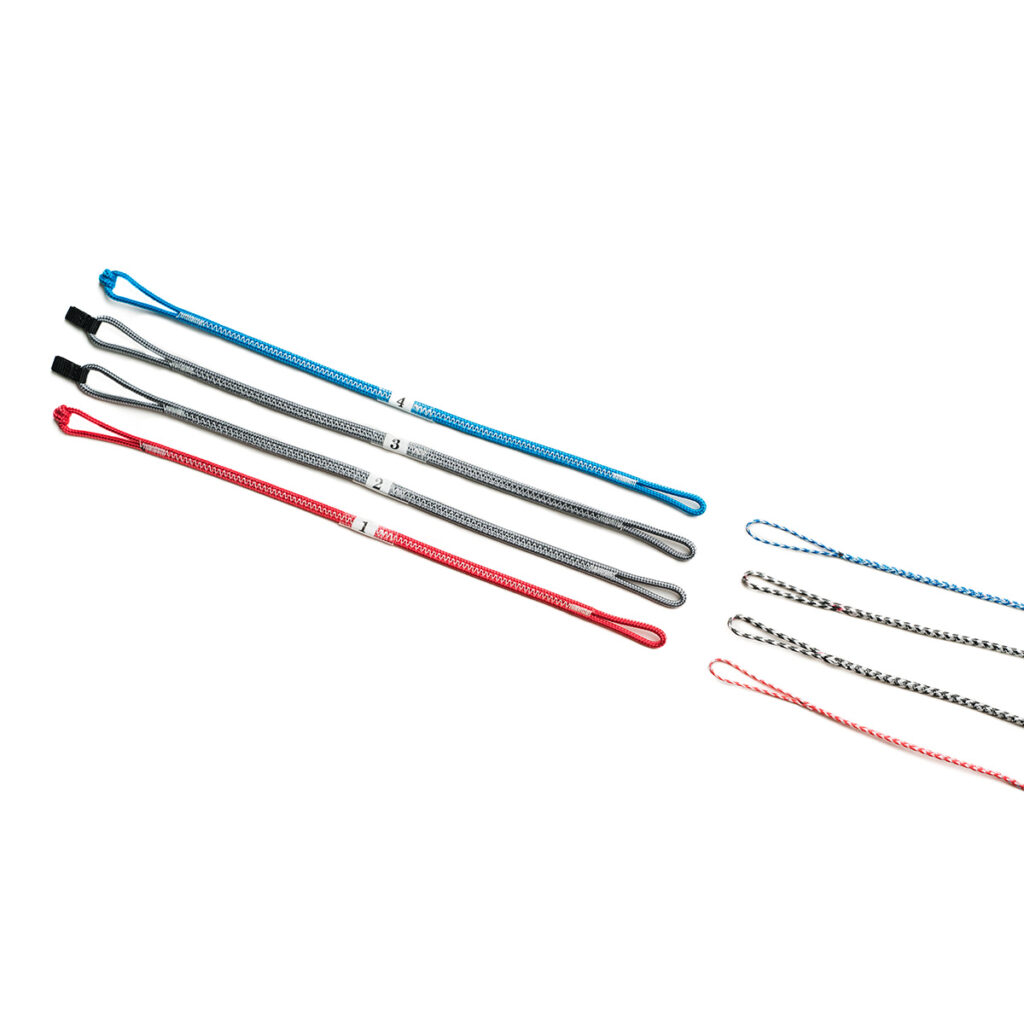
A medida que seguimos descubriendo un rendimiento aerodinámico cada vez mayor, se logran mayores ganancias mediante el uso de Technora para las líneas, que son un 25% más ligeras y un 25-35% más finas, lo que reduce todavía más la resistencia parásita.

¿QUÉ MODELO DE REO ES PARA TI?

Reo V7

La V7 sigue la senda original de la Reo de ser la cometa de olas más pura que puedas adquirir, con un exquisito mando aerodinámico que asegura un rendimiento excelente y duradero. Quizá te sorprenda comprobar que la V7 “estándar” sigue siendo más ligera que algunas de las cometas disponibles en el mercado que se presentan como “superligeras”.

La robustez de los materiales más ligeros de la Ultra-X es de hecho superior, pero si haces kite con frecuencia en una playa rocosa, entonces los materiales más gruesos de la V7 normal te proporcionarán una cometa más “raspable” con capas extra de fibra para que aguantarán durante más tiempo el desgaste y los abusos.

Reo V7 ULTRA-X

Hemos llevado las cosas un paso más allá e implementado materiales diferentes en la misma estructura de la V7. Todos los materiales utilizados en la Ultra-X se han elegido porque son más rígidos y, a menudo, más resistentes para el uso previsto. Sin embargo, al igual que con una bici de carretera en fibra de carbono, navegar con la Ultra-X sólo requiere saber manejar un material de altas prestaciones.

Los elevados niveles de rendimiento se deben al hecho de que nuestros diseñadores aprovechan al 100% el acceso que tienen a la fábrica propia de Ozone para probar ideas nuevas y luego producir tantos prototipos como sea necesario hasta dar con lo que queremos.

La Reo V7 Ultra-X ofrece las mismas sensaciones que la Reo que todos hemos llegado a adorar, pero con mejoras sutiles en el suave y predecible drift y la sensación directa en la barra (para que sepas que haces girar la cometa puramente a base de sensaciones). El mayor drift con vientos flojos y la mejora en las estabilidad cuando está completamente despotenciada, ya fueron evidentes desde mis primeras sesiones con ella. La respuesta directa también ha aumentado la cantidad de potencia en el extremo inferior de la ventana que puedo generar moviendo la cometa a través de dicha ventana.

Si te tomas en serio navegar en olas, yo no dudaría en pasar a la Ultra-X.

REO STEVENS

RIDER DEL EQUIPO OZONE

LO QUE SENTIRÁS:

  • Un mando y un rendimiento increíble surfeando olas
  • Un drift sensacional
  • Una respuesta ultrarrápida del mando y la tracción en toda la ventana
  • Menor tendencia a que caiga el morro en el borde de la ventana cuando se aflojan las líneas
  • Un destensado más tardío se traduce en mejor respuesta y mando en un rango de vientos mayor
  • Una estabilidad excelente, esté donde esté la cometa en la ventana de viento
  • Más sensaciones, más feedback, más control
  • Las cometas que pesan menos se sienten en la barra más ligeras y con mayor respuesta
  • Más rendimiento y estabilidad, en especial con vientos flojos
  • El volumen plegada es también menor

POR QUÉ LO SENTIRÁS:

  • Un dacron técnico un 20% más ligero en el borde de ataque y el material de las costillas añaden rigidez y rapidez de respuesta
  • Un tejido de la vela que es un 17% más ligero maximiza el mando con vientos flojos
  • El perfilado transversal de la vela mejora la aerodinámica y permite que la cometa quede ultra tensa
  • Refuerzos ligeros en EVA, antiflameo, que mejoran el flujo aerodinámico general y el acabado del borde de fuga
  • Líneas de Technora, un 25% más ligeras y un 25-35% más finas
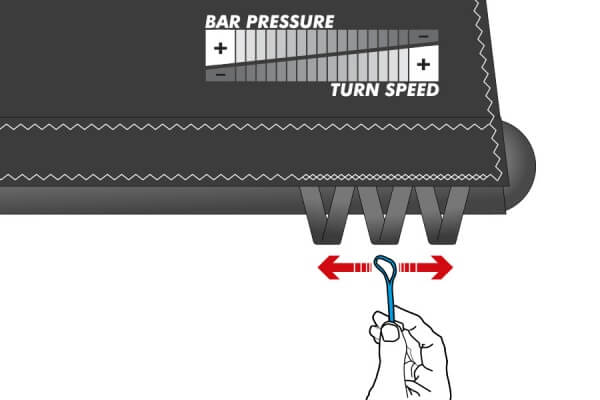
  • Dos posiciones de la línea trasera para ajustar la presión de barra y la velocidad de giro
  • Compacta y de bajo alargamiento, con una sofisticada forma en la vela para una respuesta directa y rápida
  • Diseño con tres costillas, de poco volumen y peso a la vez que mantiene un máximo soporte de la cometa
  • Fino diámetro del borde de ataque para que la relación peso/rigidez sea lo más ligera posible

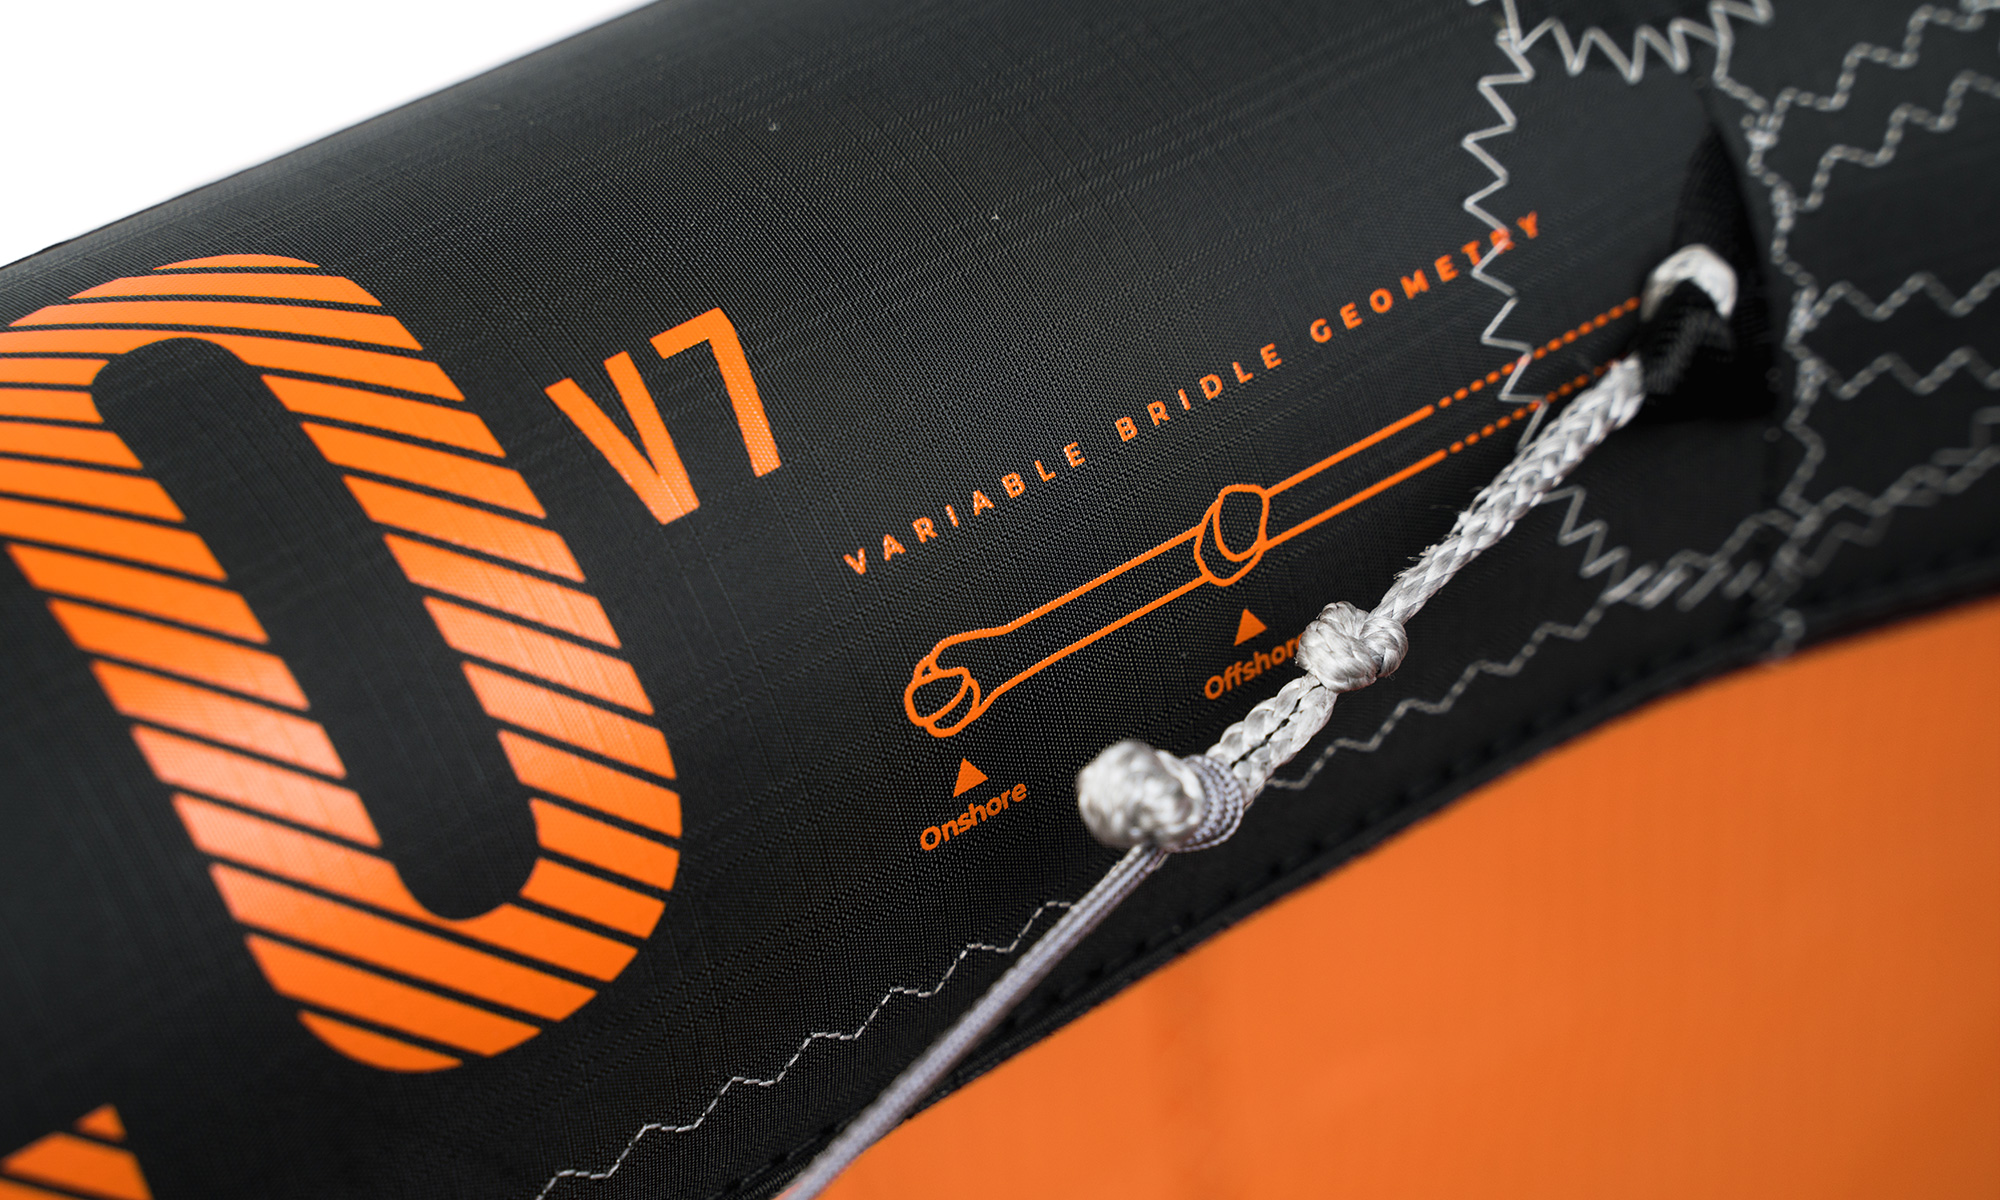
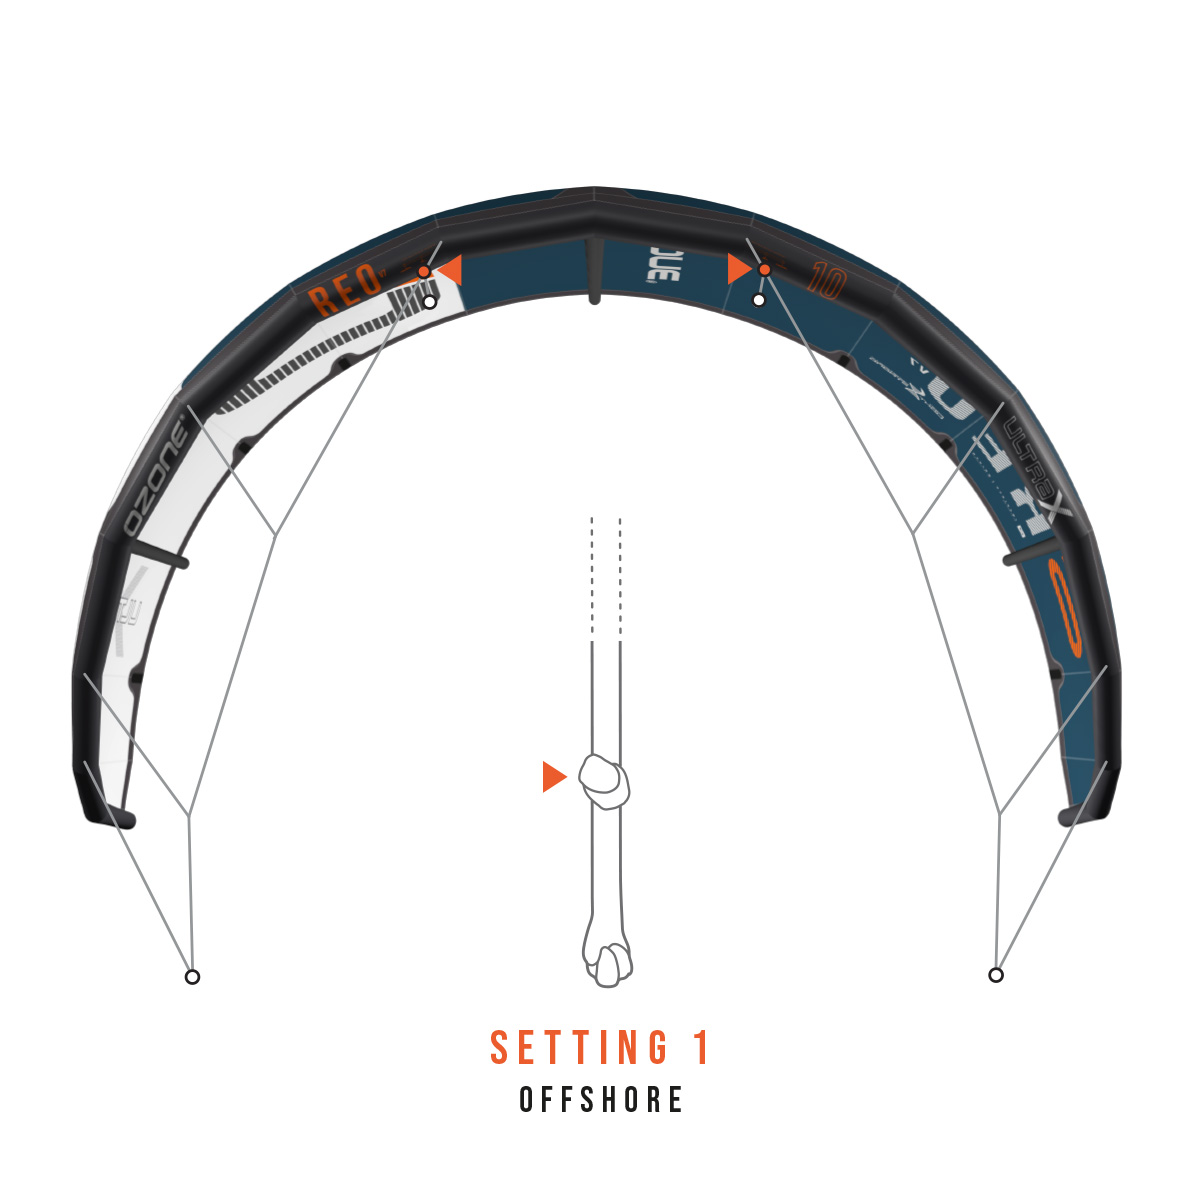
Geometría de brida variable (VBG)

Rápida y fácil de cambiar sin líneas adicionales que añadir o quitar. Estos ajustes de la brida amplían el rango de tipos de navegación que puede hacerse con las cometas, lo que aporta aún más versatilidad a diseños ya de por sí excepcionales.

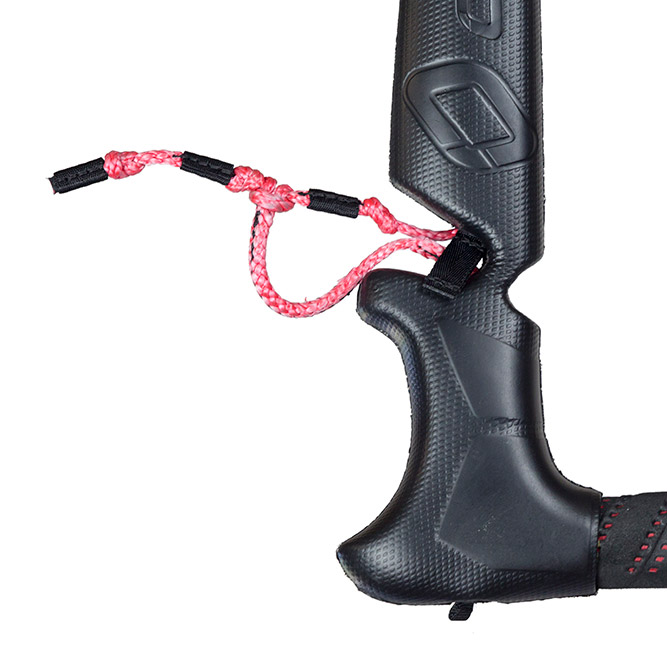
Ajuste 1:

Offshore:

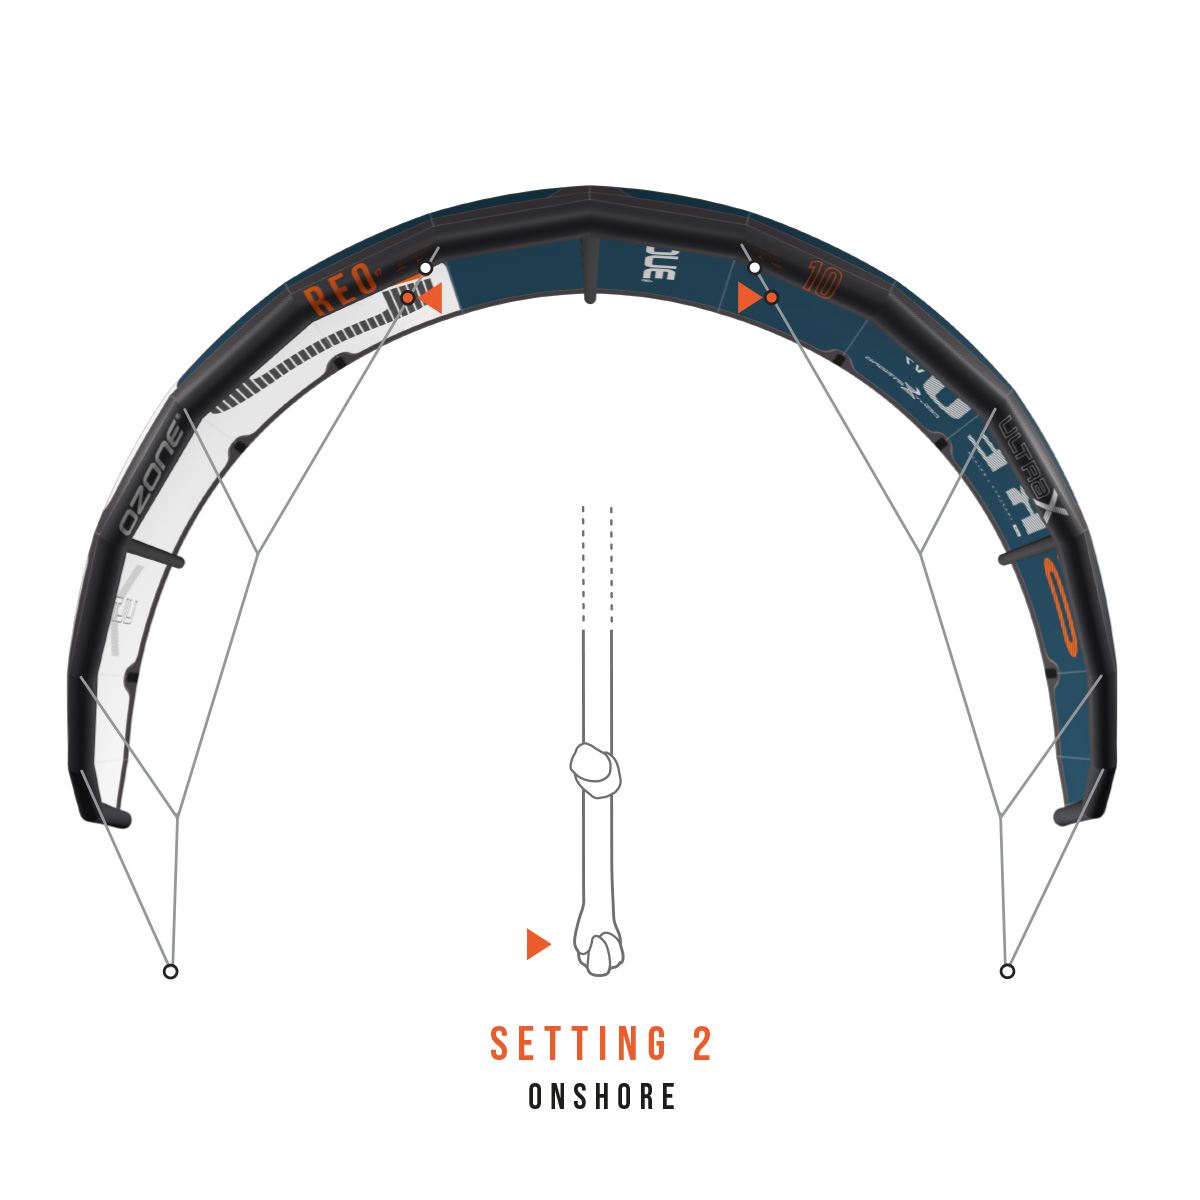
Refinada sensación de equilibrio, con buena velocidad de avance y perfecta para la mayoría de las condiciones, y que destaca en vientos de tierra y cruzados. La cometa puede sentarse más en el borde de la ventana de viento cuando no está propulsada, derivando a medida que bajas por la línea.
El ajuste Offshore es el nudo situado a media altura de la coleta VBG.

Ajuste 2:

Onshore:

La cometa se sitúa un poco más atrás en la ventana de viento y maneja las condiciones de Onshore con facilidad. Una mayor presión de barra mejora la sensación que transmite la cometa cuando la ola empuja con el viento. Si prefieres una sensación ligeramente más pesada, este podría ser tu ajuste.
El ajuste Onshore es el nudo en el extremo del pigtail VBG.

La importancia de la aerodinámica

Entendemos la importancia de la aerodinámica y el ahorro de peso, especialmente en una cometa donde la deriva es imperativa. Cada detalle ha sido refinado para ser lo más ligero posible, manteniendo la fuerza y la integridad que esperas de un producto Ozone.

Presión de barra y velocidad de giro personalizables

Los riders desenganchados se sentirán como en casa sobre la Reo, volará y flotará al unísono con tus movimientos. Basta con usar la mordaza antes de desengancharse, o si prefieres navegar desenganchado a menudo, te sugerimos que ajustes las líneas guía traseras de la barra a la posición más larga. Para personalizar la presión de barra y la velocidad de giro a tus gustos, usa las lengüetas de ajuste de la línea trasera de la cometa.

Relanzamiento fácil

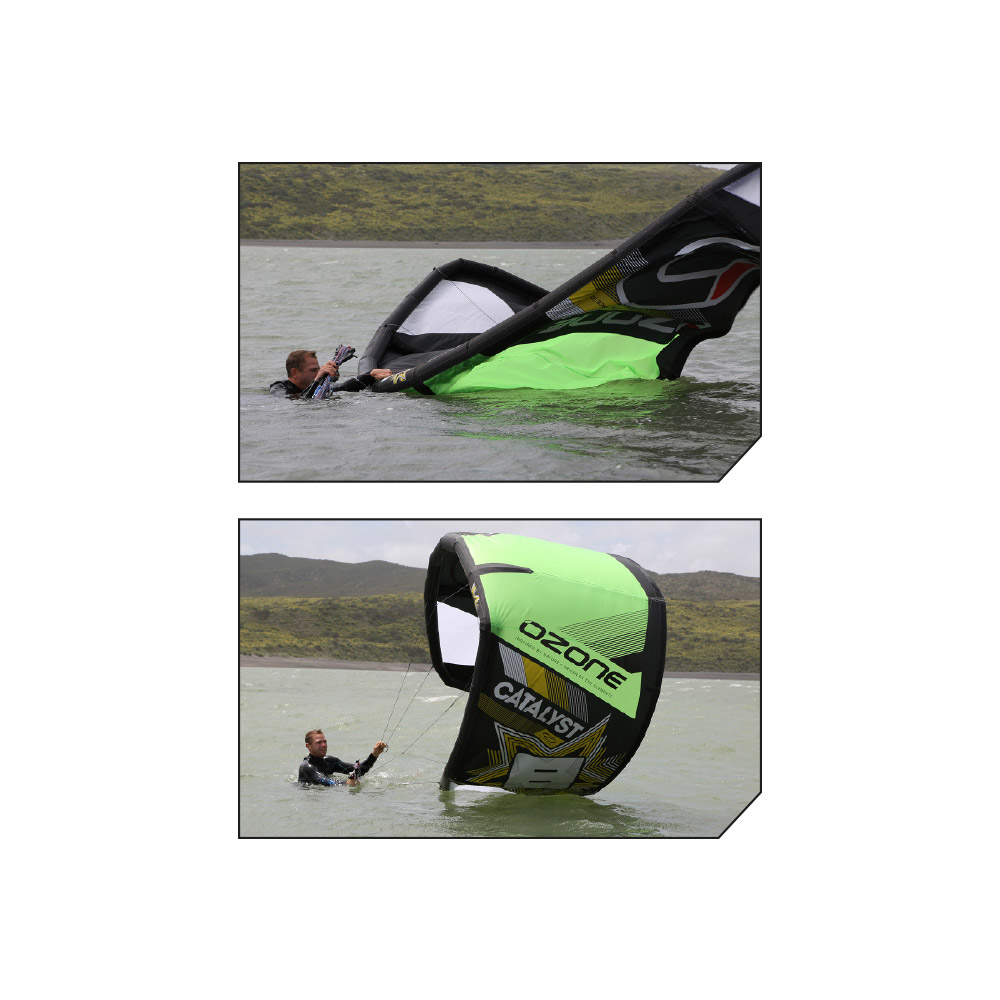
El re-lanzamiento es rápido y sencillo: girando la barra o utilizando las bolas de re-lanzamiento en las lineas de dirección, el Reo se dará la vuelta y despegará del agua en un instante. Esto especialmente útil si estás atascado en la zona donde rompe la ola y ¡tienes que salir rápido de ahí!

Ventaja de ser propietario de la fábrica

Ventaja de ser propietario de la fábrica

Ozone posee su propia fábrica donde se fabrican todas las cometas, velas, tablas, hidroalas, parapentes, speed wings y accesorios. Garantizando un control de calidad manual y los mejores materiales en cada paso, también hay excelentes condiciones de trabajo para los 1.000 empleados.

Diseñado con OZ-CAD

Diseñado con OZ-CAD

El futuro es ahora. Todas las cometas y velas Ozone están diseñadas con nuestro propio y avanzado software CAD personalizado que controlamos y modificamos con cada nuevo diseño de producto. Al permitir desarrollos técnicos específicamente adaptados, nuestros diseñadores pueden maximizar el rendimiento al tiempo que minimizan los residuos.

Toldo ligero Teijin TechnoForce Double Ripstop

Toldo ligero Teijin TechnoForce Double Ripstop

Teijin es el principal proveedor mundial de materiales técnicos para deportes náuticos, y referencia de calidad, con una superioridad demostrada en resistencia dinámica y durabilidad.

Dacron de alto rendimiento: más ligero y rígido

Dacron de alto rendimiento: más ligero y rígido

El borde de ataque y los puntales están fabricados con Dacron de 125 g, un 20% más ligero que el Dacron convencional. La reducción de peso se traduce en auténticas ventajas de rendimiento. El dacron también es más rígido para proporcionar una respuesta y sensación más nítida e instantánea de la cometa.

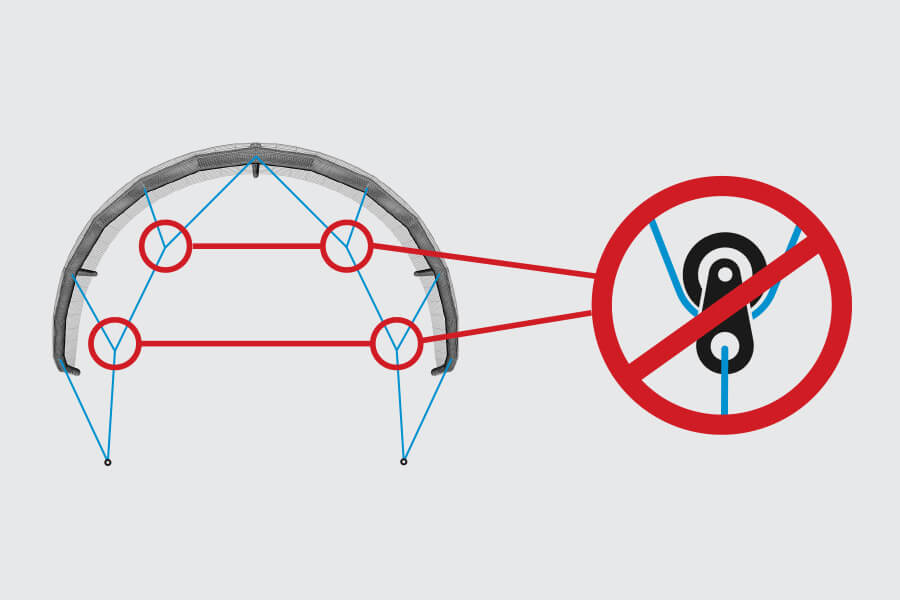
Sistema de 4 líneas sin poleas

Sistema de 4 líneas sin poleas

SIN poleas, SIN problemas. Diseñamos todas nuestras cometas hinchables sin poleas, para que toda nuestra gama herede las sensaciones y prestaciones únicas que trasmite Ozone.

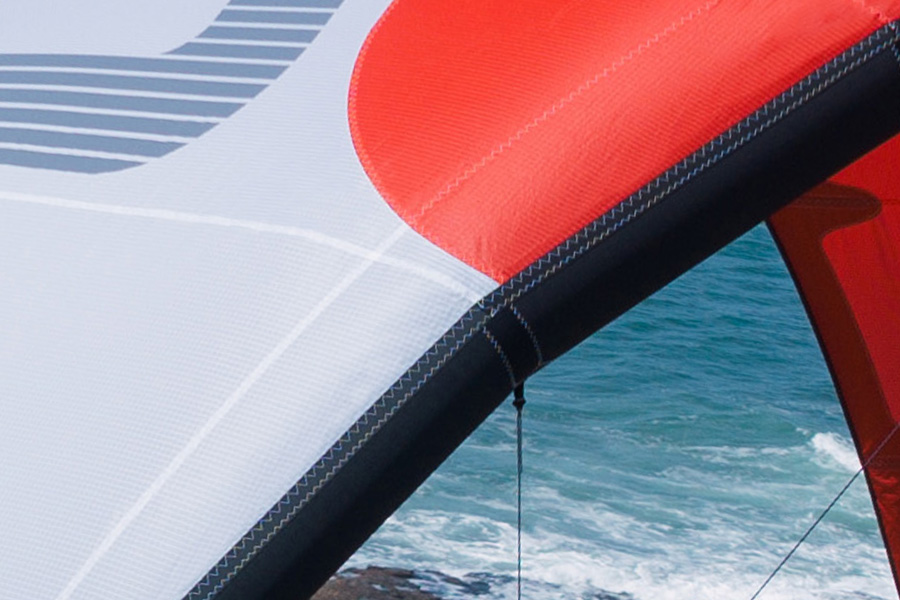
Costura transversal en el borde de ataque

Costura transversal en el borde de ataque

El borde de ataque cuenta con la tecnología Transverse Sail Shaping, que crea una superficie más limpia en la zona más importante del perfil aerodinámico. El resultado es una circulación menos turbulenta que permite que la capa límite tarde más en desprenderse, lo que repercute positivamente en el planeo de la cometa y mejora las prestaciones.

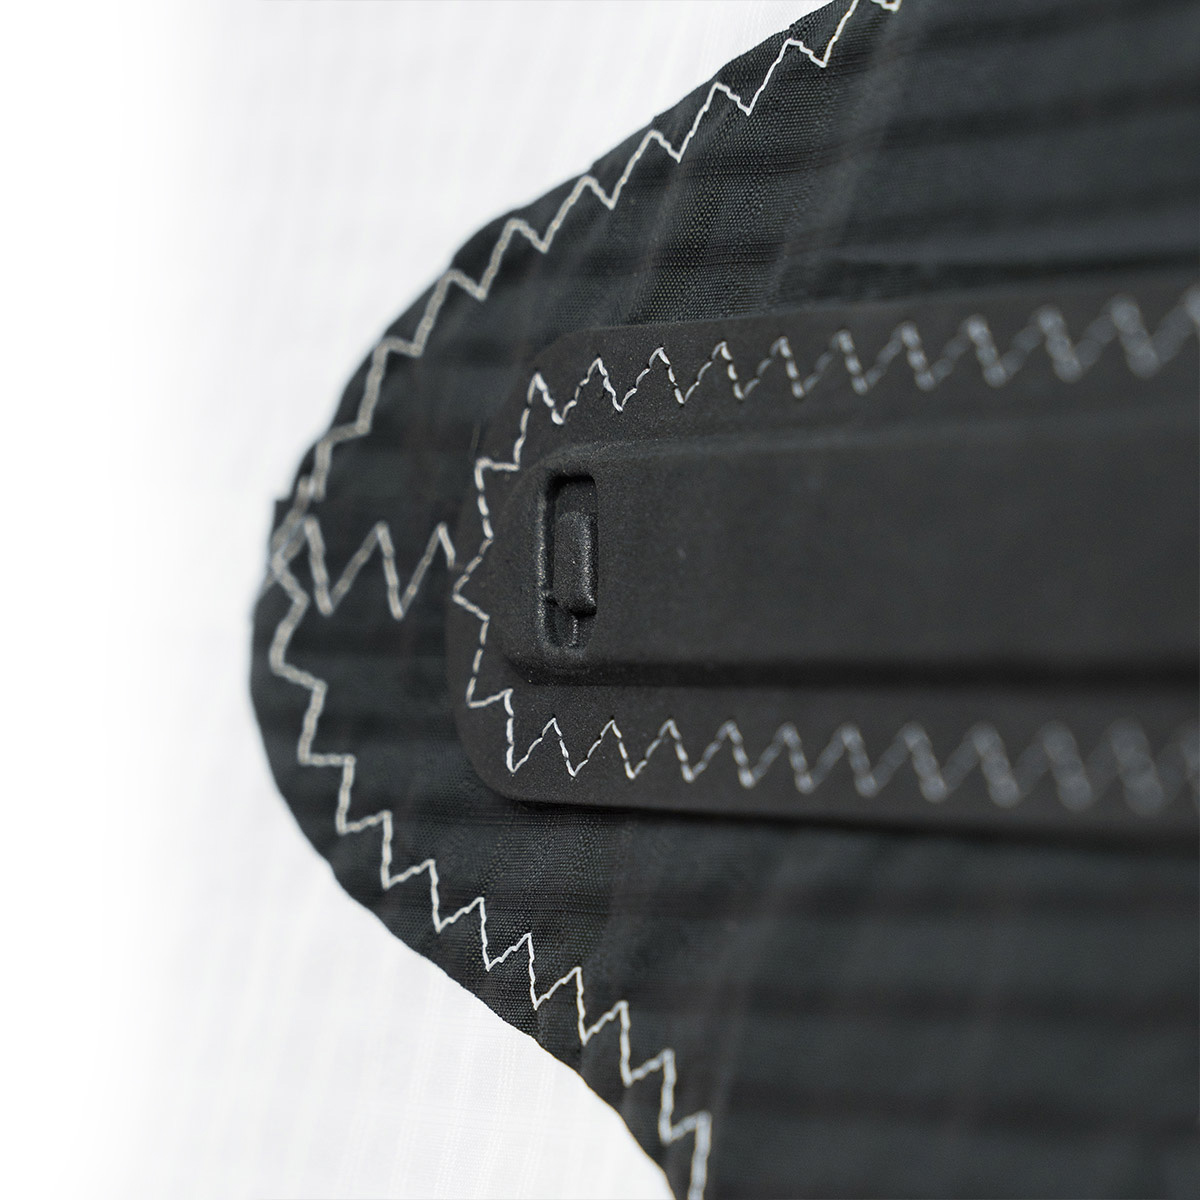
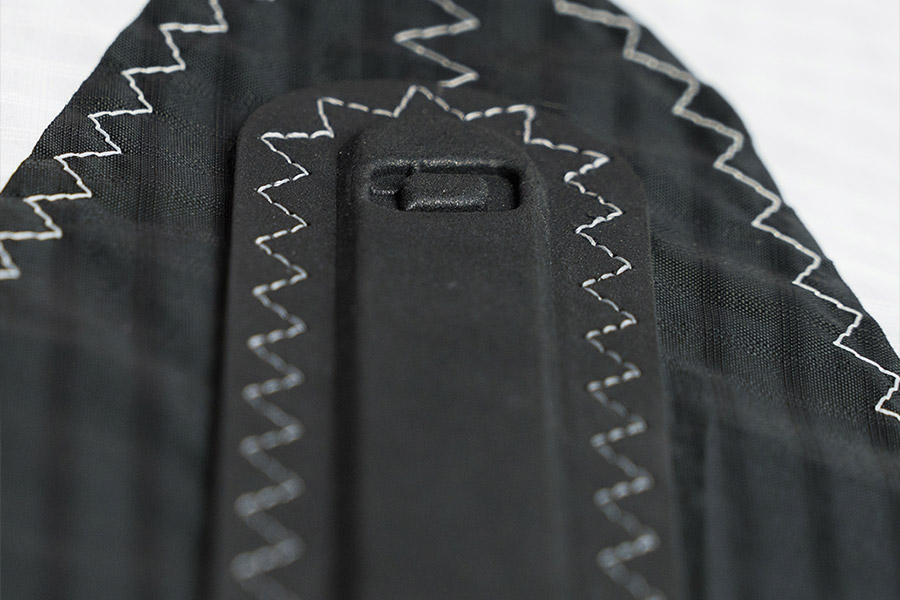
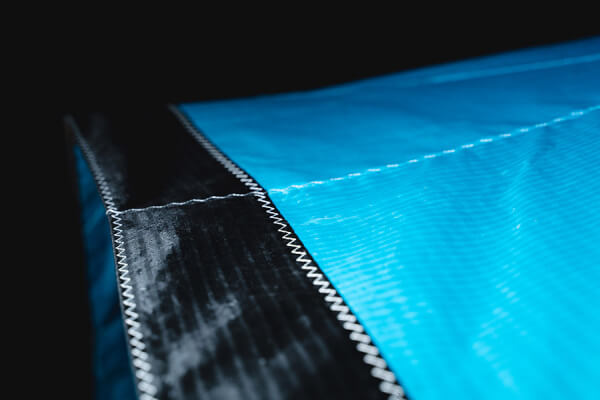
Costuras planas solapadas

Costuras planas solapadas

La fabricación con costuras planas solapadas mejora el control de la vela y le aporta líneas más limpias.

Refuerzos internos

Refuerzos internos

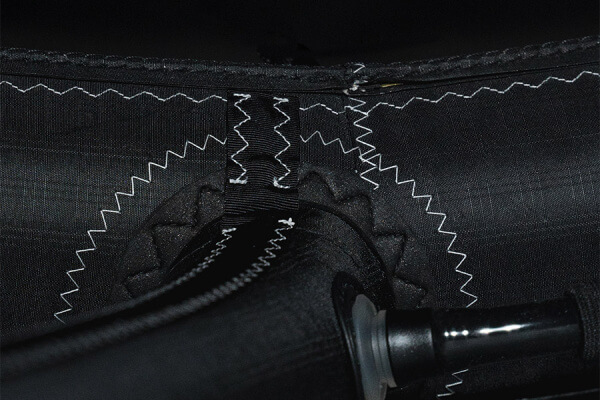
Lo que hay en el interior también cuenta: refuerzos internos para mejorar la robustez y la durabilidad, como la costura de cierre del borde de ataque, con hilos de elevada resistencia y doble capa de dacron + cinta de sellado Insignia.

Paneles de distribución de carga

Paneles de distribución de carga

En todas las zonas que reciben carga, se emplean refuerzos de dacron para mejorar la distribución de la misma. Esto permite que todas las cargas se se repartan de manera uniforme en la vela para que la cometa vuele y rinda al máximo.

Costillas Direct Connect

Costillas Direct Connect

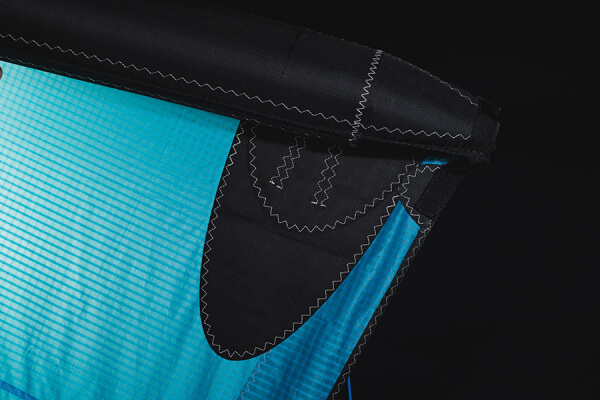
Nuestro método de construcción Direct Connect mejora la distribución de la carga entre el borde de ataque, las costillas y la cúpula. Las costillas van conectadas directamente al borde de ataque y llevan refuerzos internos y externos. Este exclusivo método de fabricación garantiza que se mantengan unos perfiles limpios y con la tensión óptima en la cometa.

Borde de ataque y costillas reforzados

Borde de ataque y costillas reforzados

El borde de ataque y las costillas están reforzados en las zonas de mayor tensión para garantizar que la cometa mantenga su forma y rinda al máximo.

Borde de fuga reforzado

Borde de fuga reforzado

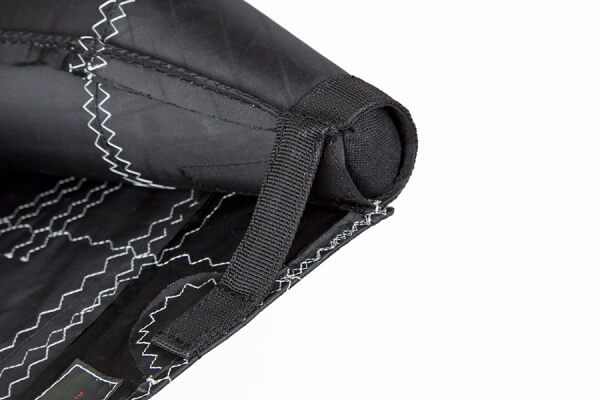
Una tira de doble capa en el borde de fuga, con un refuerzo interno de dyneema ligero reduce el desgaste de la cometa y contribuye a mantener la tensión óptima del borde de fuga que se calculó en el diseño. La tira de dyneema también reduce cualquier posible estiramiento en el borde de fuga.

Protecciones antiabrasión aerodinámicas

Protecciones antiabrasión aerodinámicas

Los parachoques de borde de ataque a menudo son elementos cosméticos, abultados e innecesarios. En Ozone fabricamos nuestras cometas y alas para que rindan y duren, y empleamos los mejores materiales y componentes disponibles. En las zonas que requieren protección contra la abrasión utilizamos un material ligero y duradero con una excelente resistencia, y los hacemos poco abultados para reducir la resistencia parásita y mantener las prestaciones.

Cámara de aire de fabricación exclusiva

Cámara de aire de fabricación exclusiva

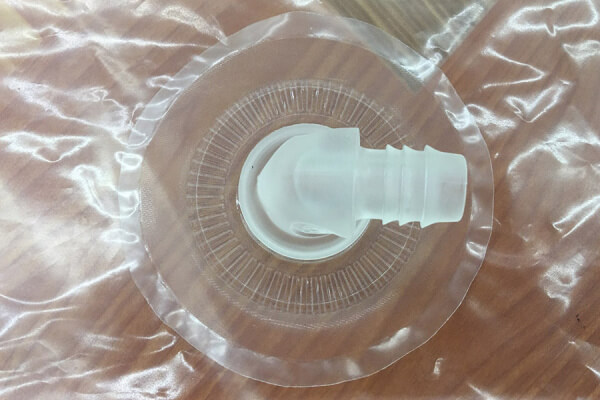
Nuestras cámaras de aire las fabricamos nosotros mismos con maquinaria de soldadura propia y vanguardista. En todas las zonas de desgaste potencial se aplican capas dobles.

Deflectores de línea antienganches

Deflectores de línea antienganches

Los deflectores de línea antienganches evitan que las bridas y las líneas se enganchen en las puntas de la cometa. Mejora la seguridad cuando se despega con un compañero y facilita relanzar la cometa desde el agua.

Geometría de bridas afinada

Geometría de bridas afinada

Trabajamos a fondo durante nuestro proceso de I+D en el desarrollo del rango de tamaños para que las sensaciones sean homogéneas. Cada cometa tiene una geometría de bridas propia, que se prueba de manera individual y se afina para maximizar las sensaciones que transmite y sus prestaciones.

Sistema de inflado Fast Flow One-Pump

Sistema de inflado Fast Flow One-Pump

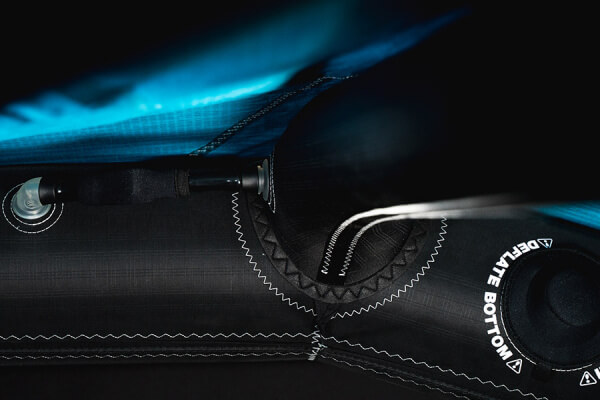
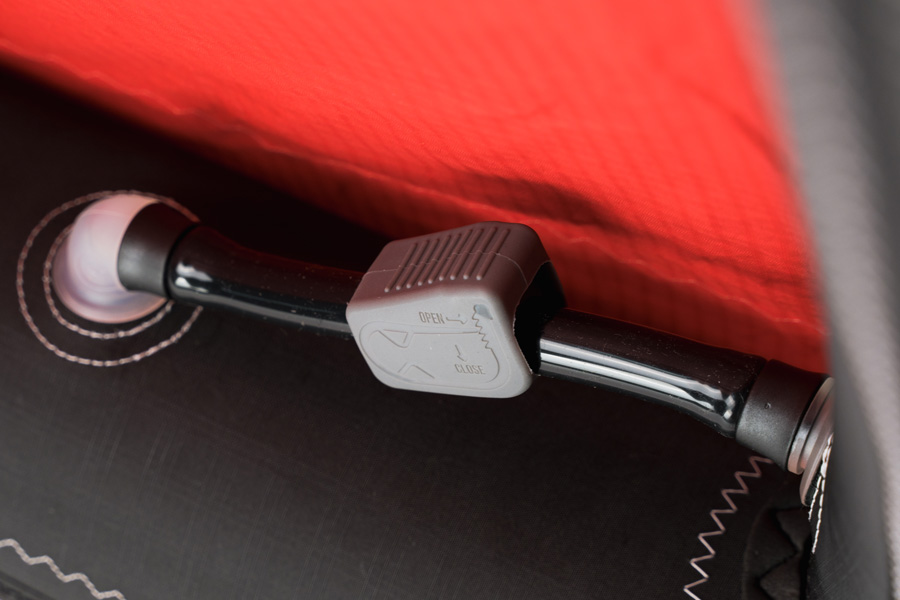
El nuevo sistema de inflado Fast Flow One-Pump hace rápido y sencillo armar y recoger la cometa. Hay un único punto de inflado/desinflado, y un elevado flujo de aire entre las costillas y el borde de ataque, con clips para estrangular los tubos y prevenir escapes no deseados en caso de daños.

Sables flexibles anti flameo

Sables flexibles anti flameo

Unos sables flexibles, estratégicamente ubicados a lo largo del borde de fuga, proporcionan soporte a la cúpula y reducen el flameo, lo que hace que el rider reciba mejor la información que le transmite la cometa y también reducen el desgaste del material.

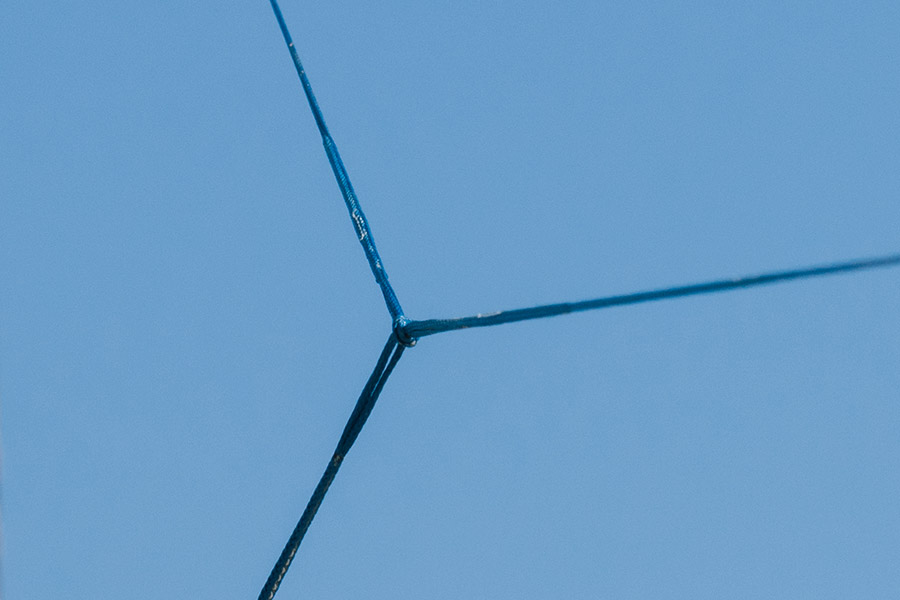
Líneas de brida de altas prestaciones

Líneas de brida de altas prestaciones

Las líneas de brida Technora de alto rendimiento ofrecen una gran reducción de la resistencia parásita y un peso reducido.

Opciones de trimado de la línea trasera

Opciones de trimado de la línea trasera

Personaliza tu mando y presión de barra con los anclajes de la brida de la línea trasera. Deja el borde de ataque más cerca para girar más despacio y tener más presión de barra, o acerca el borde de fuga para girar más deprisa y reducir la presión de barra.

Conectores de línea infalibles

Conectores de línea infalibles

Los conectores de línea infalibles evitan montar de manera incorrecta las líneas de vuelo de la cometa.

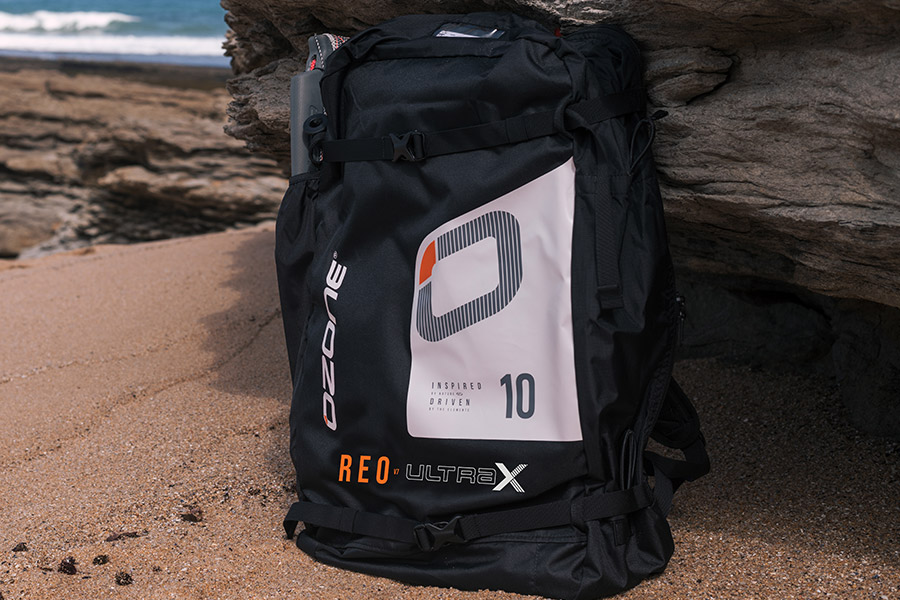
Bolsa técnica para cometas de agua

Bolsa técnica para cometas de agua

• Bolsa técnica con mucho espacio
• Bolsillo interno
• Bolsillo externo para la barra
• Correas para la tabla
• Soporte para la bomba
• Hombreras ajustables
• El acolchado de panel dorsal aporta un confort extra

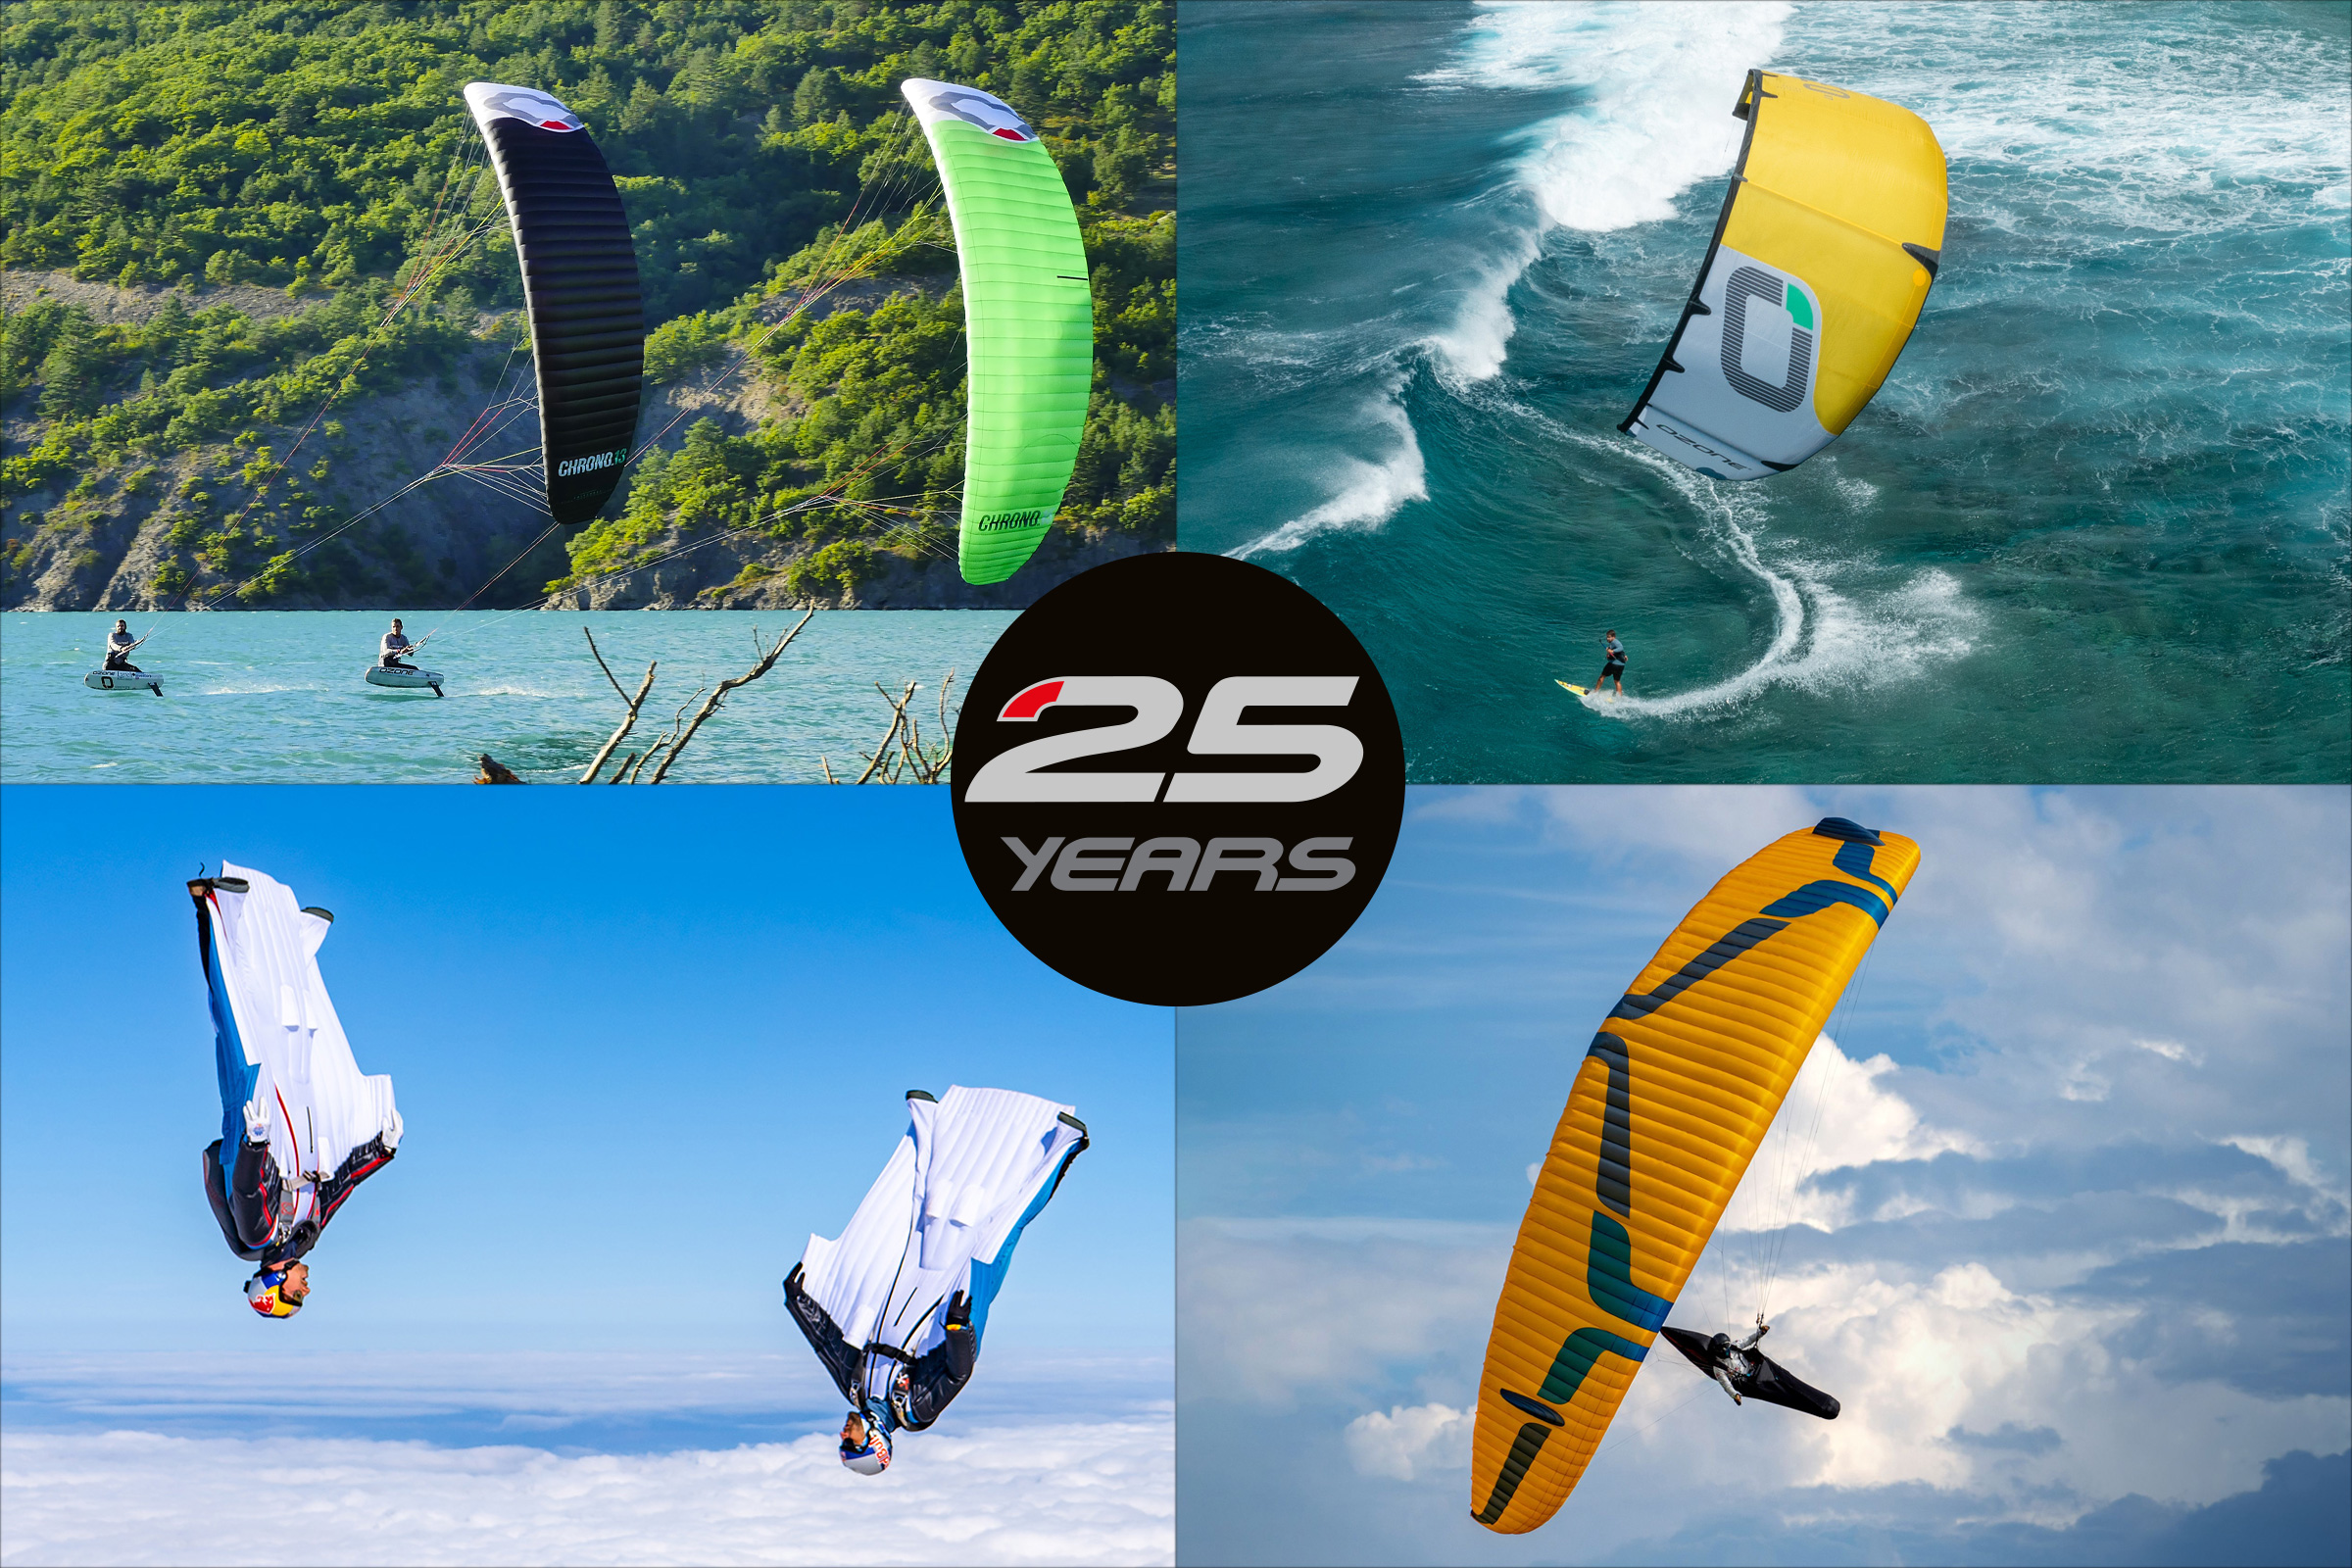
A CULMINATION OF ALL WE’VE LEARNT FROM 25 YEARS OF AERODYNAMIC DEVELOPMENT IN OUR OWN FACTORY

The Reo V7 and Ultra-X are a culmination of all that we’ve learnt through more than two decades of Ozone running its own factory that builds paragliders, wingsuits, kites, wings and accessories. A thousand highly trained employees apply their skills across nine factory floors, including the dedicated prototyping department that operates full time. The turnaround on ideas into physical products is super fast and allows for the development of strong, lightweight and perfectly trimmed products to come to life.

Intense high performance levels are borne from the fact that our designers capitalise on having 100% access to the factory to try new ideas and then produce as many prototypes as it takes to make products feel just right.

Ozone not only owns all its own production processes in the factory but also in design. Our highly advanced, custom built OzCAD software, built from the ground up, means that our designers intimately understand every square inch of pressure exerted in each size of every product. Part of our design team is dedicated to the upgrade of the CAD code as well as the addition of new modules and features to the program as the development of our products continues.

BORN LIGHT; GENETICALLY STRONG

At Ozone we have always believed in designing lightness and strength into our paragliders, kites and now wings, to be as efficient in flight as possible.

Naturally, the lighter the kite or wing is, the better it will fly. The stronger it is, the longer its performance will last.

We avoid adding surplus features or unnecessary cosmetic items to our designs and use top of the line materials put through a rigorous testing programme.

If you compare the weights of any Ozone kite or wing against the most dedicated light weight specific products produced by our competitors, you’ll see that all our products are just born light. Even on our entry level designs we don’t compromise the handling benefits that airborne products undoubtedly have through being lighter.

Combined with cutting edge manufacturing and highly skilled craftspeople our designs are Born Light; Genetically Strong.

Technical, performant, durable and efficient – the lightness and strength is built in.

A clean and simple design, featuring an easy-to-use trim system and our innovative Click-In Loop Quick Release.

Encontrar una tienda
Estimated current manufacturing time: 12 days

Thank you for purchasing this Ozone product. Our mission is to design and build quality products with cutting edge performance that are easy, fun and safe to use.

At Ozone we are passionate about sports, and it is this passion that drives our design team to perfect and develop products that we love to ride with. We are proud of the quality of our products, and are constantly searching for the best components and materials to use in our designs. We manufacture in our own high-quality production facility in Vietnam, which guarantees a build quality that we are proud to put the Ozone name on. A close look at one of our products reveals that same superior quality and construction that ensures that every Ozone product will enjoy a long life, with consistent performance and aesthetics. To view the factory video visit our website www.flyozone.com. Many dynamic action sports carry inherent risks but with common sense and education from qualified instructors means you can easily enjoy these incredible sports. Accidents generally happen due to a lack of experience, changing weather conditions or from using equipment not suited to the riders’ ability and/or conditions. Always take the time to learn safely with qualified instruction and you will progress far quicker. Ride safe Team Ozone

Release of Liability

OZONE KITESURF LTD / OZONE KITES LTD RELEASE OF LIABILITY, CLAIM WAVIER, ASSUMPTION OF RISK

By assembling and/or using this Ozone product, you agree that you have read and understood the entire Ozone product owners manual, including all instructions and warnings contained in that manual, prior to using the Ozone product in any way. You additionally agree that you will ensure any additional or subsequent user of your Ozone product will read and understand the entire Ozone product owners manual, including all instructions and warnings contained in that manual, prior to allowing that person to use your Ozone product.

ASSUMPTION OF RISK

Use of the Ozone product and any of its components involve certain risks, dangers, and hazards which can result in serious personal injury and death to both the user and to non-user third parties. In using this Ozone product, you freely agree to assume and accept any and all known and unknown risks of injury to you and third parties while using this equipment. The risks inherent in this sport can be greatly reduced by abiding by the warning guidelines listed in this owner manual and by using common sense.

RELEASE AND WAIVER OF CLAIMS

In consideration of the sale of the Ozone product to you, you herby agree to the fullest extent permitted by law, as follows;

TO WAIVE ANY AND ALL CLAIMS that you have or may in the future have against Ozone Kitesurf LTD or Ozone Kites LTD and all related parties resulting from use of the Ozone product and any of its components.

TO RELEASE Ozone Kitesurf LTD or Ozone Kites LTD and all related parties from any and all liability for any loss, damage, injury or expense that you or any users of you Ozone product may suffer, or that your next of kin may suffer, as a result of the use of the Ozone product, due to any cause whatsoever, including negligence or breach of contract on the part of Ozone Kitesurf LTD or Ozone Kites LTD and all related parties in the design or manufacture of the Ozone product and any of its components.

In the event of your death or incapacity, all provisions contained herein shall be effective and binding upon your heirs, next of kin, executors, administrators, assigns, and representatives. Ozone Kitesurf LTD or Ozone Kites LTD related parties have not made and expressly deny and oral or written representations other than what is set forth herein and the Ozone product owners manual.

Warranty

Ozone warrants this product according to the laws in force against any major manufacturing defect. This warranty is subject to the following limitations:

  • The warranty is valid only when the product is used for its intended use, and does not cover products used in rental or teaching operations.
  • Ozone will make the final warranty determination, which may require inspection and/or photos of the equipment, which clearly show the defect(s). If necessary, this information must be sent to the Ozone dealer, postage prepaid.
  • If a product is deemed to be defective by Ozone, the warranty covers the repair or replacement of the defective product only.
  • Ozone will not be responsible for any costs, losses, or damages incurred as a result of loss of use of this product. The warranty does not cover damage caused by misuse, abuse, neglect or normal wear and tear including but not limited to; assembling with other than Ozone components, damage due to excessive sun exposure, damage caused by improper handling or storage, and damage caused by anything other than defects in material and workmanship.
  • This warranty is voided if any unauthorized repair, change or modification has been made to any part of the equipment. The warranty for any repaired or replaced equipment is good from the date of the original purchase only. The original purchase receipt must accompany all warranty claims.
  • The name of the retailer and date of purchase must be clear and legible.
  • There are no warranties that extend beyond the warranty specified herein.

WARRANTY CLAIMS

  • Warranty claims must be sent to Ozone by an official Ozone dealer or country distributor.
  • Warranty claims must be processed and be issued a return authorization prior to shipping to the Ozone dealer the product was purchased from.

Warnings & Safety Precautions

This manual refers to the current product it comes with. No information contained herein applies to previous and/or other products or components. Always read and understand all warnings and instructions for any other product or component being used. To read previous product manuals go to www.flyozone.com

Read the following points before assembling and/or using this product:

General Warnings:

  • Before using this product you must take lessons from a certified instructor/school.
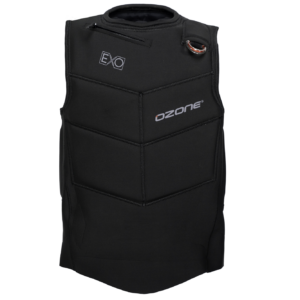
  • Always wear a Coast Guard approved Personal Flotation Device when using this product near or on the water.
  • Always carefully inspect all of your equipment before using it.
  • The use of this product exposes the user to many unavoidable and unexpected risks, dangers and hazards.
  • Always use extreme caution when using this product.
  • Misuse of this product can cause serious injury or death.
  • Only use this product if you are in good physical health.
  • Never act in a careless manner when using this product.
  • You are responsible for your own safety and the safety of others around you when using this product.
  • If you are under the age of 18 you should have your parents or legal guardian read all warnings and instructions. You should not use this product unless you are under proper guidance and supervision.
  • Do not use this product if you are under the influence of alcohol, drugs or medications.

Kite and Control System Warnings:
  • Always have a partner when launching and landing your kite.
  • Always learn to use a small trainer kite before attempting to use a larger power kite.
  • Never allow anyone who is not familiar with power kites to use this product.
  • Never use this product without a safety leash system. A loose kite is extremely dangerous.
  • The kite/control system is equipped with passive safety systems, which need to be activated by the user for them to work.
  • The leash system is not a permanent attachment to this product. Never permanently attach yourself to the kite or any of its components.
  • Never use this kite with another control system or safety leash. Only use the control system that is supplied with this kite. Other brands are not compatible with this design therefore and the safety system will not work.
  • Always wear protective equipment when using this product, for example; helmet, gloves, shoes, protective eyewear etc.
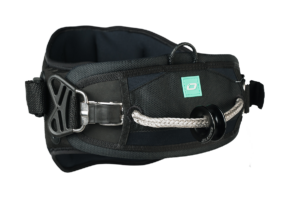
  • Always use a high quality and well maintained kite specific harness.
  • Get yourself used to the way all quick release devices work by testing them often in a non-emergency situation.
  • Rinse all quick release devices in fresh water after each use. Quick release devices have a limited lifetime and must be checked and replaced often.
  • Always activate and re-load all safety systems to familiarize yourself with how they work. This is the only way to be sure that you know how to use them in all situations, and that they are correctly loaded and safe for use.
  • The quick release trim loop and kite leash equipped with a quick release must be replacement after 250hours of use. Replace them before if you see any sign of wear. The wearing of quick release devices is not considered a warranty issue.
  • Never touch the flying lines when the kite is in use. Flying lines are extremely dangerous while under tension and can cause serious injury or death.
  • Never use this product with worn lines. A line that breaks while under tension can cause serious injury or death.
  • Always check your flying lines for knots before each use. Knots greatly reduce the strength of the lines.
  • Stay away from tangled flying lines unless the kite is secured to the ground. An unsecured kite can self launch unexpectedly, and can cause serious injury or death.
  • Never allow yourself, or anyone else, to get between the control bar and the kite when using this product.

Choose safe weather conditions and locations:

  • Be aware of the general risks associated with action sports.
  • Ensure you understand all weather forecasts and prepare for changes in weather.
  • Never learn to use this product in more than 10 knots of wind.
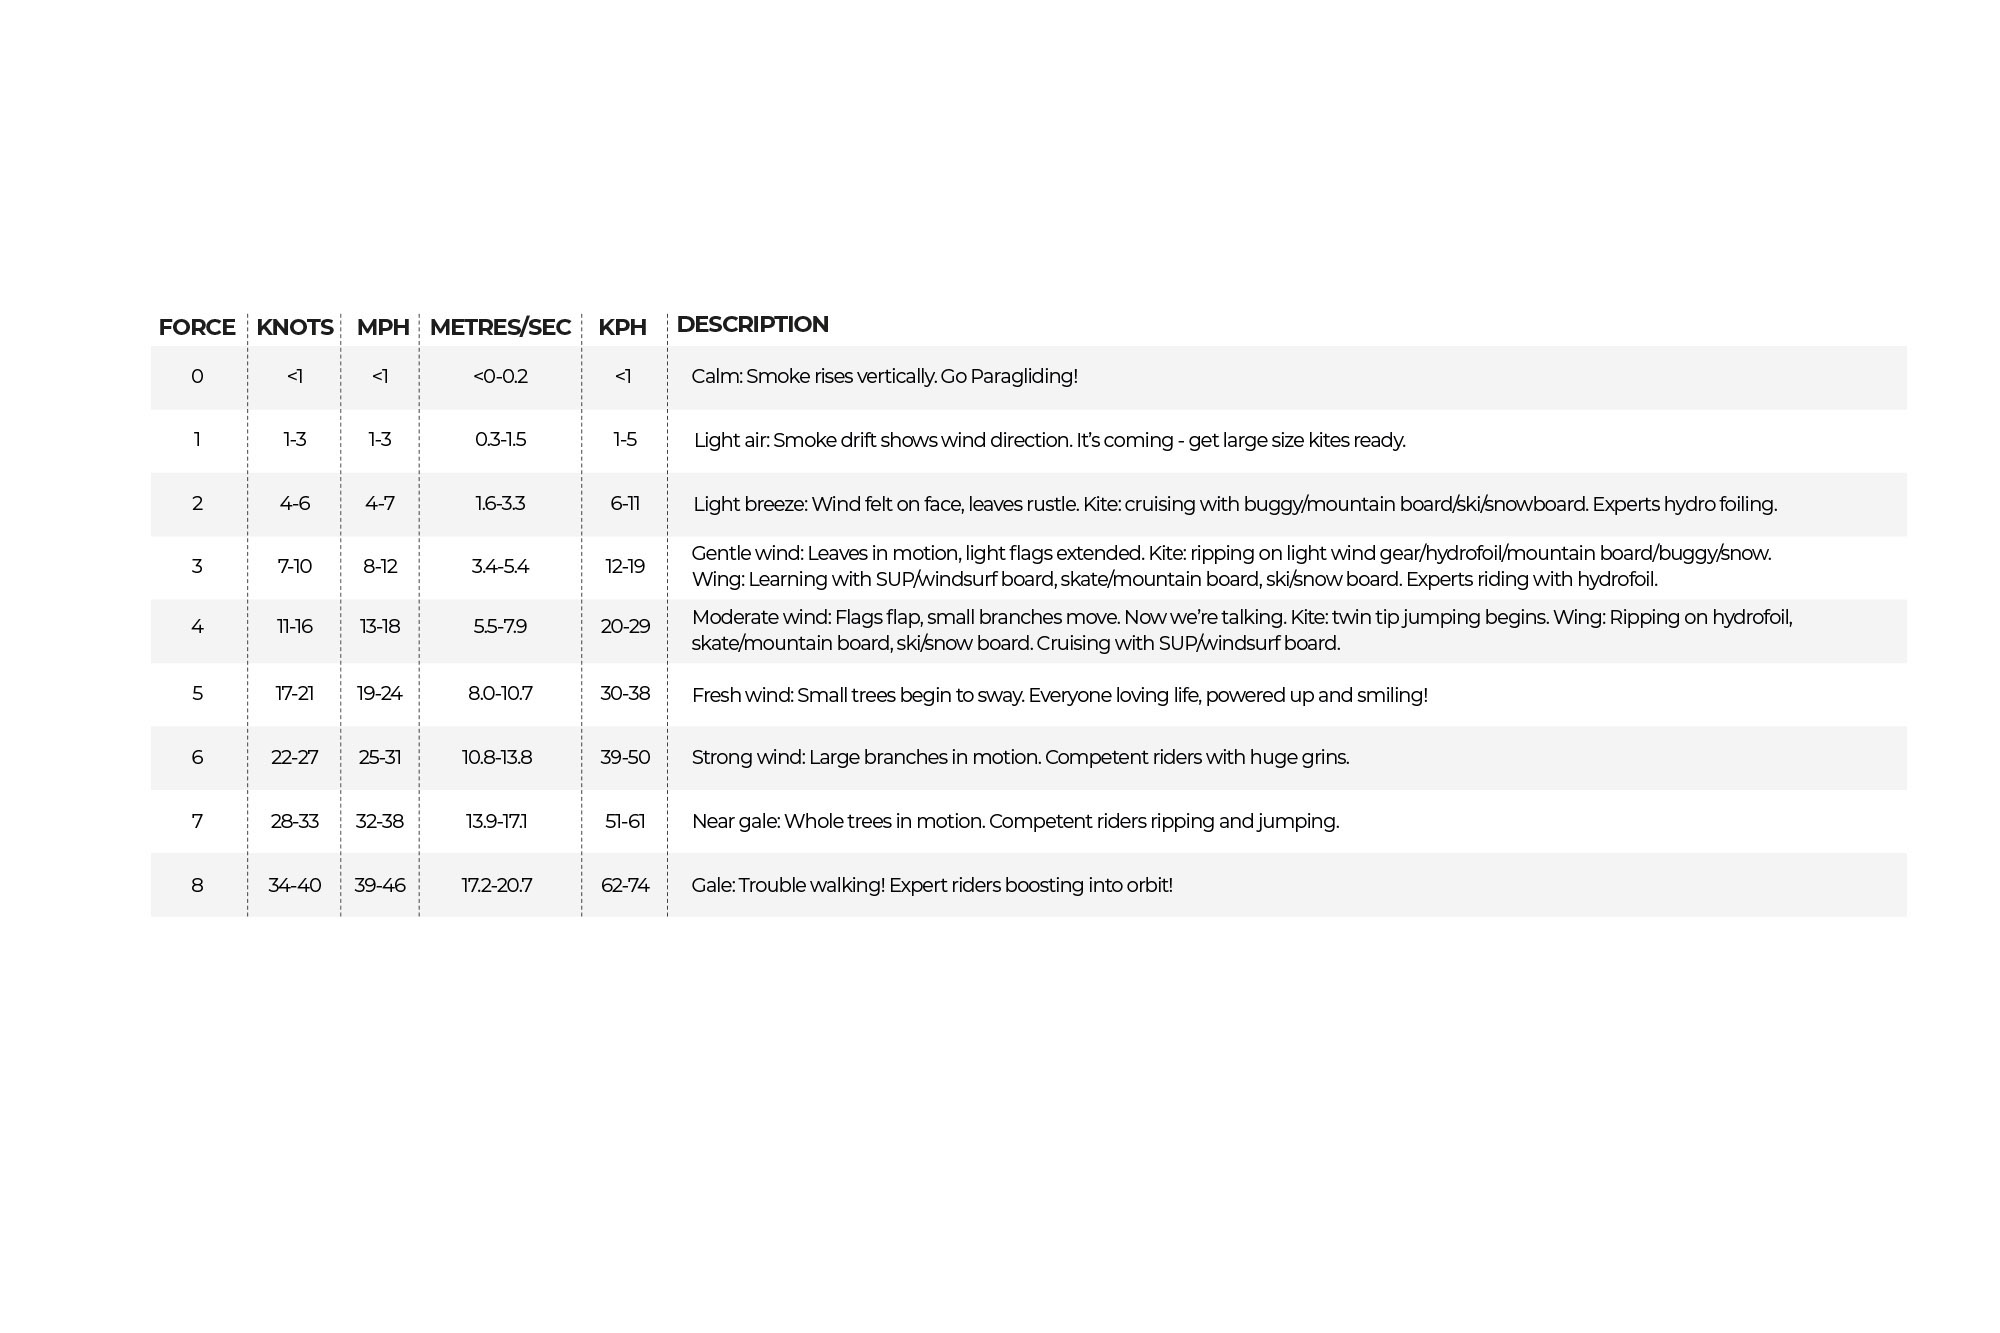
  • We highly recommend you purchase a wind speed indicator to be able to measure wind speeds. Study the wind guide to understand wind speeds.
  • Never use this product in high winds.
  • Never use this product in thunderstorm and lightning conditions.
  • Only use this product when you can remain in a standing position.
  • Never use this product in wind conditions that are above your ability level.
  • Never use this product near or on the water in offshore wind condition unless you are an expert swimmer.
  • Always observe local rules and regulations when using this product.
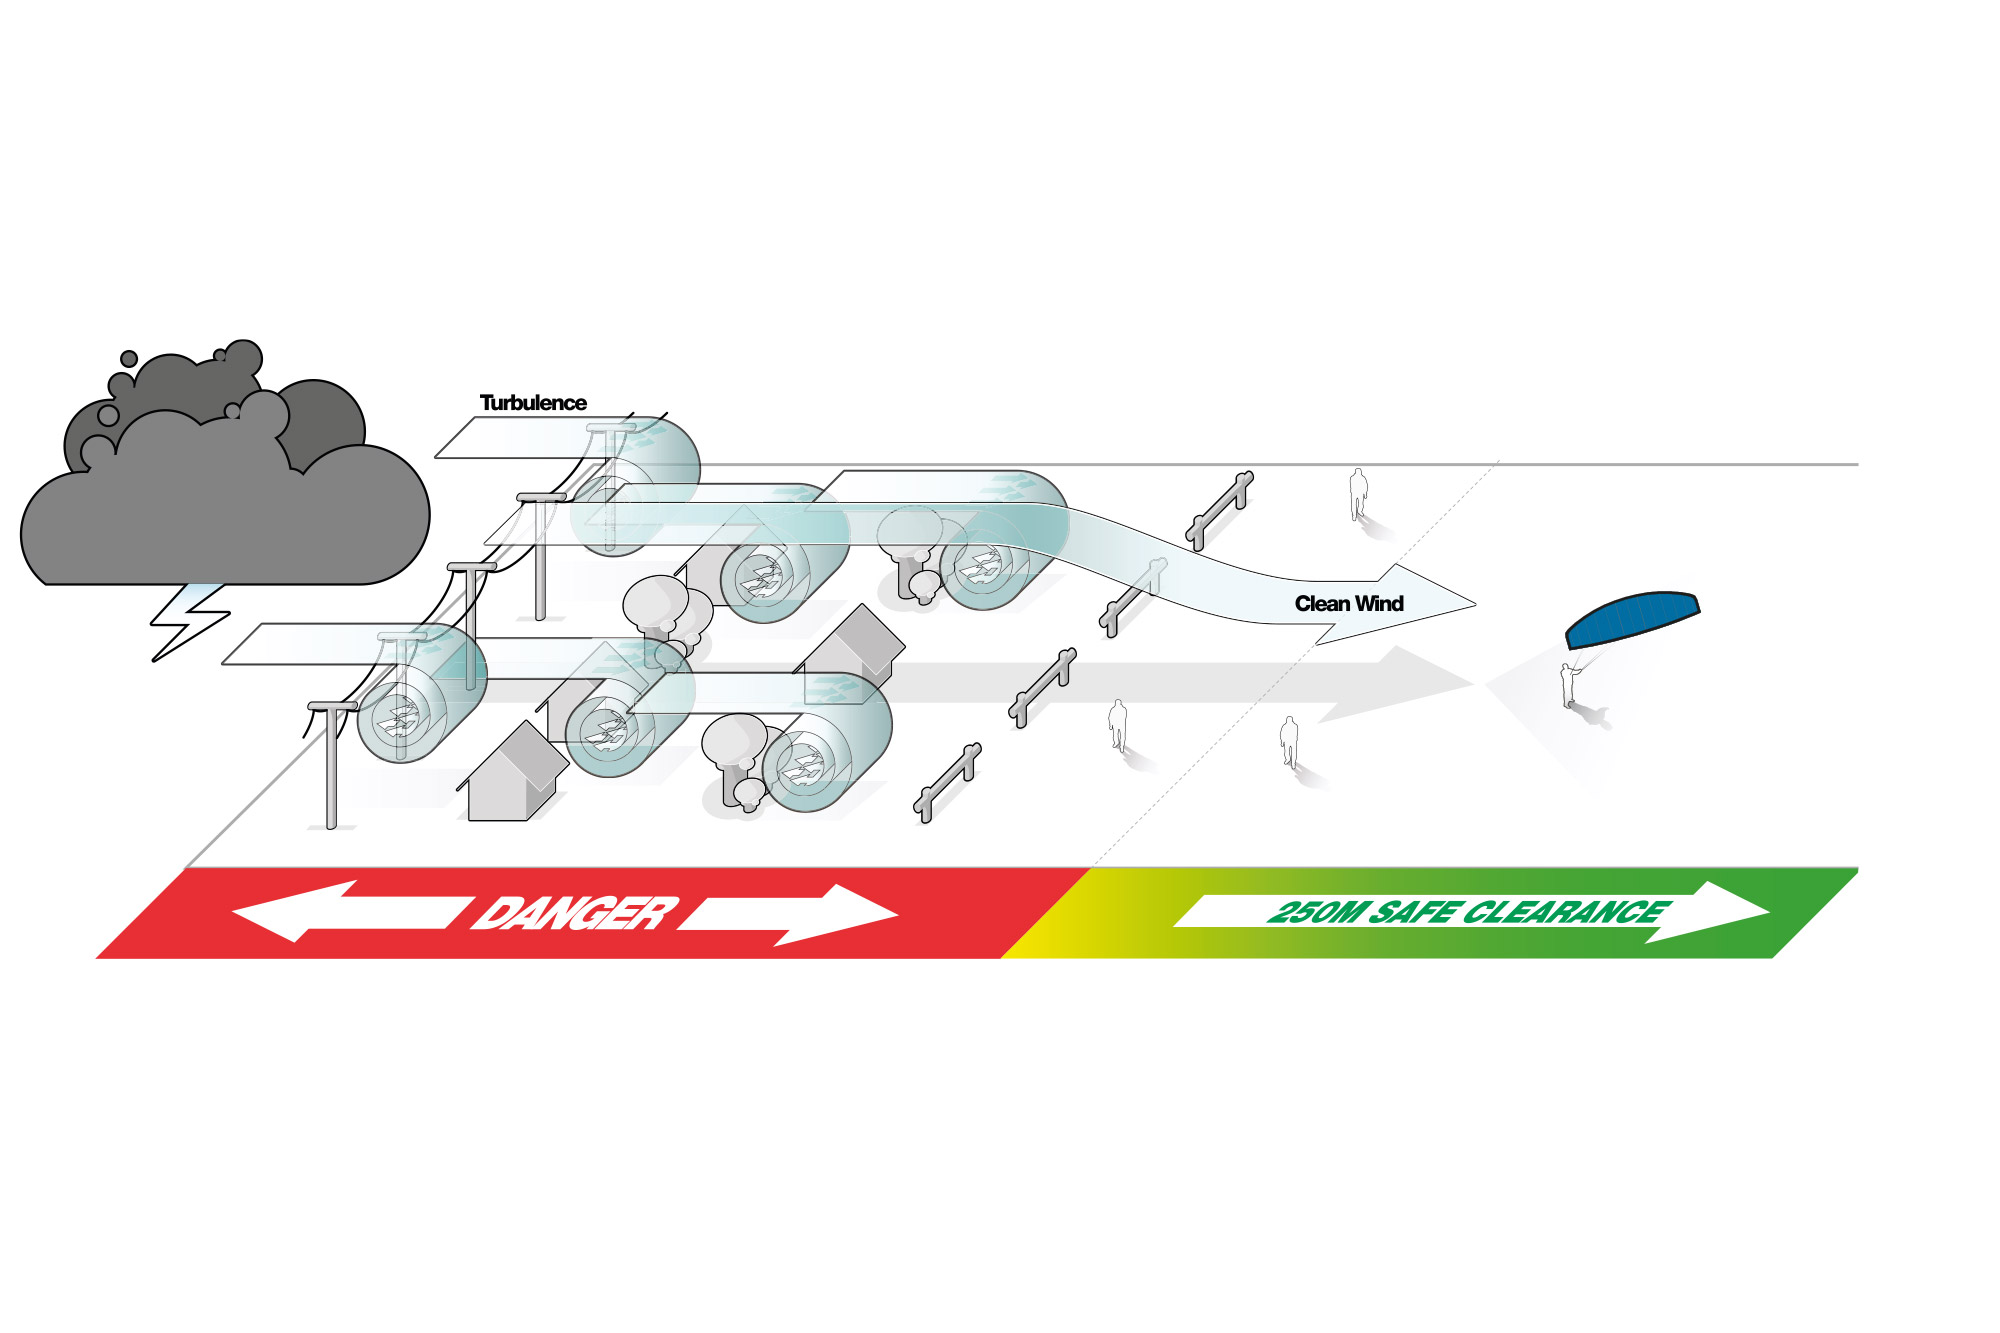
  • Never use this product near power lines, telephone poles, trees, bushes, roads, automobiles or airports.
  • Only use this product when you have at least 100m of clear space downwind, and on both sides of your launching position. The power of the kite can pull you downwind unexpectedly with great force.
  • Do not fly your kite over other people or pets. Spectators should remain upwind of you when using this product.
  • Never use this product on crowded beaches or fields.
  • Practice launching and landing procedures, and self rescue techniques before using this product near the water.


Set Up:

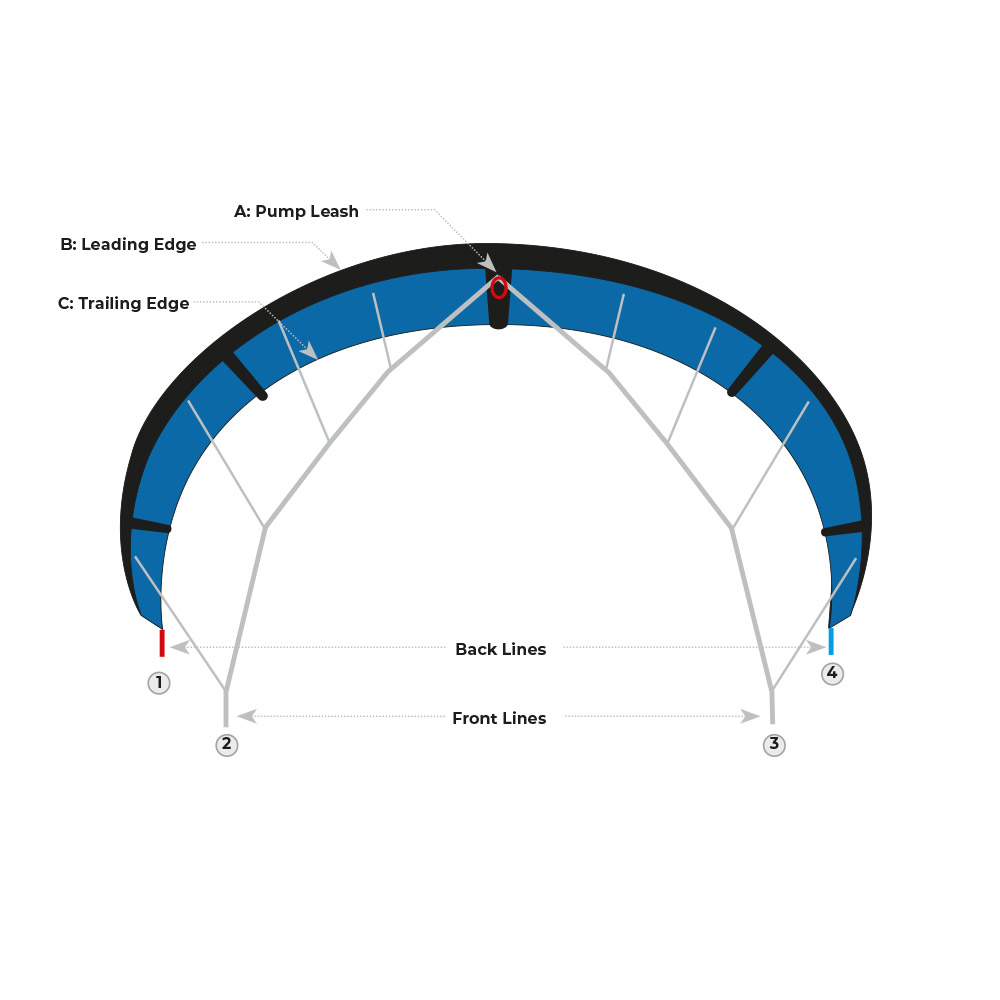
Attach The Lines To The Kite As Shown In These Diagrams.
View Is Of The Kite When Flying.

A: Pump Leash

B: Leading Edge

C: Trailing Edge

1 & 4: Back Lines

2&3: Front Lines

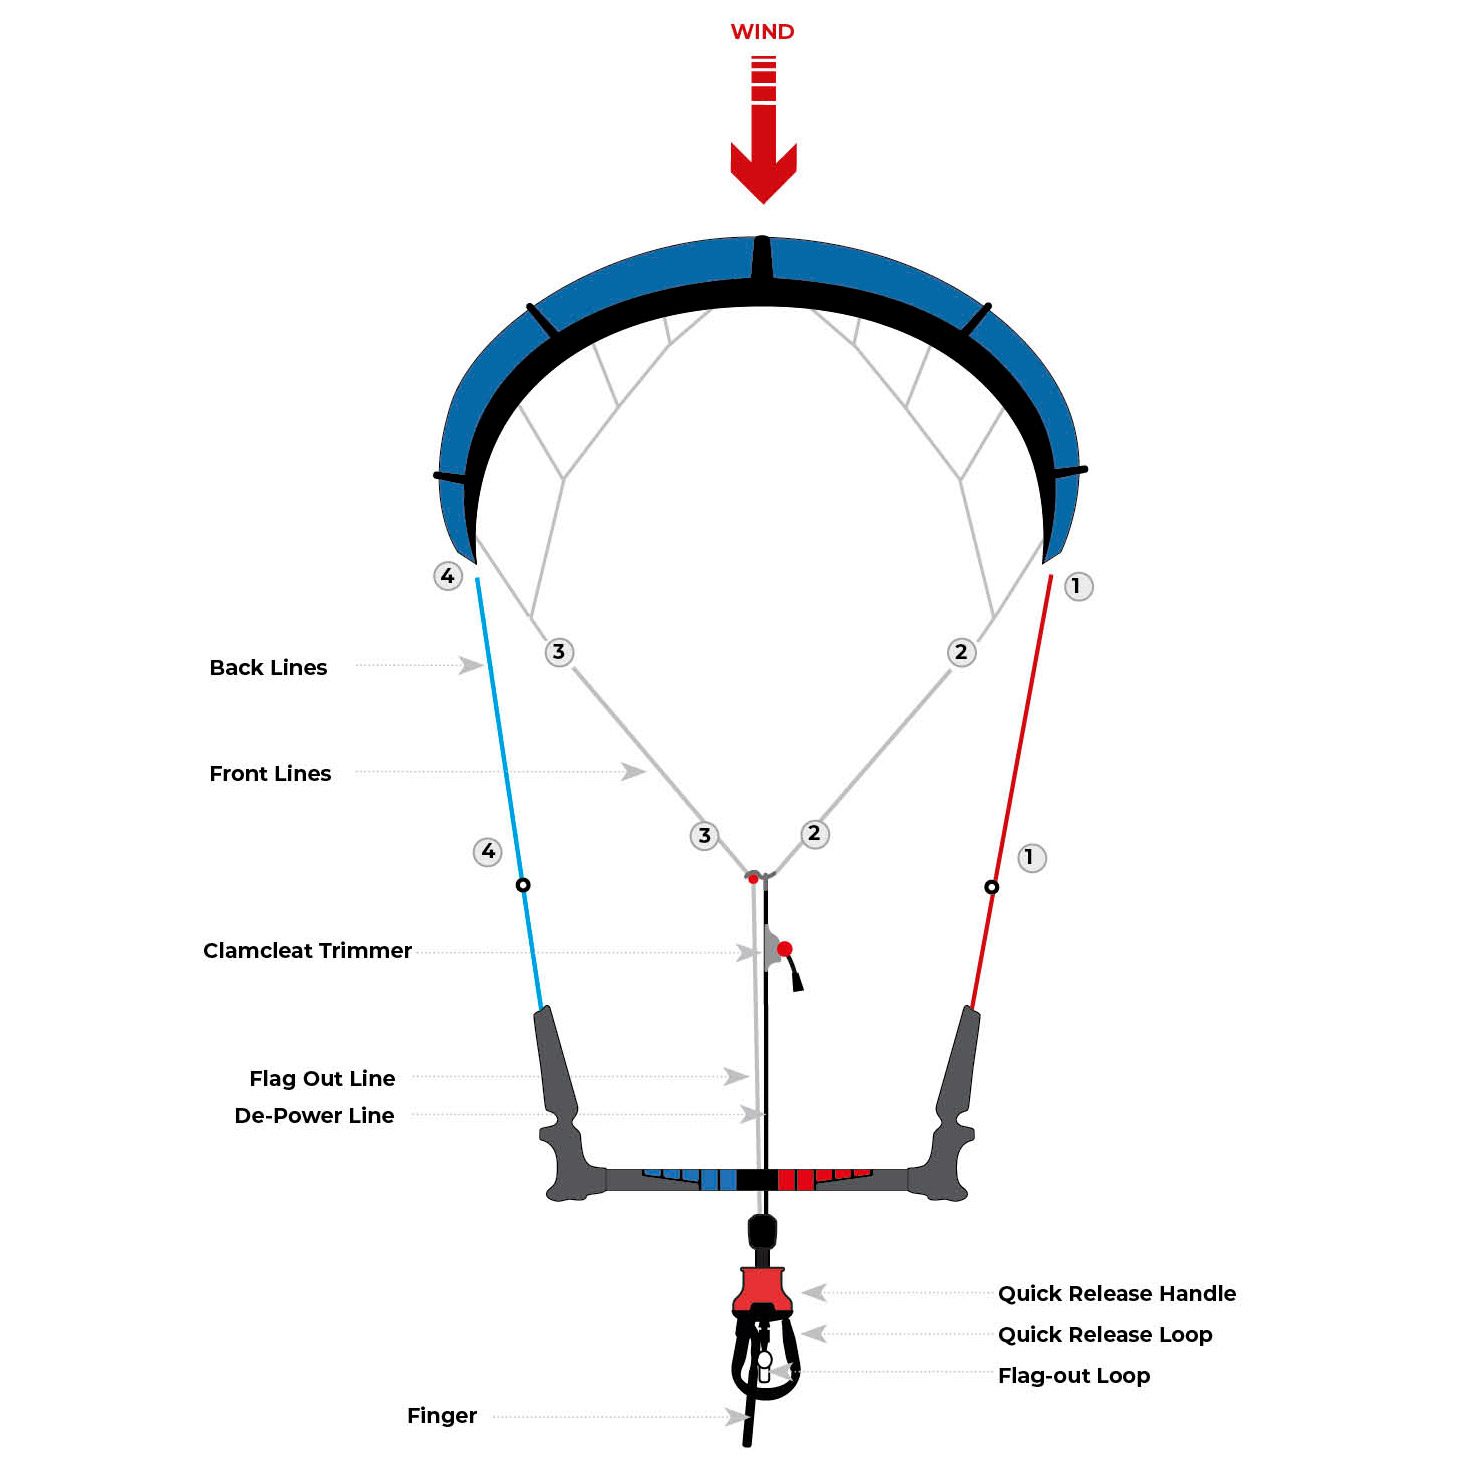
Set Up The Kite And Bar Face Down On The Beach With The Bar Downwind From The Kite.

1 & 4: Back Lines

2&3: Front Lines

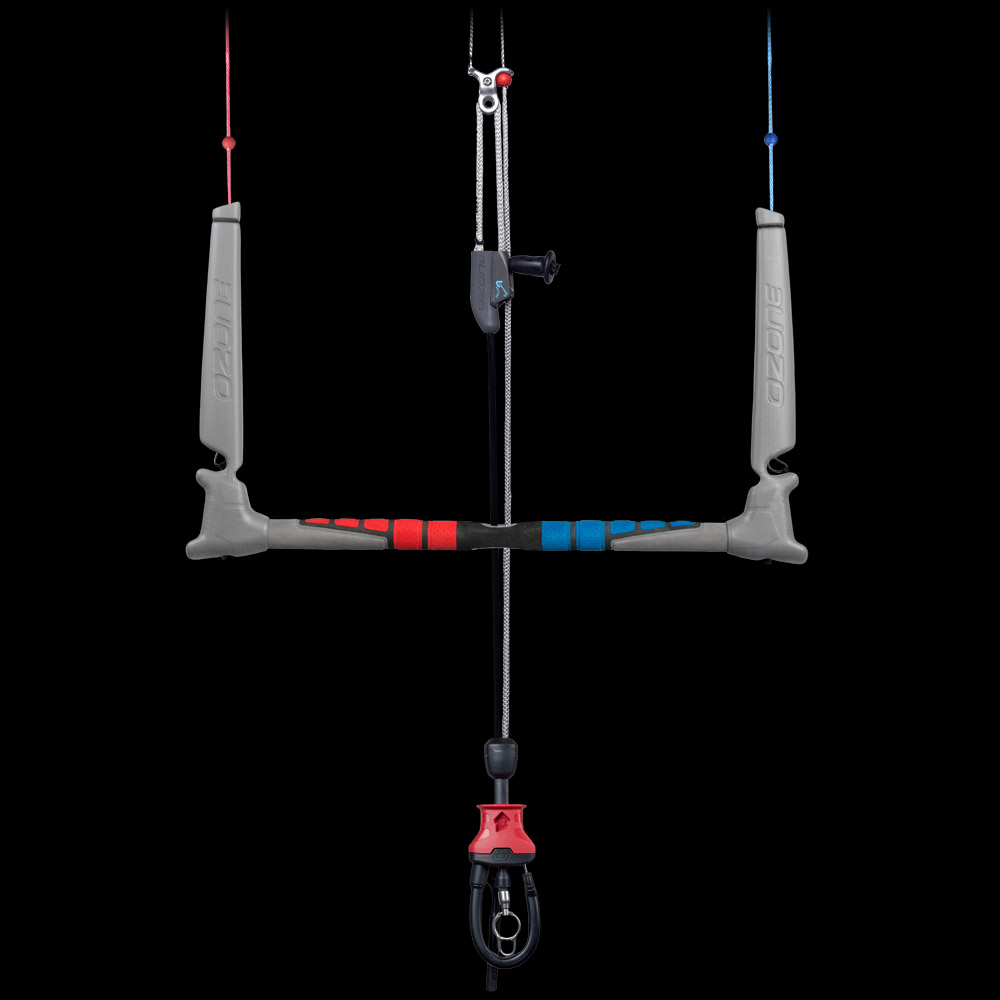
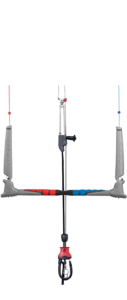
A: Clamcleat Trimmer

B: Flag Out Line

C: De-Power Line

D: Quick Release Handle

E: Quick Release Loop

F: Flag-out Loop

G: Finger

Set Up

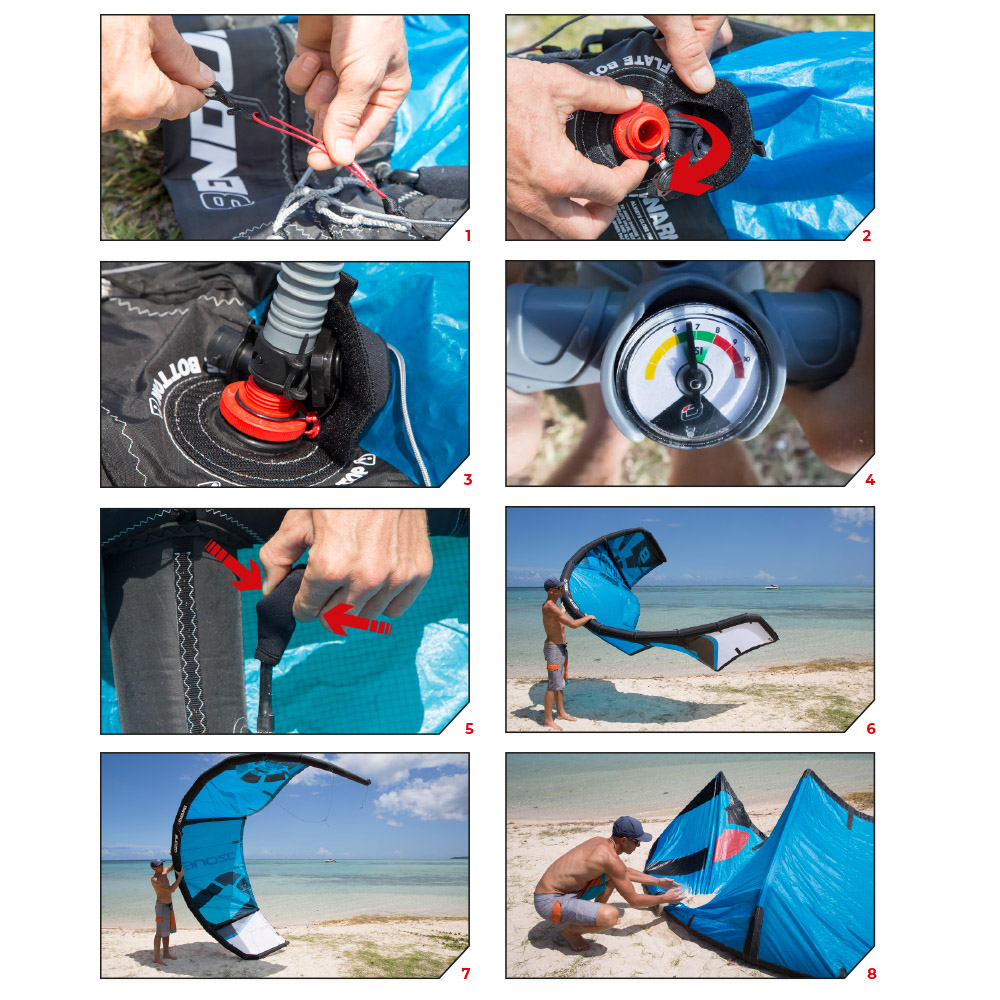
  • Attach the pump leash to the looped line at the centre of the leading edge.
  • Make sure all one-pump hose clips are open before you start inflating.
  • Inflate using the IN valve.
  • Refer to the recommended inflation pressure located next to the inflate/deflate valve.
  • Do not over inflate above the recommendation.
  • Do not under inflate or it will not perform as designed.
  • Close the top valve cap. Double check the valve is tightened firm and is sealing.
  • Close the protection cover.
  • Close all one-pump hose clips. This isolates each strut from the leading edge, so if you get a puncture in one part of the kite the rest of the kite will remain inflated.
  • Once the kite is fully inflated, turn the kite over and secure the kite using sand or sand bags on either side of the centre strut.
  • Never leave a kite unattended without sand or sand bags on the kite.

WARNING:

Do not ride the kite with the one pump clips undone. If you get a puncture the whole kite will deflate! Always close the one pump clips inside the neoprene covers after pumping up. Do not under inflate the kite or it will not perform to its designed trim and will not relaunch easily.

Attaching The Control Lines

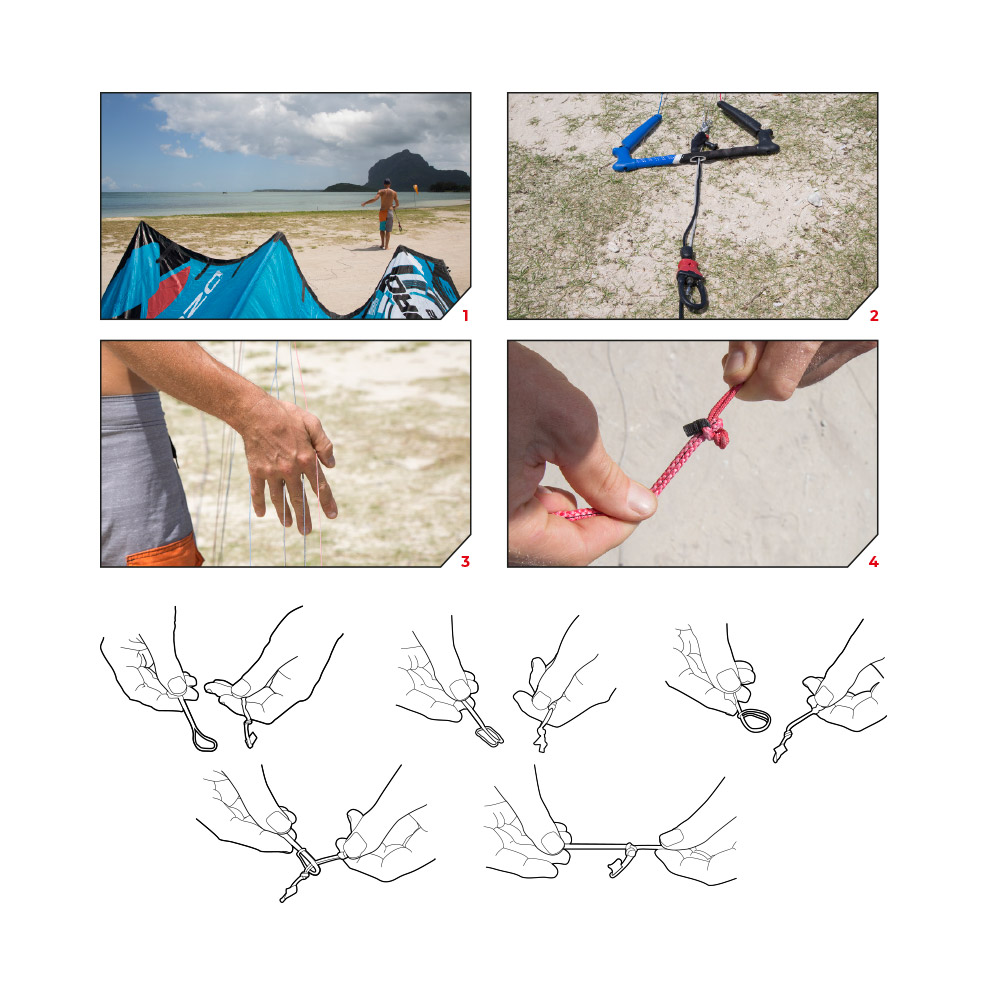
  • With the kite on the sand and leading edge facing upwind start to unwind all the lines from the bar walking downwind.
  • Put your bar in the sand with red side of the bar on the right and start untangling the flying lines, walking upwind towards the kite.
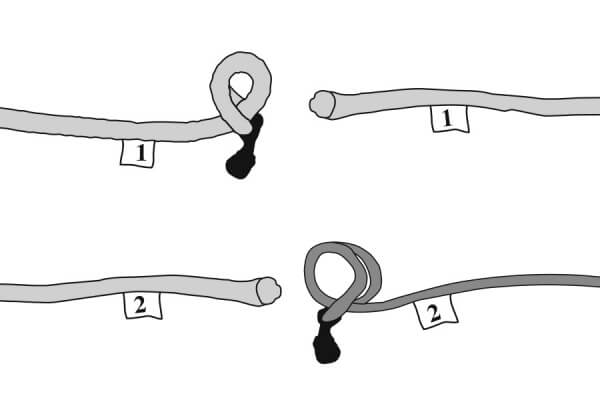
  • We label each line with numbers which correspond to the same numbers on the kite. Use a larks head knot to attach the lines making sure the line label system matches >>  4 to 4; 3 to 3; 2 to 2; 1 to 1. The line labels are on the bar, lines and kite to make rigging stress free and easy.
  • The frontlines have stitched loop ends and the back lines have knots so it is very difficult for you to attach the lines incorrectly.

All line to kite connections are made using a “LARKS HEAD” knot.

Always double check your lines before launching. Wrongly attached lines will stop the kite flying correctly and could therefore mean you have no control of the kite putting yourself in a dangerous situation.

Security

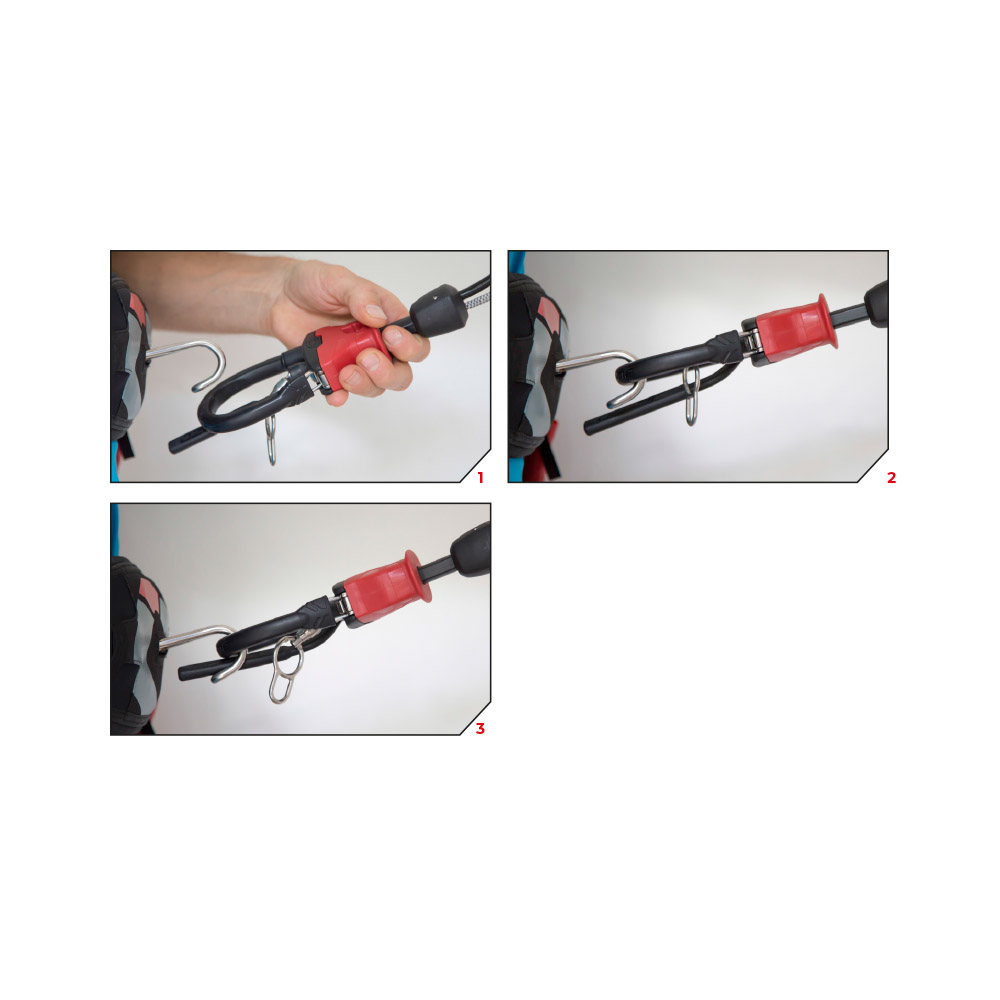
Quick Release Connection

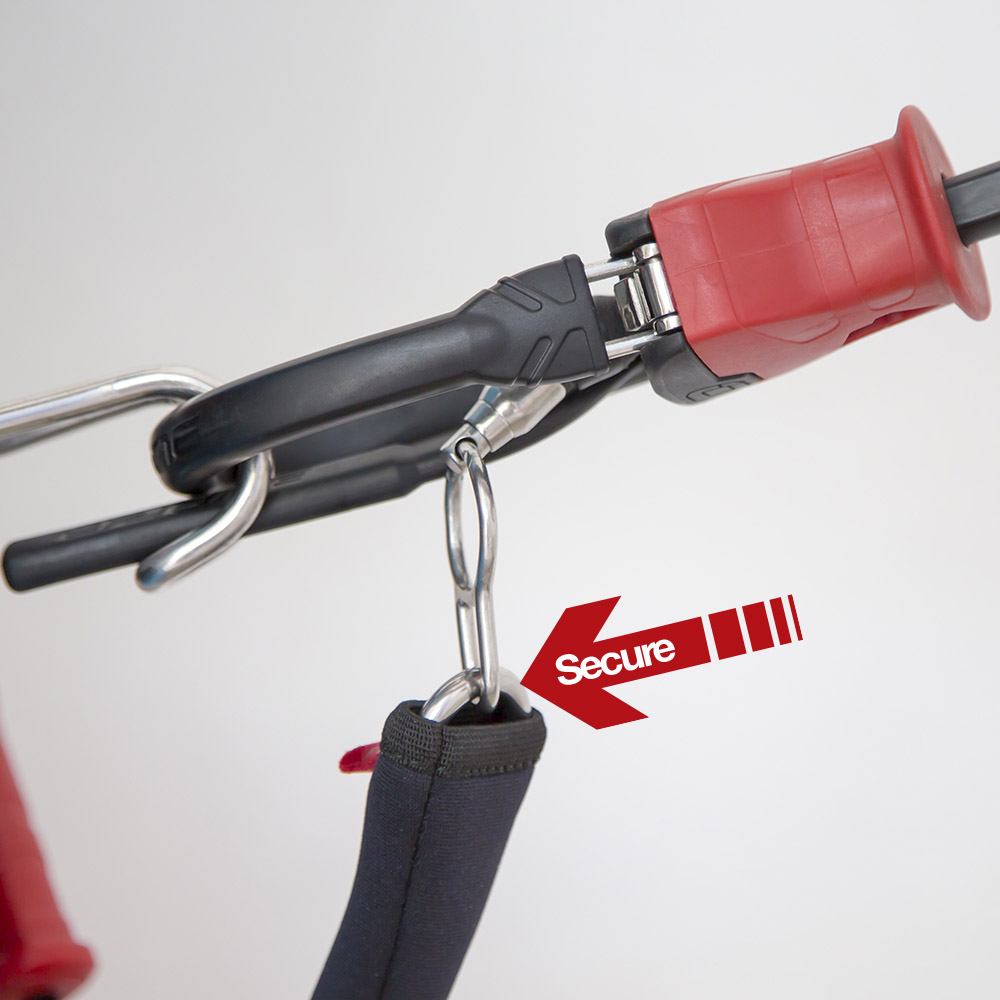
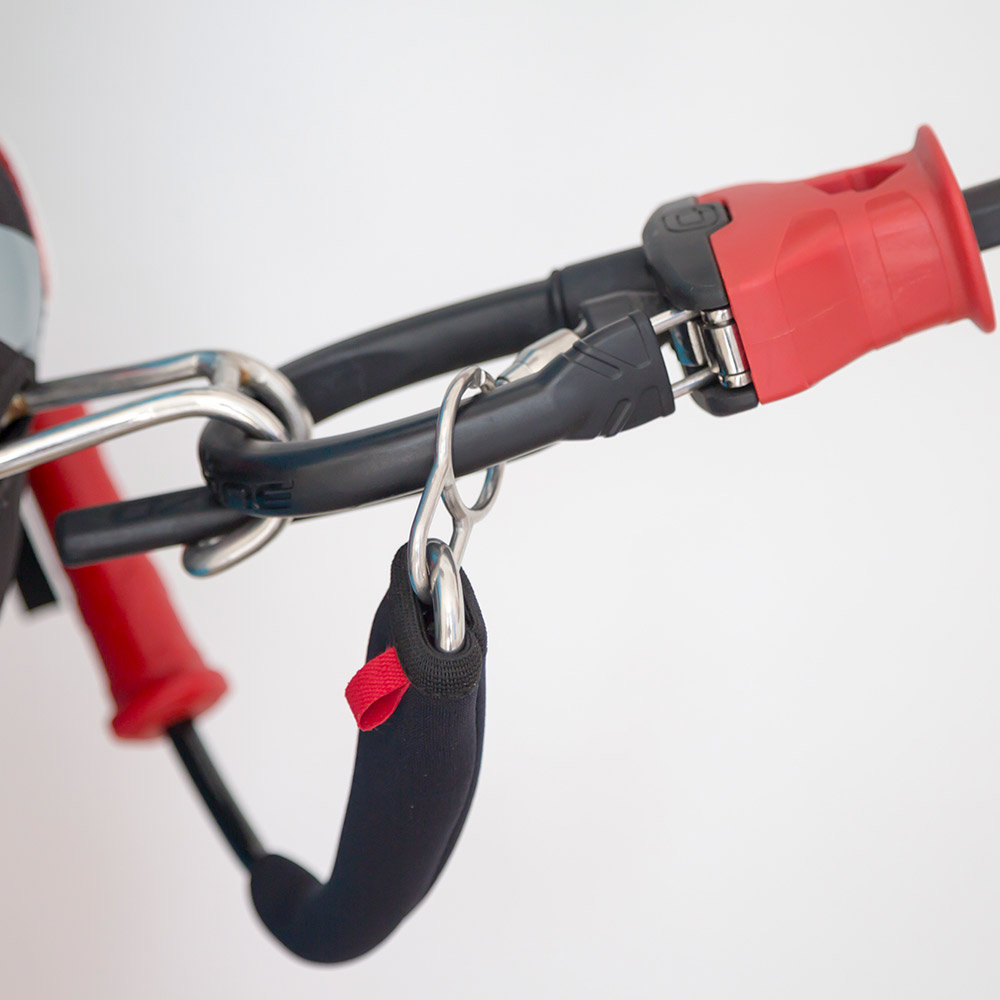
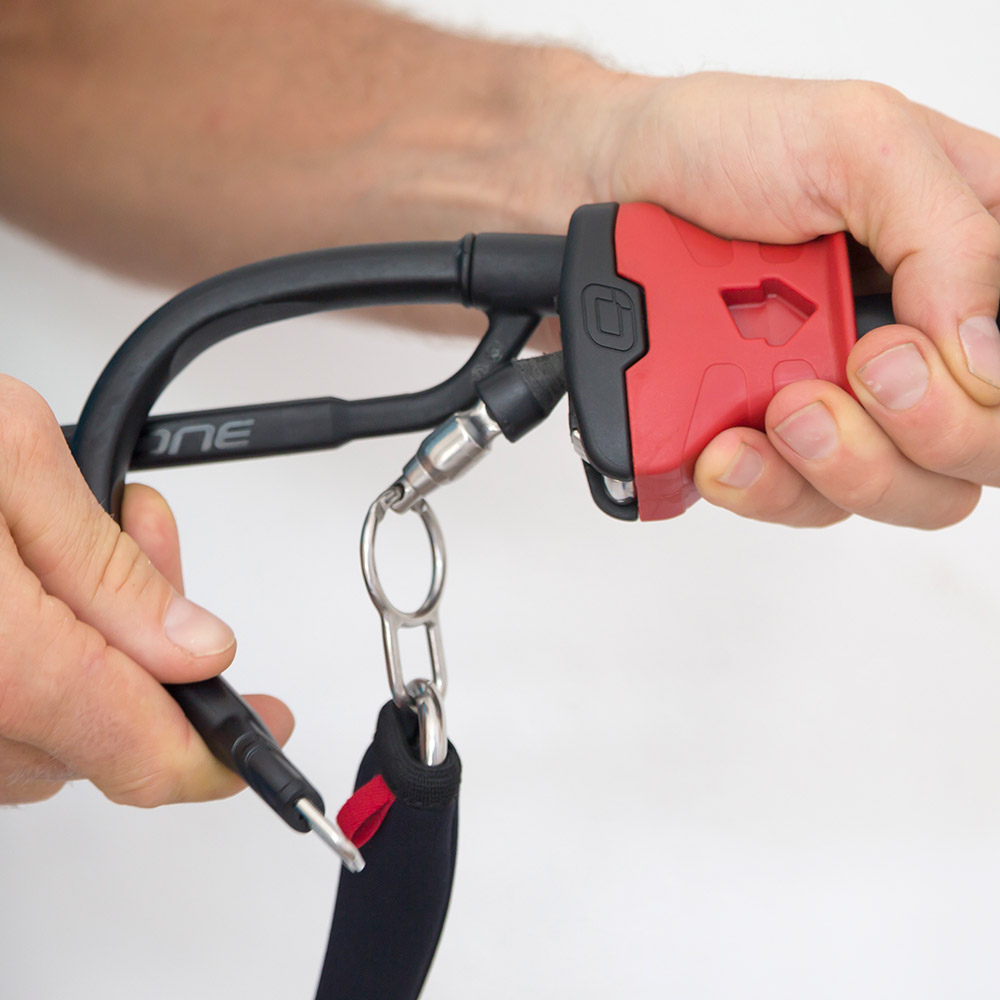
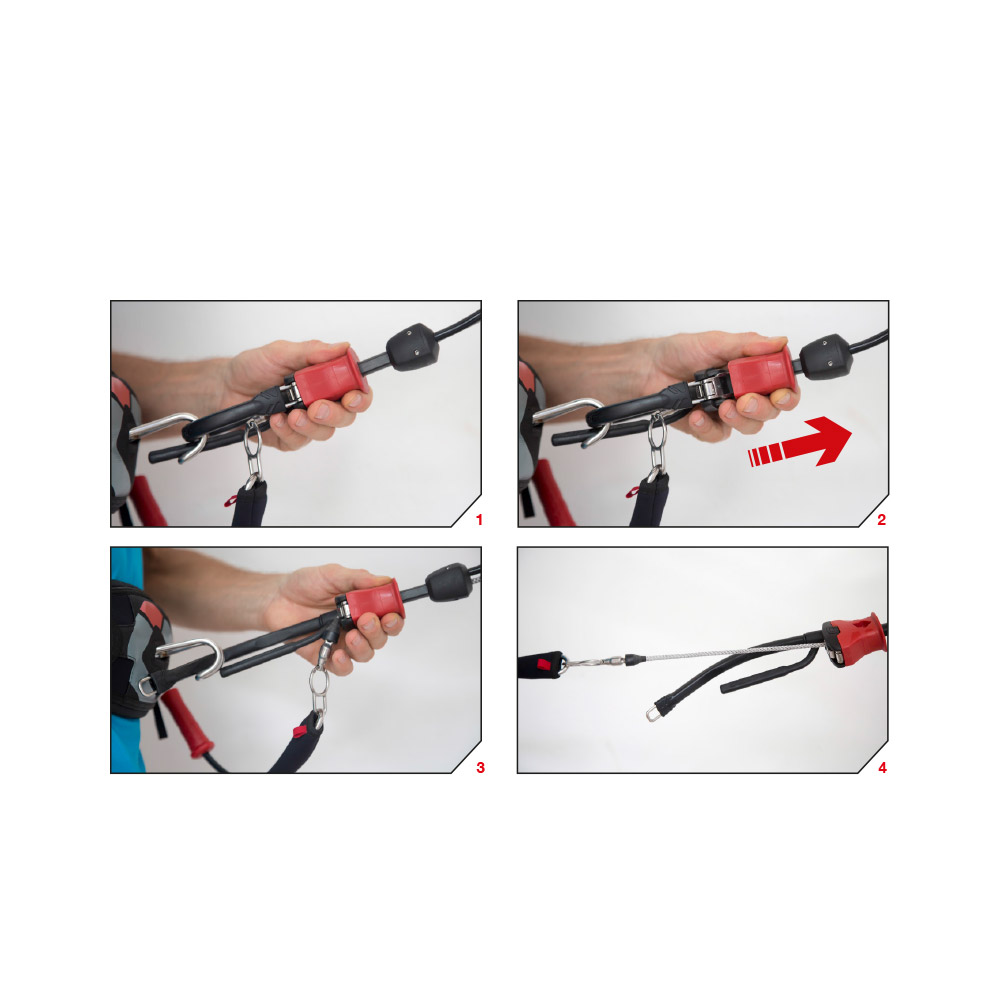
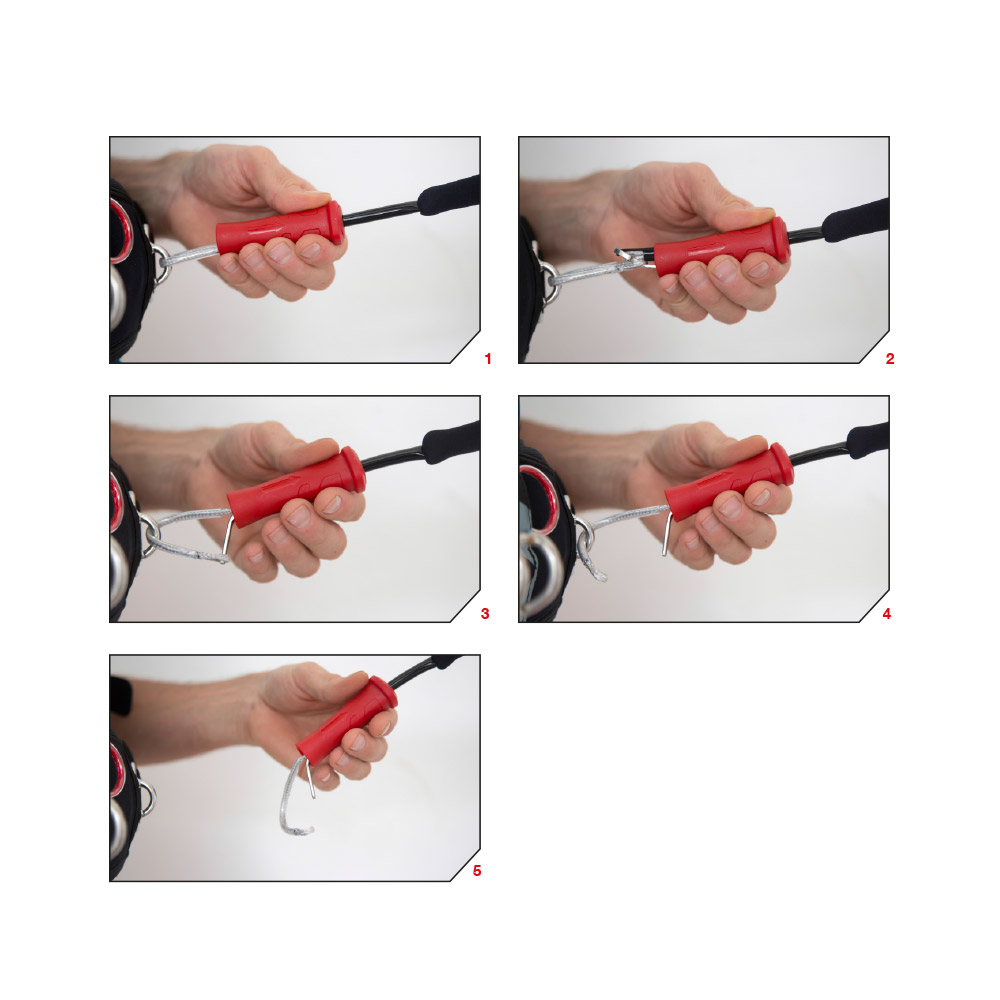
The Quick Release is the primary connection to the kite. Make sure you connect to the Quick Release using the finger as shown in the pictures.

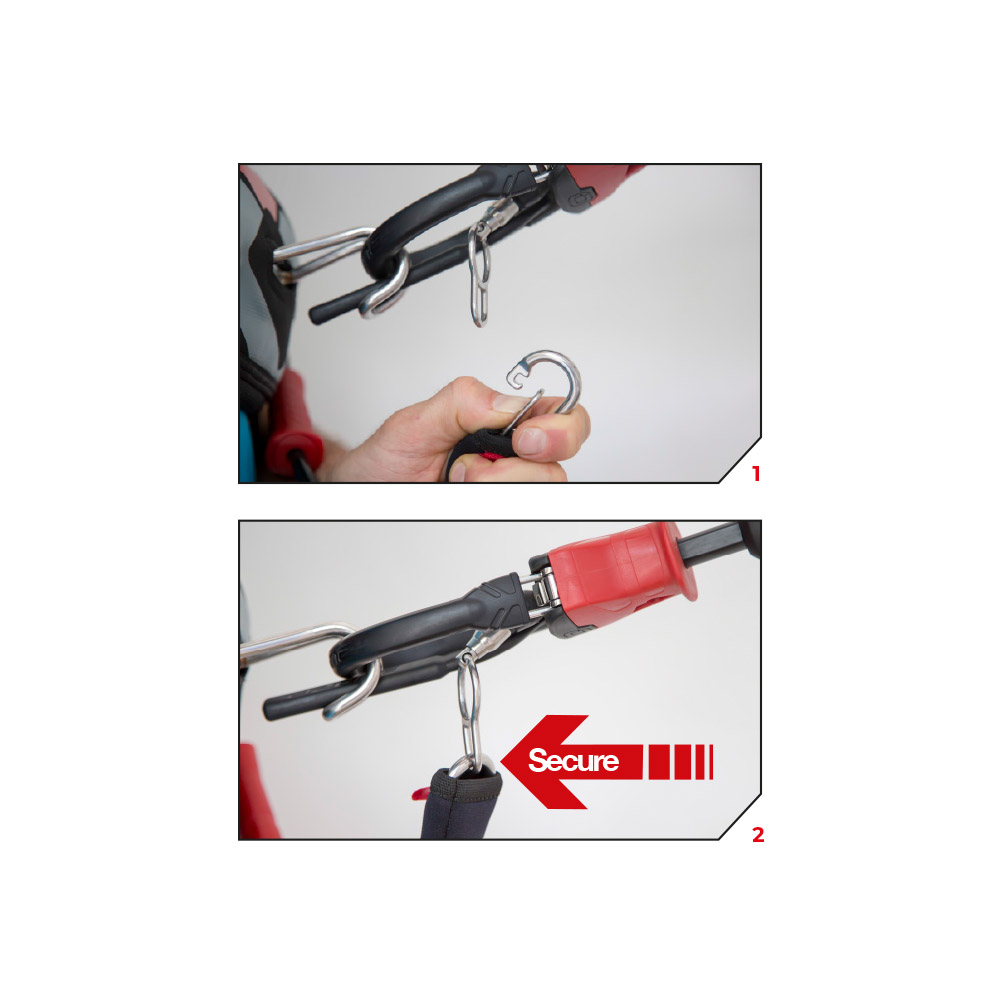
Below the Bar Release (Recommended Mode)

All riders should attach their Kite Leash to the Flag Out System. This is the small eyelet on the Stainless Steel Swivel Ring.
When the release is activated, the kite will flag out and fall to the water/ground.

In all situations make sure that all lines are clear of all working release systems and the kite leash is connected in the right way.

Advanced Riders (Use at your own risk, not recommended) 

Riders performing unhooked tricks or who are more confident and have spent many hours Kiting can attach in Expert mode, where the loop part runs through the large eye of the steel ring. When letting go of the bar in Expert mode (without activating the release e.g. missed handle pass) the kite will depower but WILL NOT flag out.

Be aware in this situation, the Quick Release will be out of reach and can therefore not be released. When hooked in and activating the Quick Release the steel ring automatically slips off and the kite will flag out.

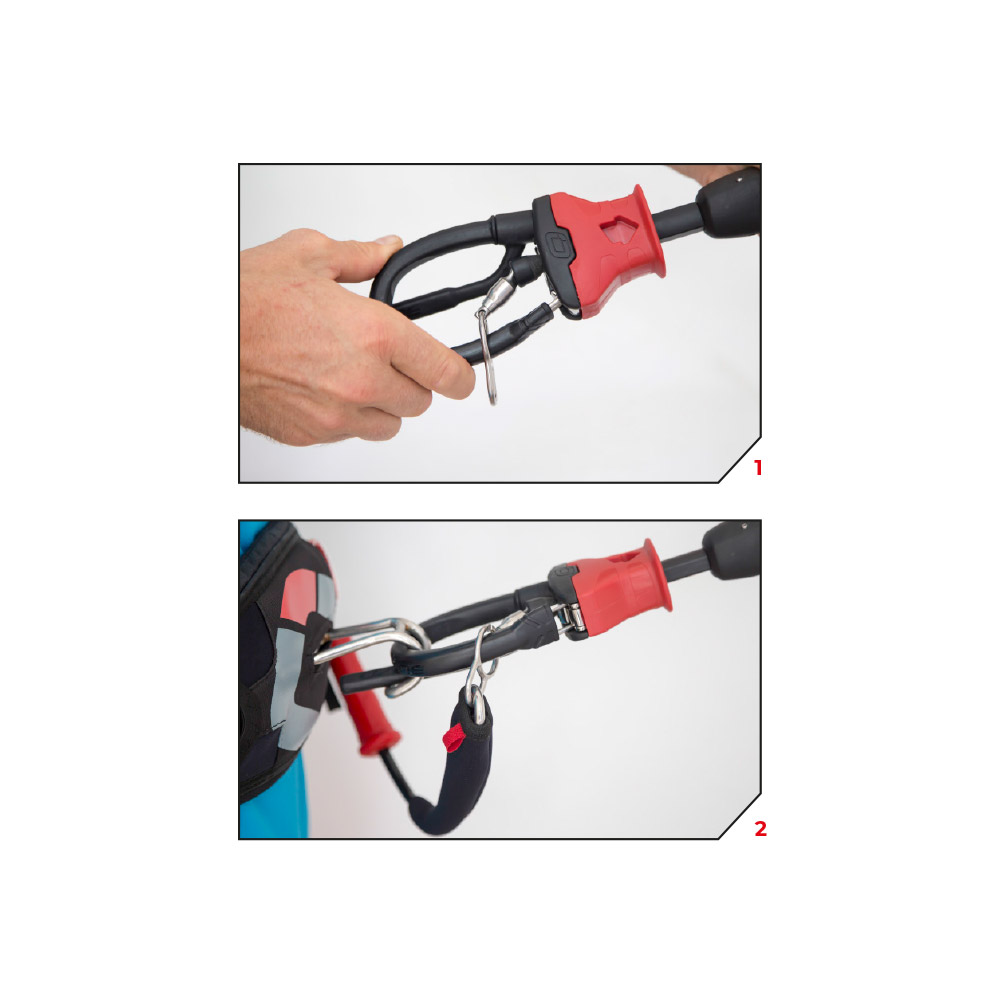
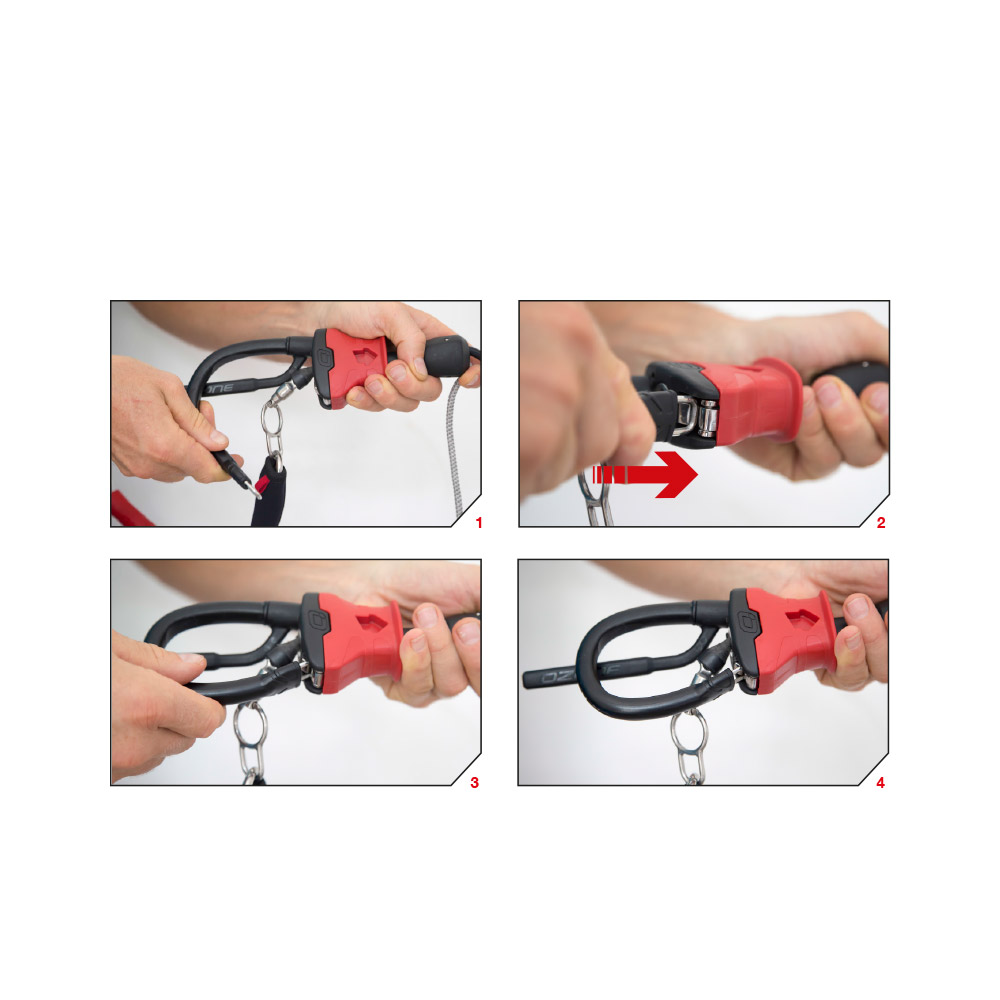
1st Stage of  Release

Activate the Quick Release as shown in the pictures. Providing your leash is attached to the flag out system the kite will 100% depower.

Reloading the Quick Release

Final Stage of Release (in an extreme emergency)

In the case of an extreme emergency where you need to completely release from the kite, use the quick release on the kite leash. This will completely detach the kite and control system from the user, and could therefore hit anything or anyone downwind causing damage, serious injury or death. RIDE RESPONSIBLY.

1st FLY 

WARNING:
NEVER LAUNCH A KITE DIRECTLY DOWNWIND OF YOU IN THE POWER ZONE!

Launching and Landing

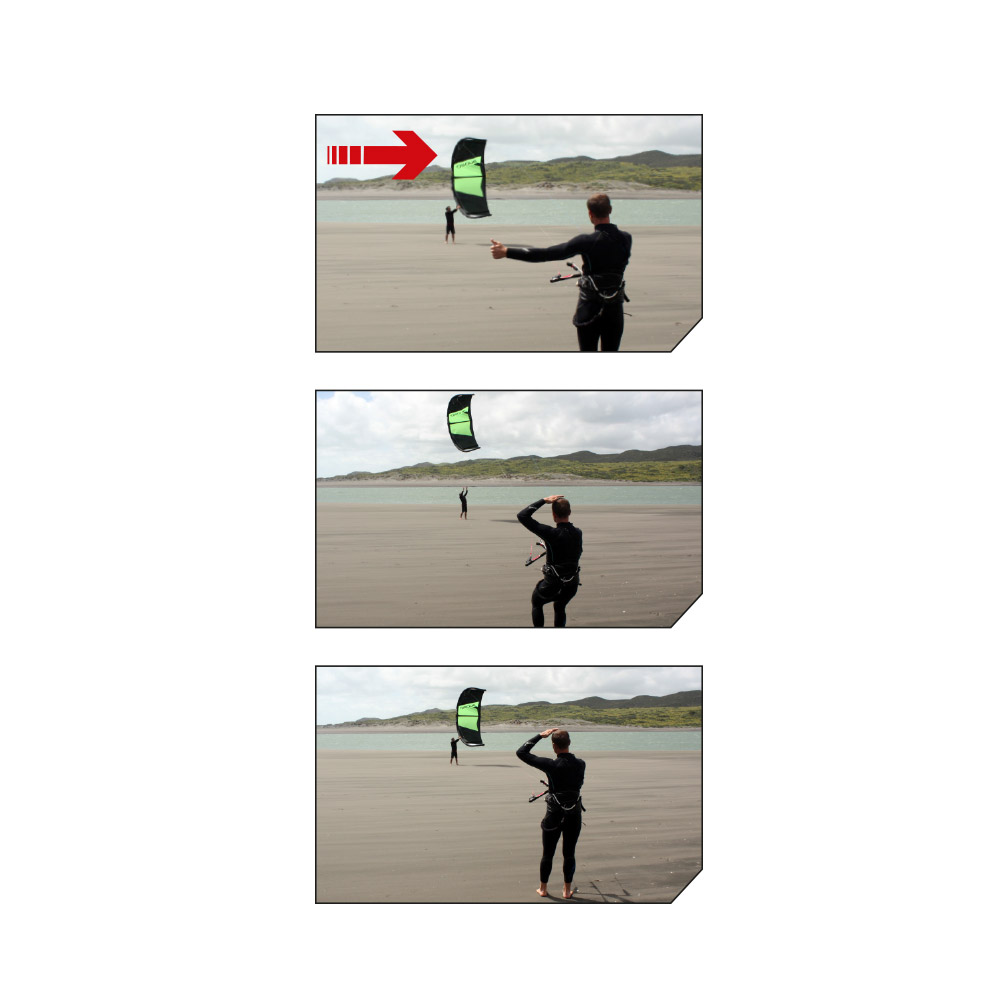
Instruct your partner on how to handle the kite and agree on a sign together for the release and landing. They should hold the kite in the center of the leading edge at the edge of the window and double check that all lines are clear. It is possible for lines to get wrapped around the tip so make sure they understand that all lines must run clearly from each attachment point.

Before you give the signal to release make sure you are 100% confident that all lines are clear. Then give your pre-agreed signal for your partner to release the kite and gently launch the kite to the top of the window.   

Landing the kite use the same principles >> Most importantly keep your head clear, be smooth and controlled with the kite and land before you are too tired or overpowered.

WARNING:
Make sure you grab the correct side of the bar
– we colour code the bar red for left.

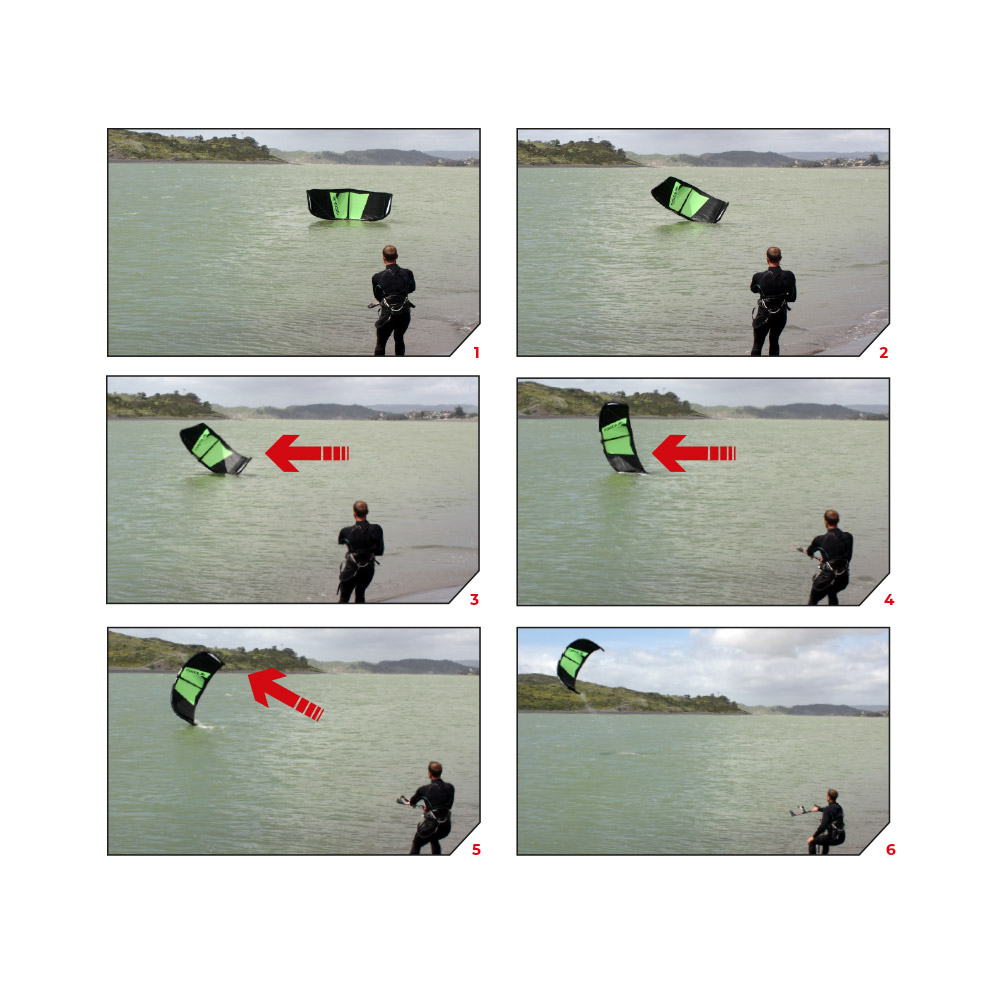
Water Relaunching

Once the kite is face down with the leading edge touching the water:

  1. Pull the bar in towards you to increase back line tension.
  2. Pull one of the rear lines (line attached to bar ends) towards your body with constant tension. Look at the kite as you pull the rear line and be ready to release some tension as the kite flips up onto its tip.
  3. Once on its tip the kite will work its way to the edge of the wind window. This requires some skill and finesse in order to not stall the kite backwards onto the water.
  4. When the kite is at the edge of the window make sure you have the bar pushed at least half de-powered and steer the kite gently to the top of the window.

NOTE: If the kite somehow lands nose down but with the tips facing away, pull one of the rear leader lines to help the kite blow around to the correct position then follow the steps above for getting the kite re-launched.

Self Rescue

If you get in trouble out in the water, there is a simple way to self rescue yourself.

Firstly kill the kite’s power with the flag out system by releasing the chicken loop. The kite will flag out and drop to the water.

Lines are dangerous in this situation so make sure you wind the flag out frontline around the bar at least 10x to disable the kite. Then wrap all the lines together onto the bar as you normally would. You will end up at the kite ideally with the lines wrapped tightly and neatly on the bar. Make a few half hitches to secure the lines.

Once you have got hold of the kite you can drop the bar. When you have reached the kite, take hold of the bridle lines at each wingtip. Hold both bridals to use the kite as a sail to get back to shore safely.

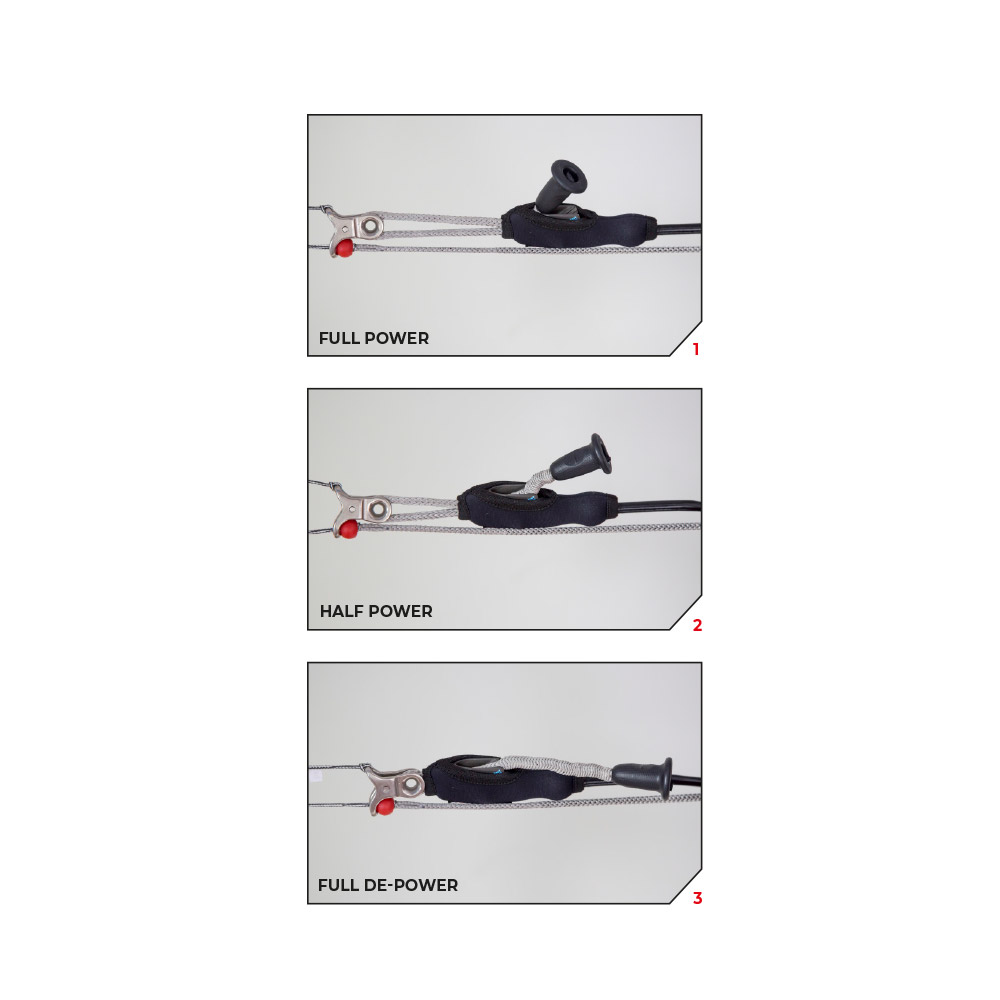
Clamcleat Trimmer

To release the line from the cleat teeth, first pull out and down to unlock the line from the teeth, then set the trimmer line to the desired amount.

Pull the trimmer line down to de-power the kite. This is needed if you are overpowered, for unhooked riding, or if you are walking on the beach or snow.

Release the trimmer line away from you to increase kite power.

1: FULL POWER

2: HALF POWER

3: FULL DEPOWER

Trimming For Line Stretch

All lines should be maintained as close to equal length as possible. Flying lines can stretch over time, generally the front lines stretch more as these take the majority of the load.

To check your lines, unwind the lines from the bar and have a partner hold the lines even at the bar end. Taking hold of the lines at the other end, pull on the lines to check they are even. If the lines are not even you may either;

1) Stretch out the shorter lines. Attach the shorter lines to a car hitch or something very solid. Then take hold of the bar and pull with enough force to stretch the line. Do this to any lines that are shorter and re-check that all 4 lines are equal length.

2) Use the Leader Line trimming knots located underneath the bar ends.

Packing

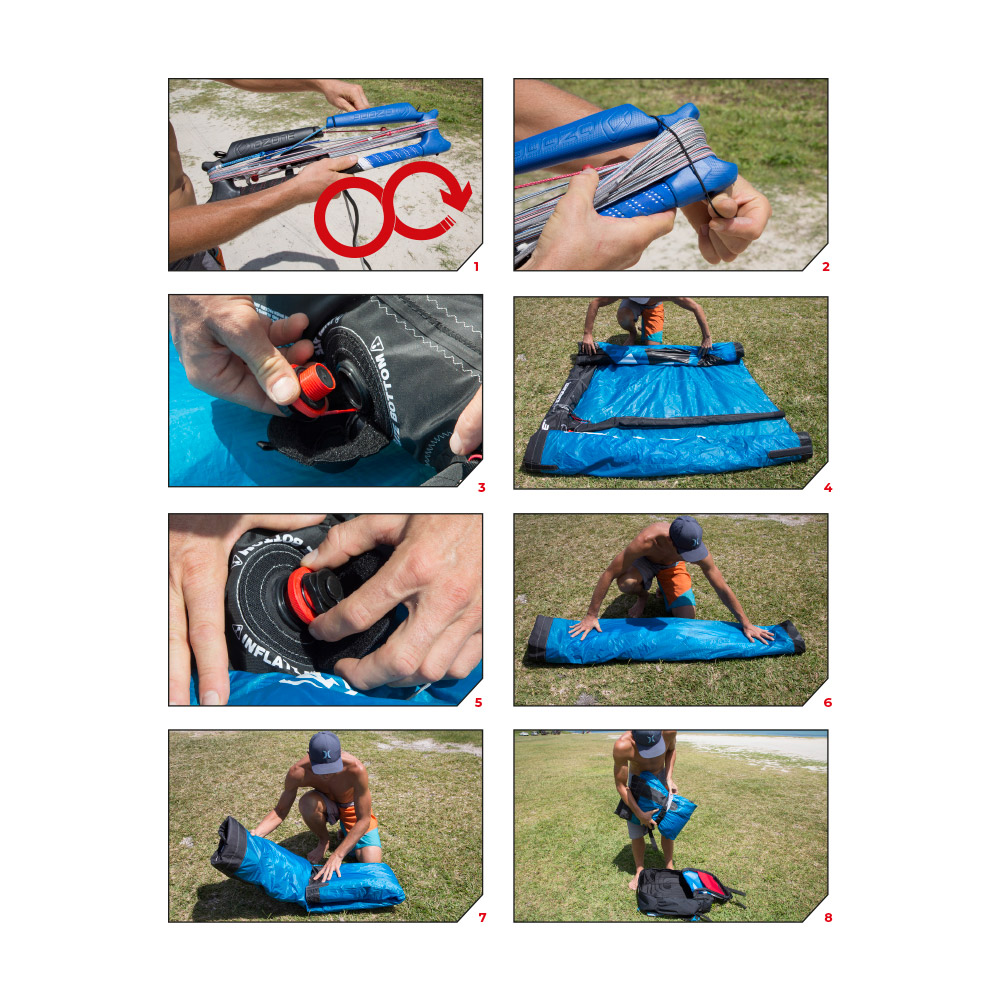
  • Detach the flying lines from the kite, and wrap them around the bar ends in a figure of eight. Use the elastic line retainers to keep them held in place
  • To deflate the kite first release all one pump plastic clips. Then gently open the OUT valve on the leading edge. This large valve dumps the air quickly from the kite.
  • Roll the upwind tip in to the centre. Then roll the opposite side.
  • Screw the inflate/deflate valve in and close the neoprene cover.
  • Fold the kite in 3 sections from trailing edge to fit in bag.

Care & Maintenance

Kites are very technical products and are used in the harsh marine environment. If you use common sense and care for your equipment it will look after you and keep its factory trim for hundreds of hours.

Never pump up your kite on a rough surface which may have sharp objects.

Be very careful with your flying lines. If you catch them on a rock or sharp object thoroughly check each one and we recommend you replace your lines. Also make sure there are no knots in the lines. Knots weaken the line by up to 50%.

Once you have pumped up secure your kite with sand or use sandbags  – Do not use heavy objects or even your board, the fins have been known to rip kites.

Never leave your kite on the beach un-used for long periods of time in the sun and wind. The trailing edge flapping and sand hitting the sail cloth will severely shorten the kite’s life. UV also shortens the lifespan of a kite so pack away when not using your kite.

Never pack away your kite wet, only when 100% dry – This will damage the cloth and its coatings and may lead to dye running. This is not valid for warranty.

Never leave your kite inside your car in direct sunlight.

Always clean your control system with fresh water after every session, and reload/release the Quick Release to check the system is functioning correctly. Store your control system with the Quick Release open. Reload the next time you set up your kite.

When inflating the bladders always inflate slowly and ensure the bladders are inflating correctly in the struts or leading edge. If you see a twist or something looks strange STOP pumping immediately and check bladders. They may need re-inserting to ensure they inflate properly.

Repairs

We supply a repair kit with the following contents:

1. A4 pieces of sail cloth

2. A4 piece of Dacron

3. 1 x length of 50mm wide sticky black repair tape

4. 6” x 3” Tear-Aid bladder repair patch

5. 2 Alcohol wipes

6. One pump clip / hose / hose retainer

If you have a major repair like a tear across panels, struts or the leading edge take the kite to your local sail repair shop. For minor tears and bladder punctures you can easily fix these yourself with the repair kit supplied with the kite.

Watch repair and maintenance videos